DIGITAL PRODUCT VISUALISATION
SKETCHBOOK 20
Year//
2020
Software//
Photoshop, Autodesk Sketchbook, Concepts App
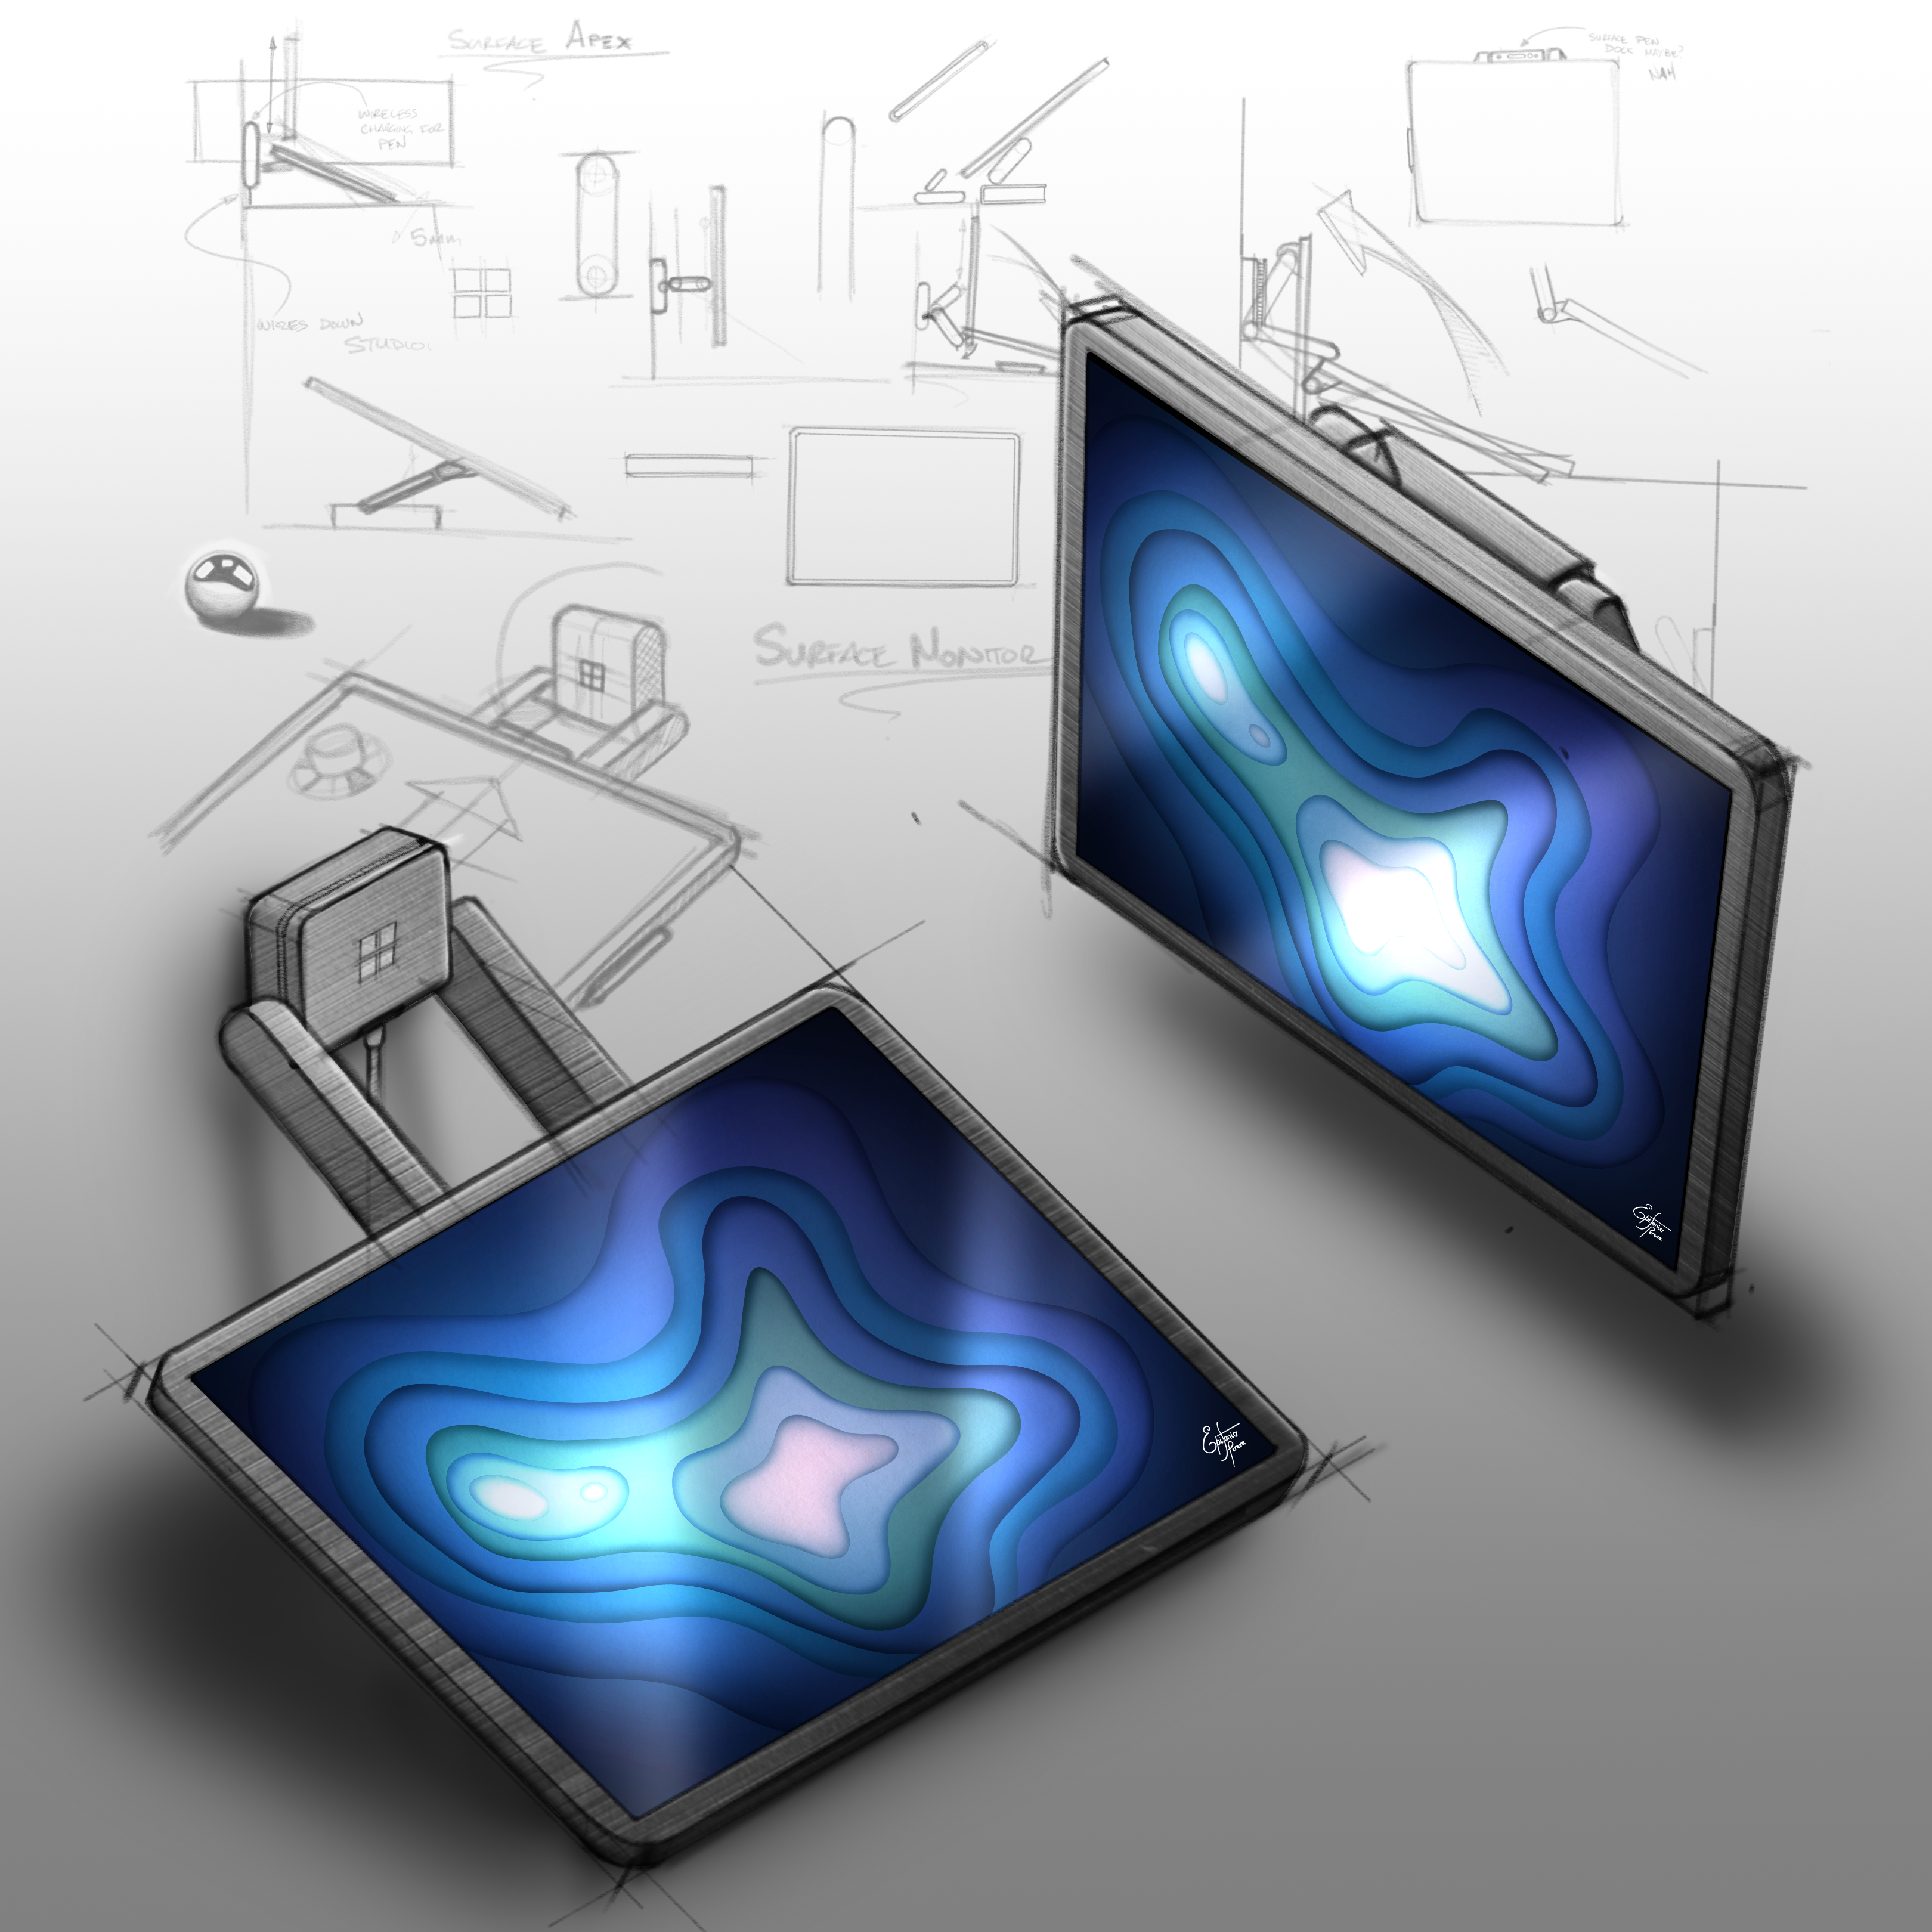
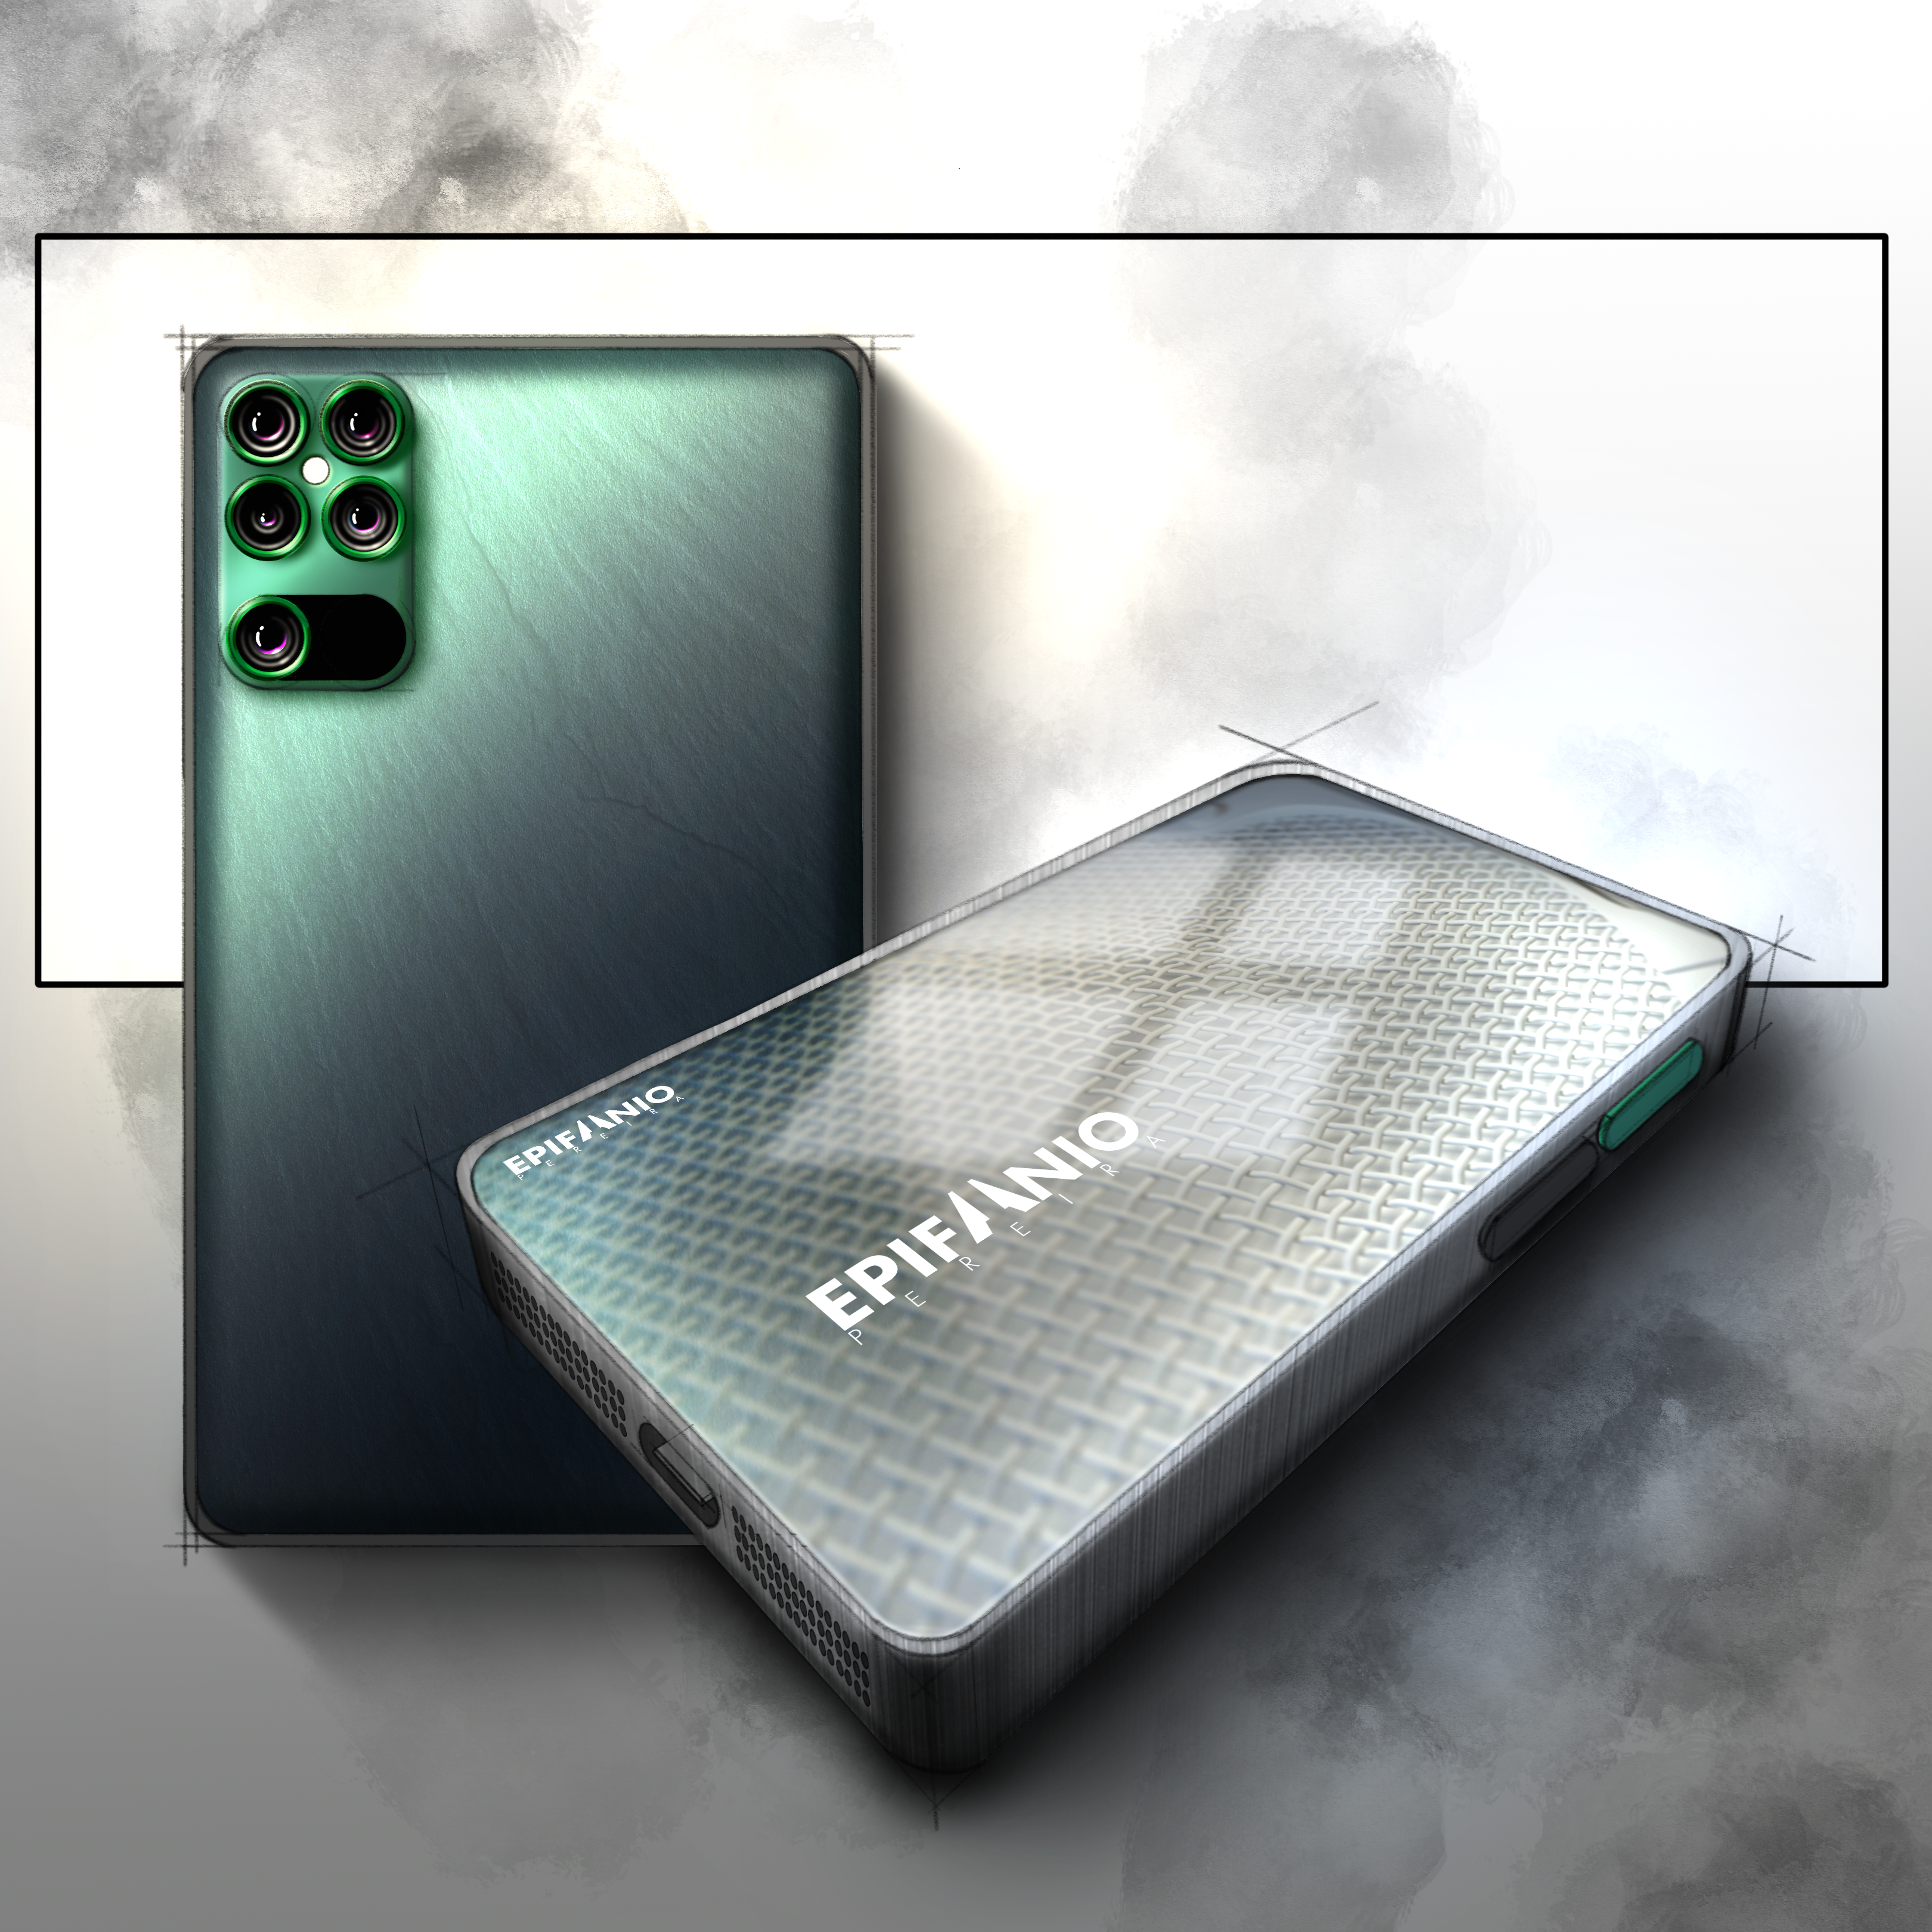
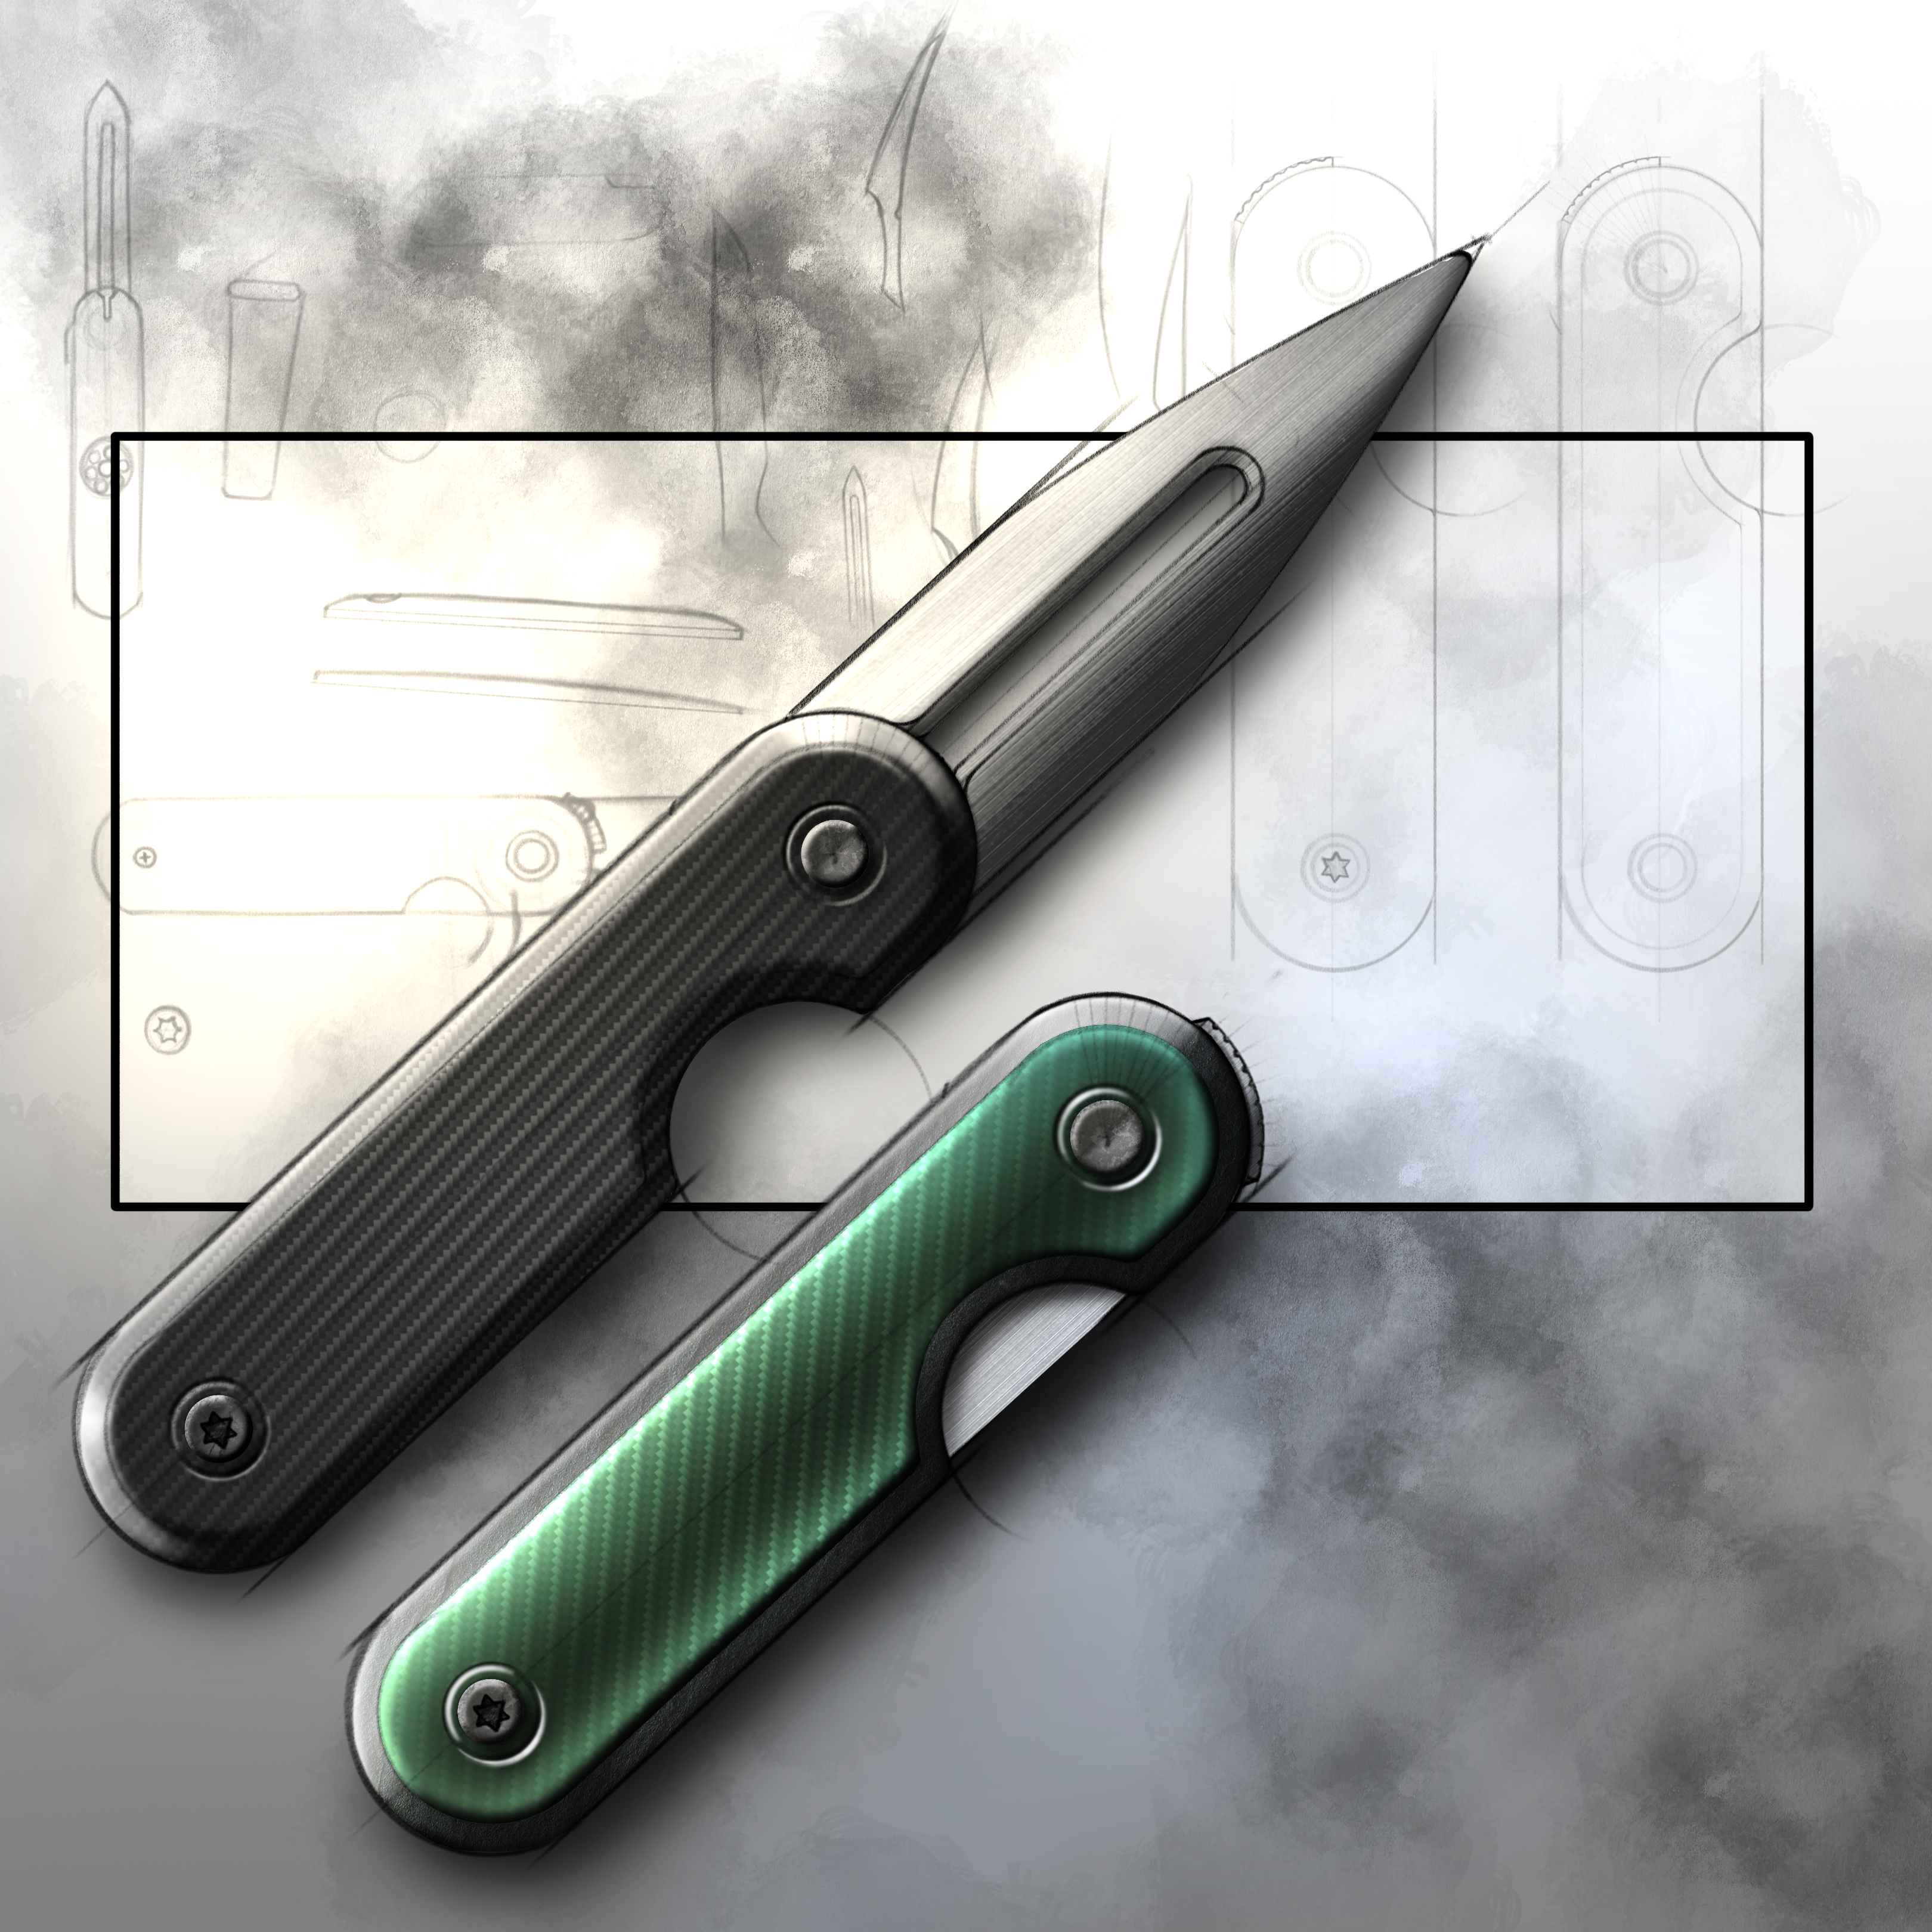
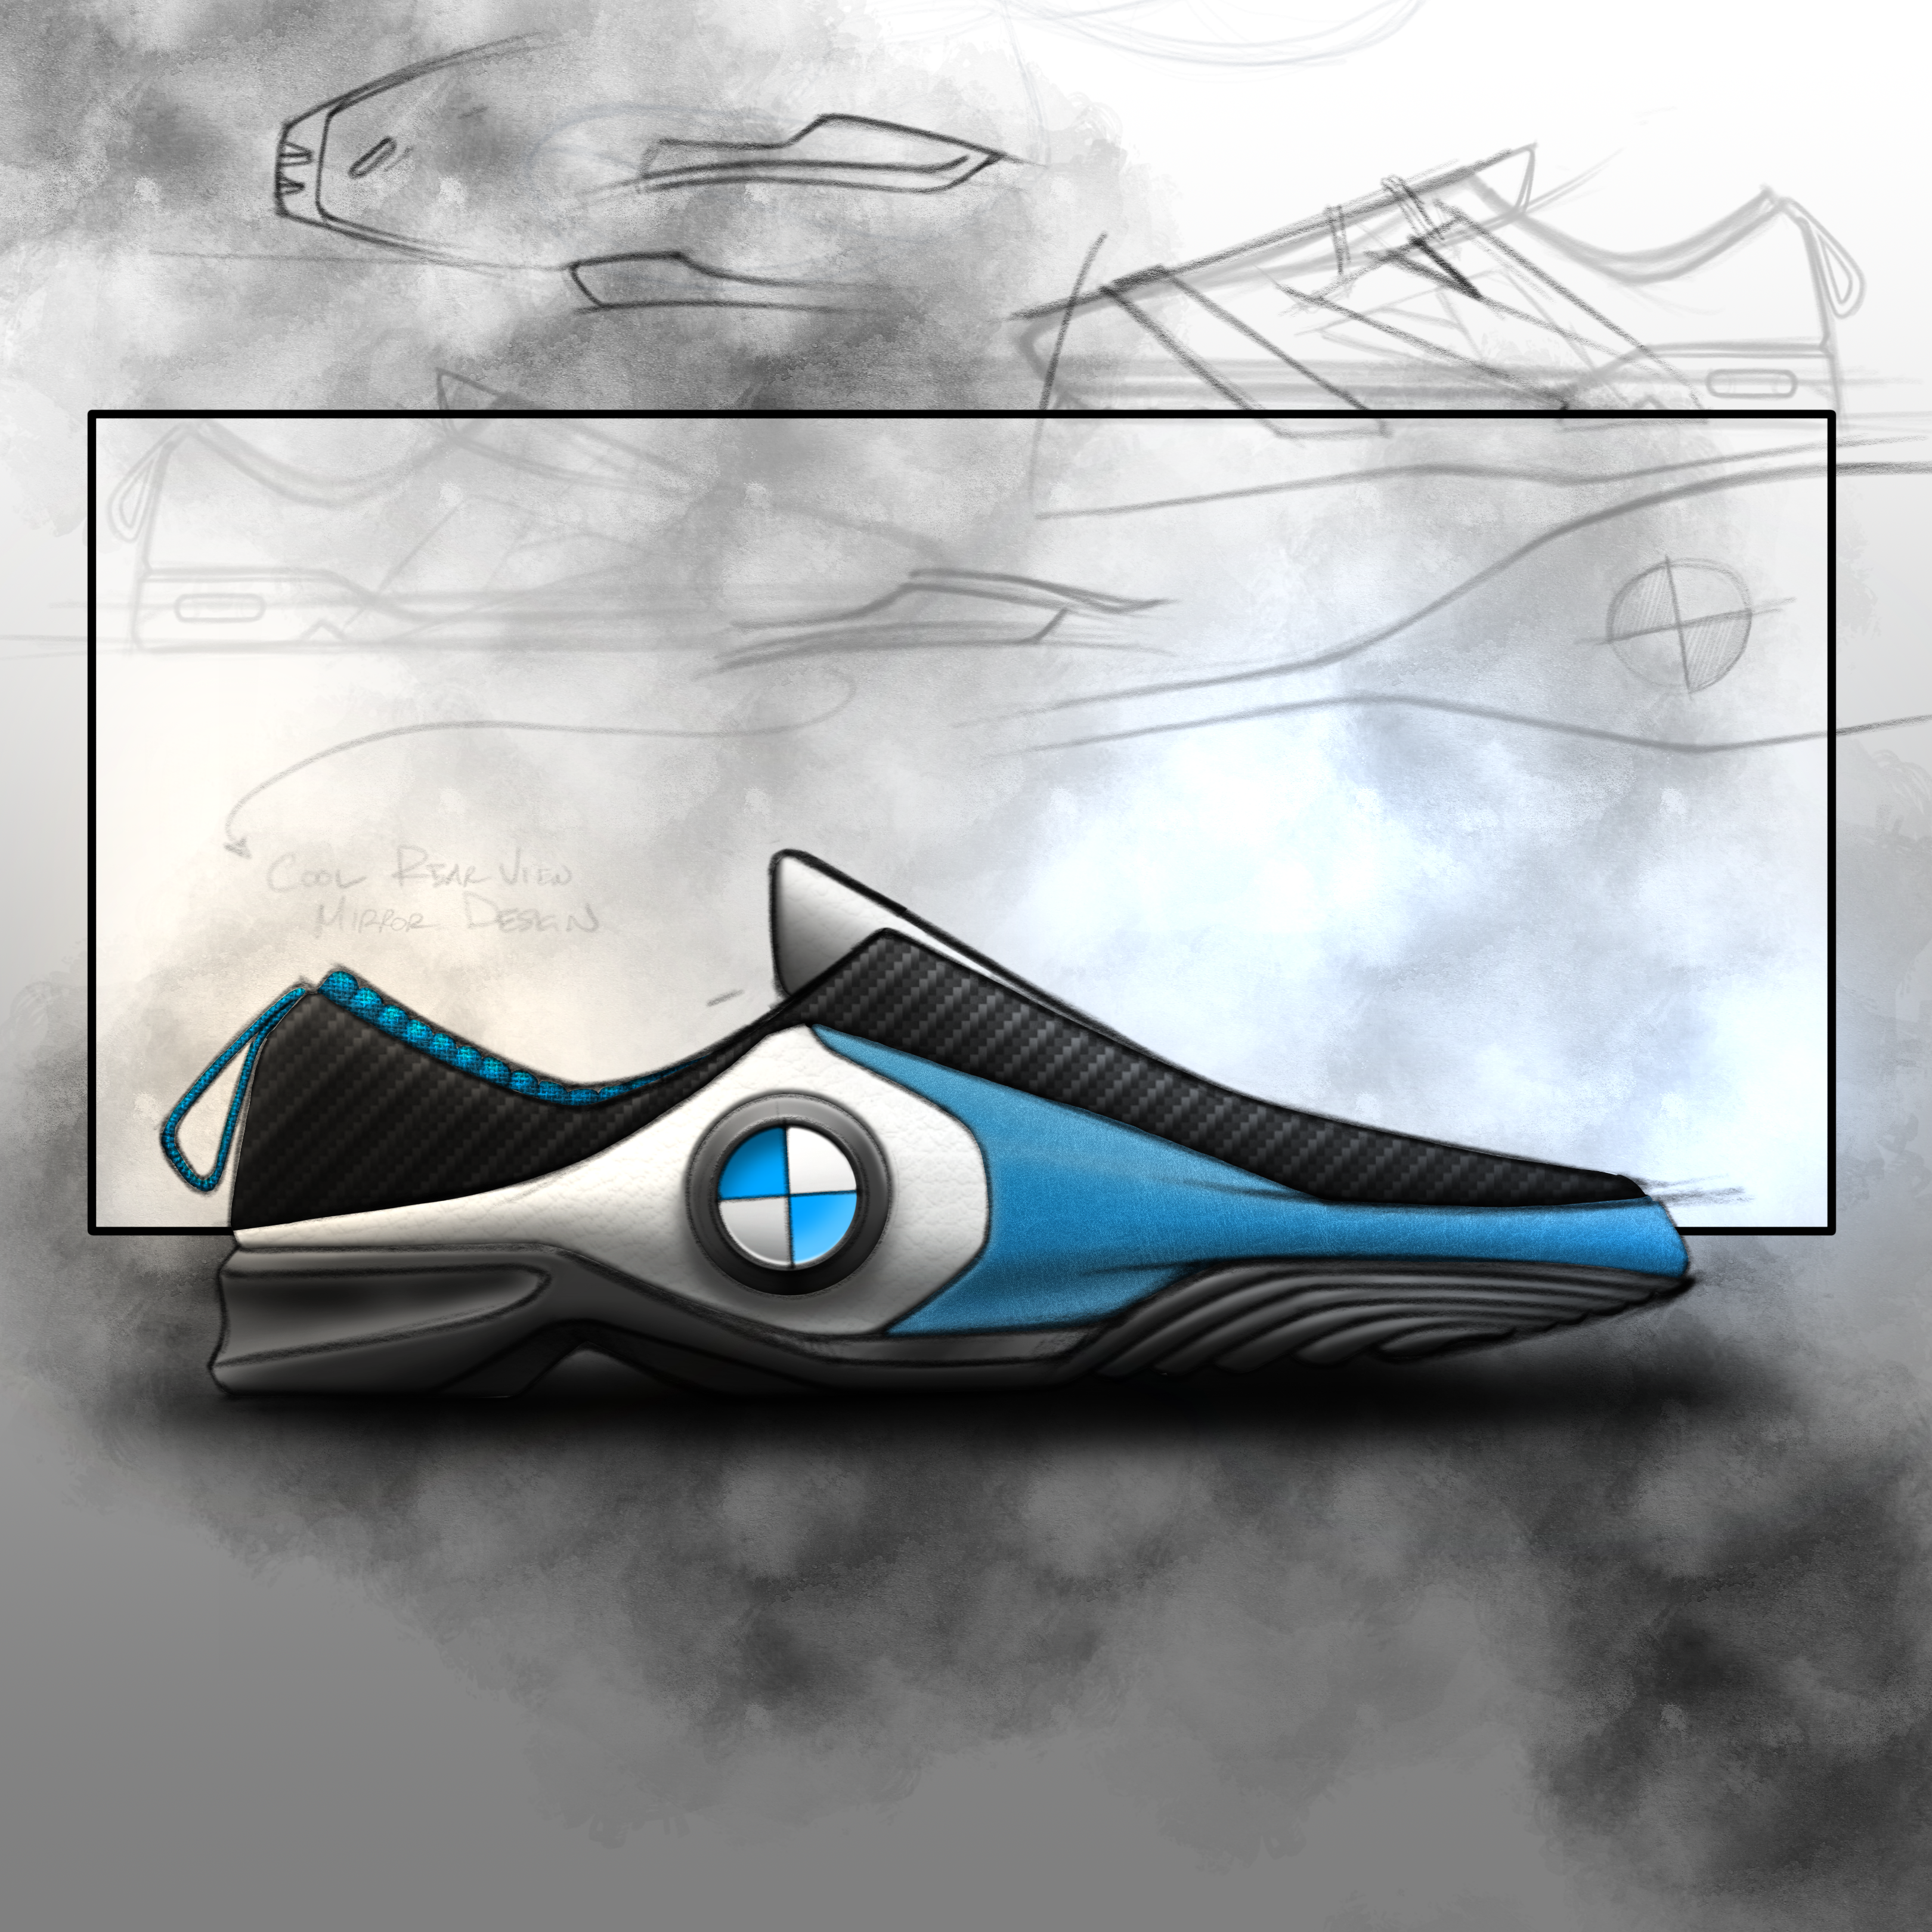
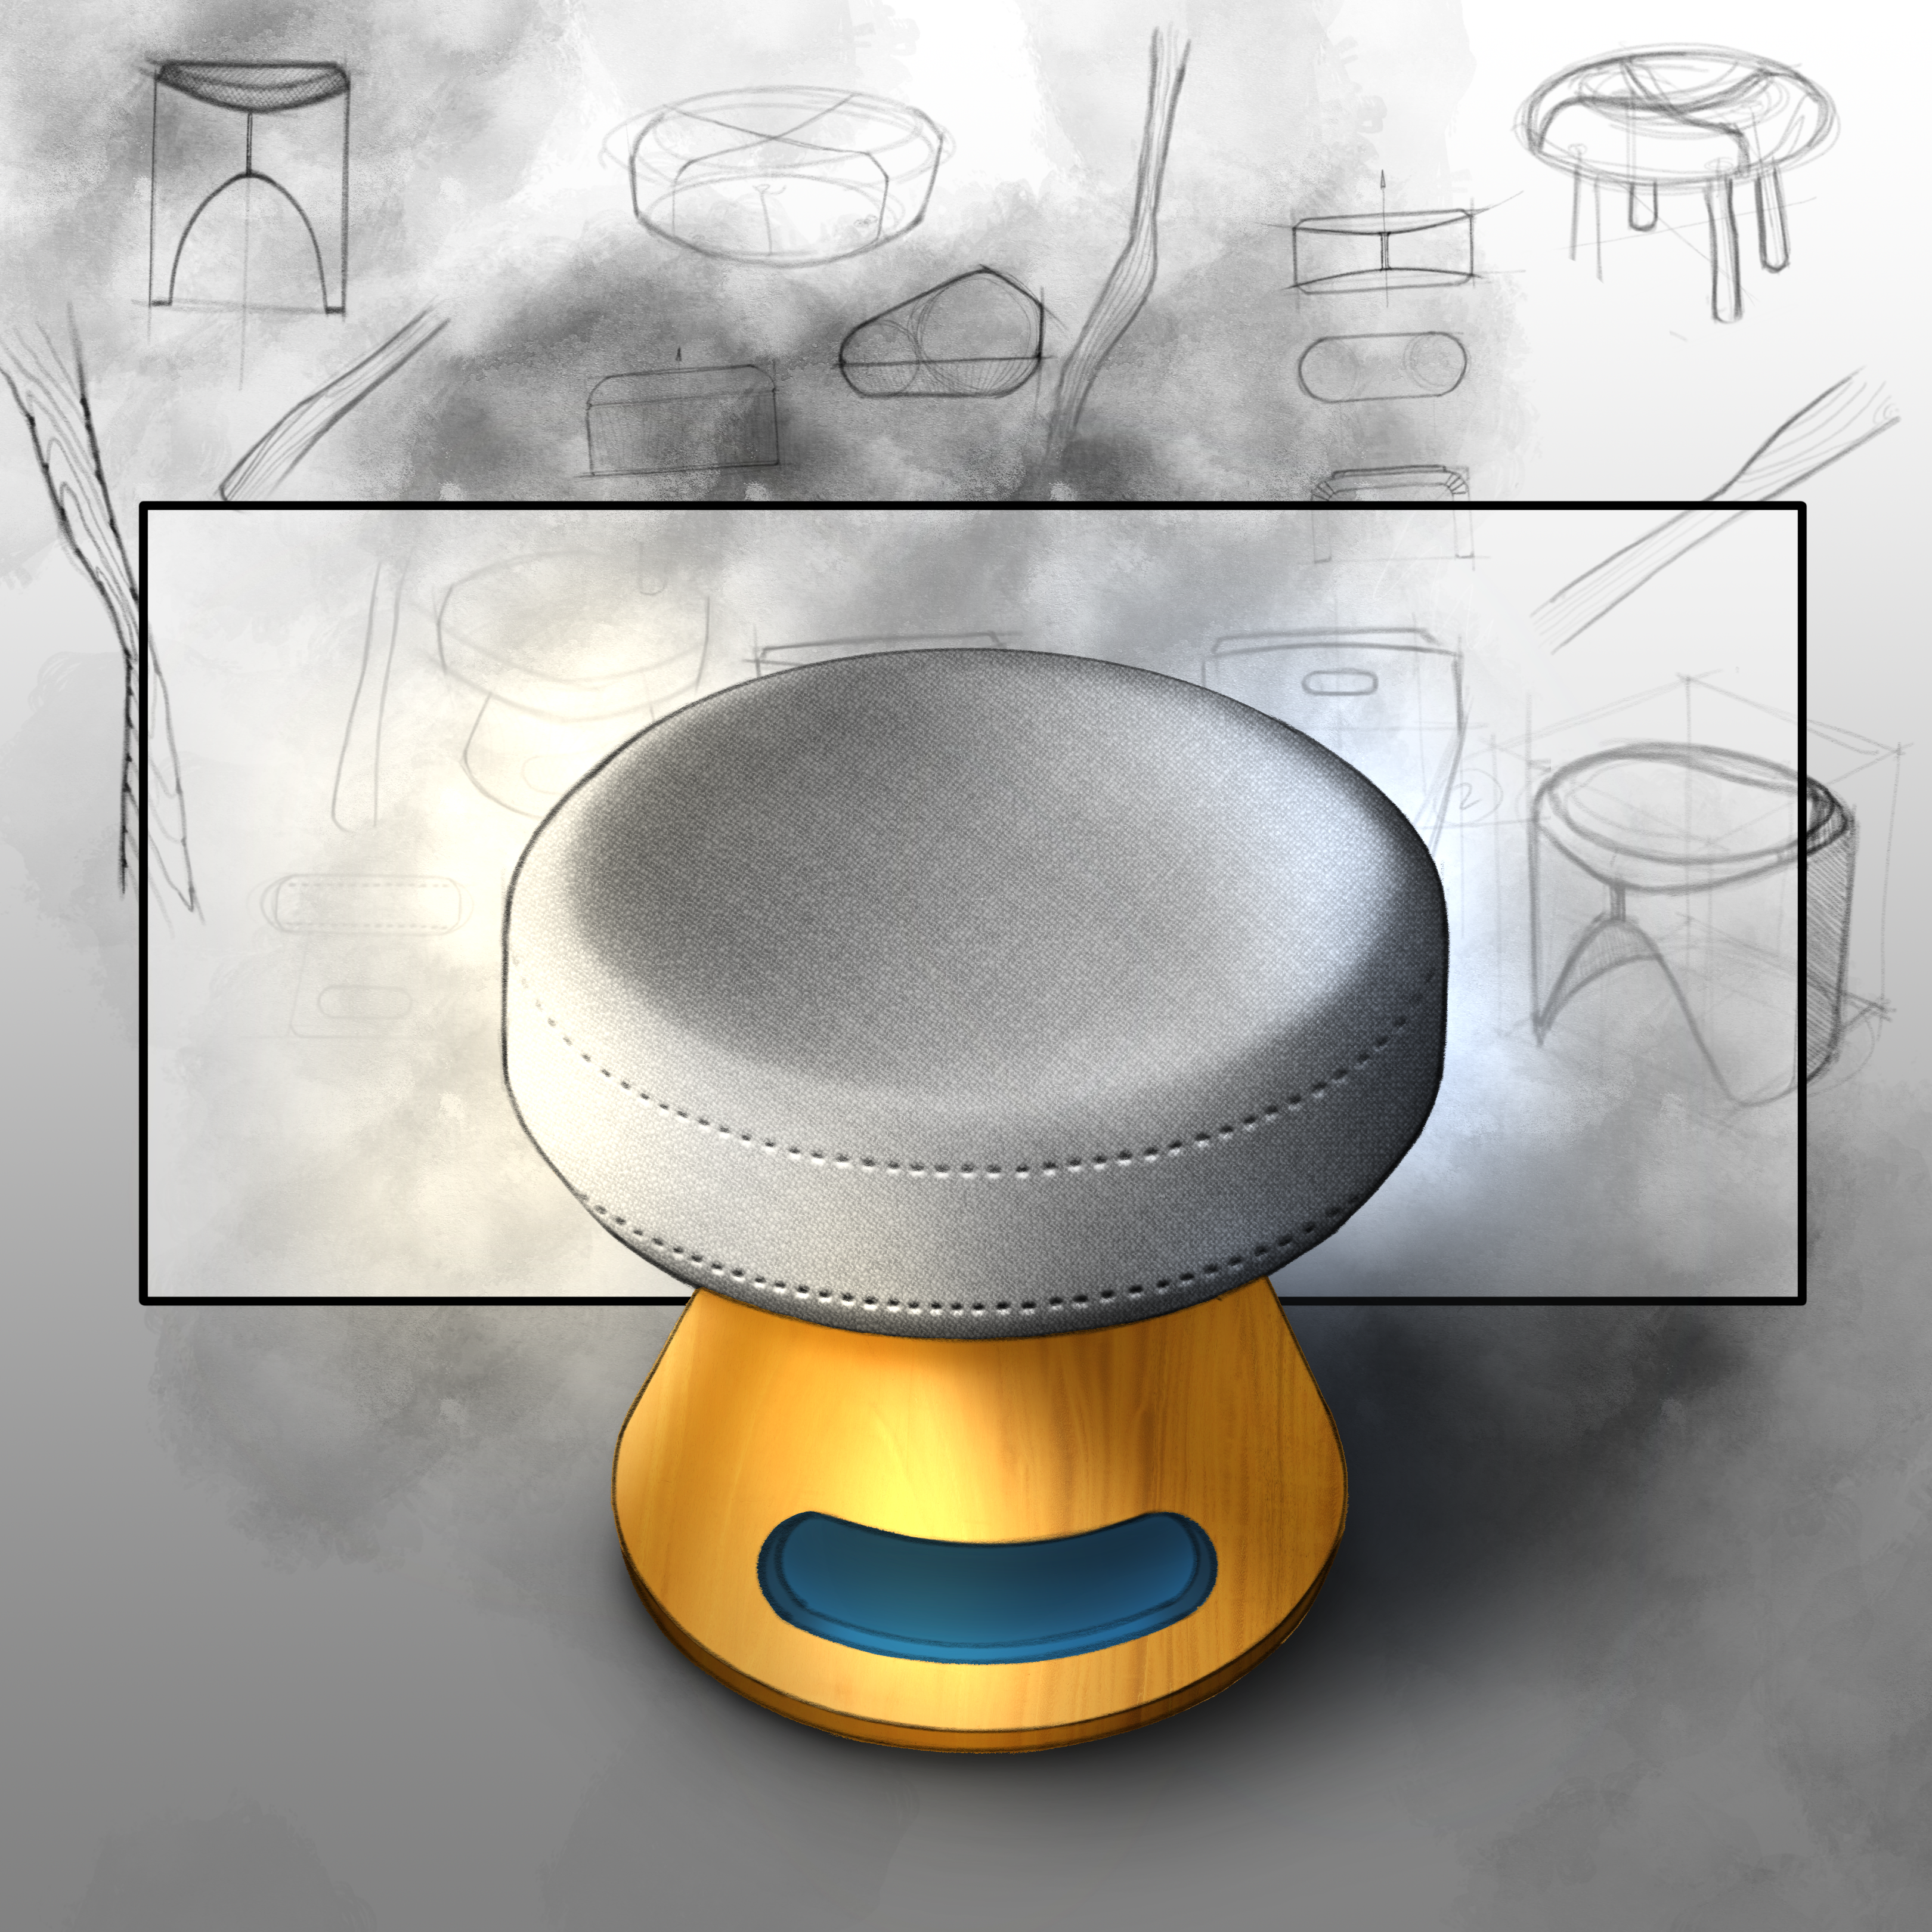
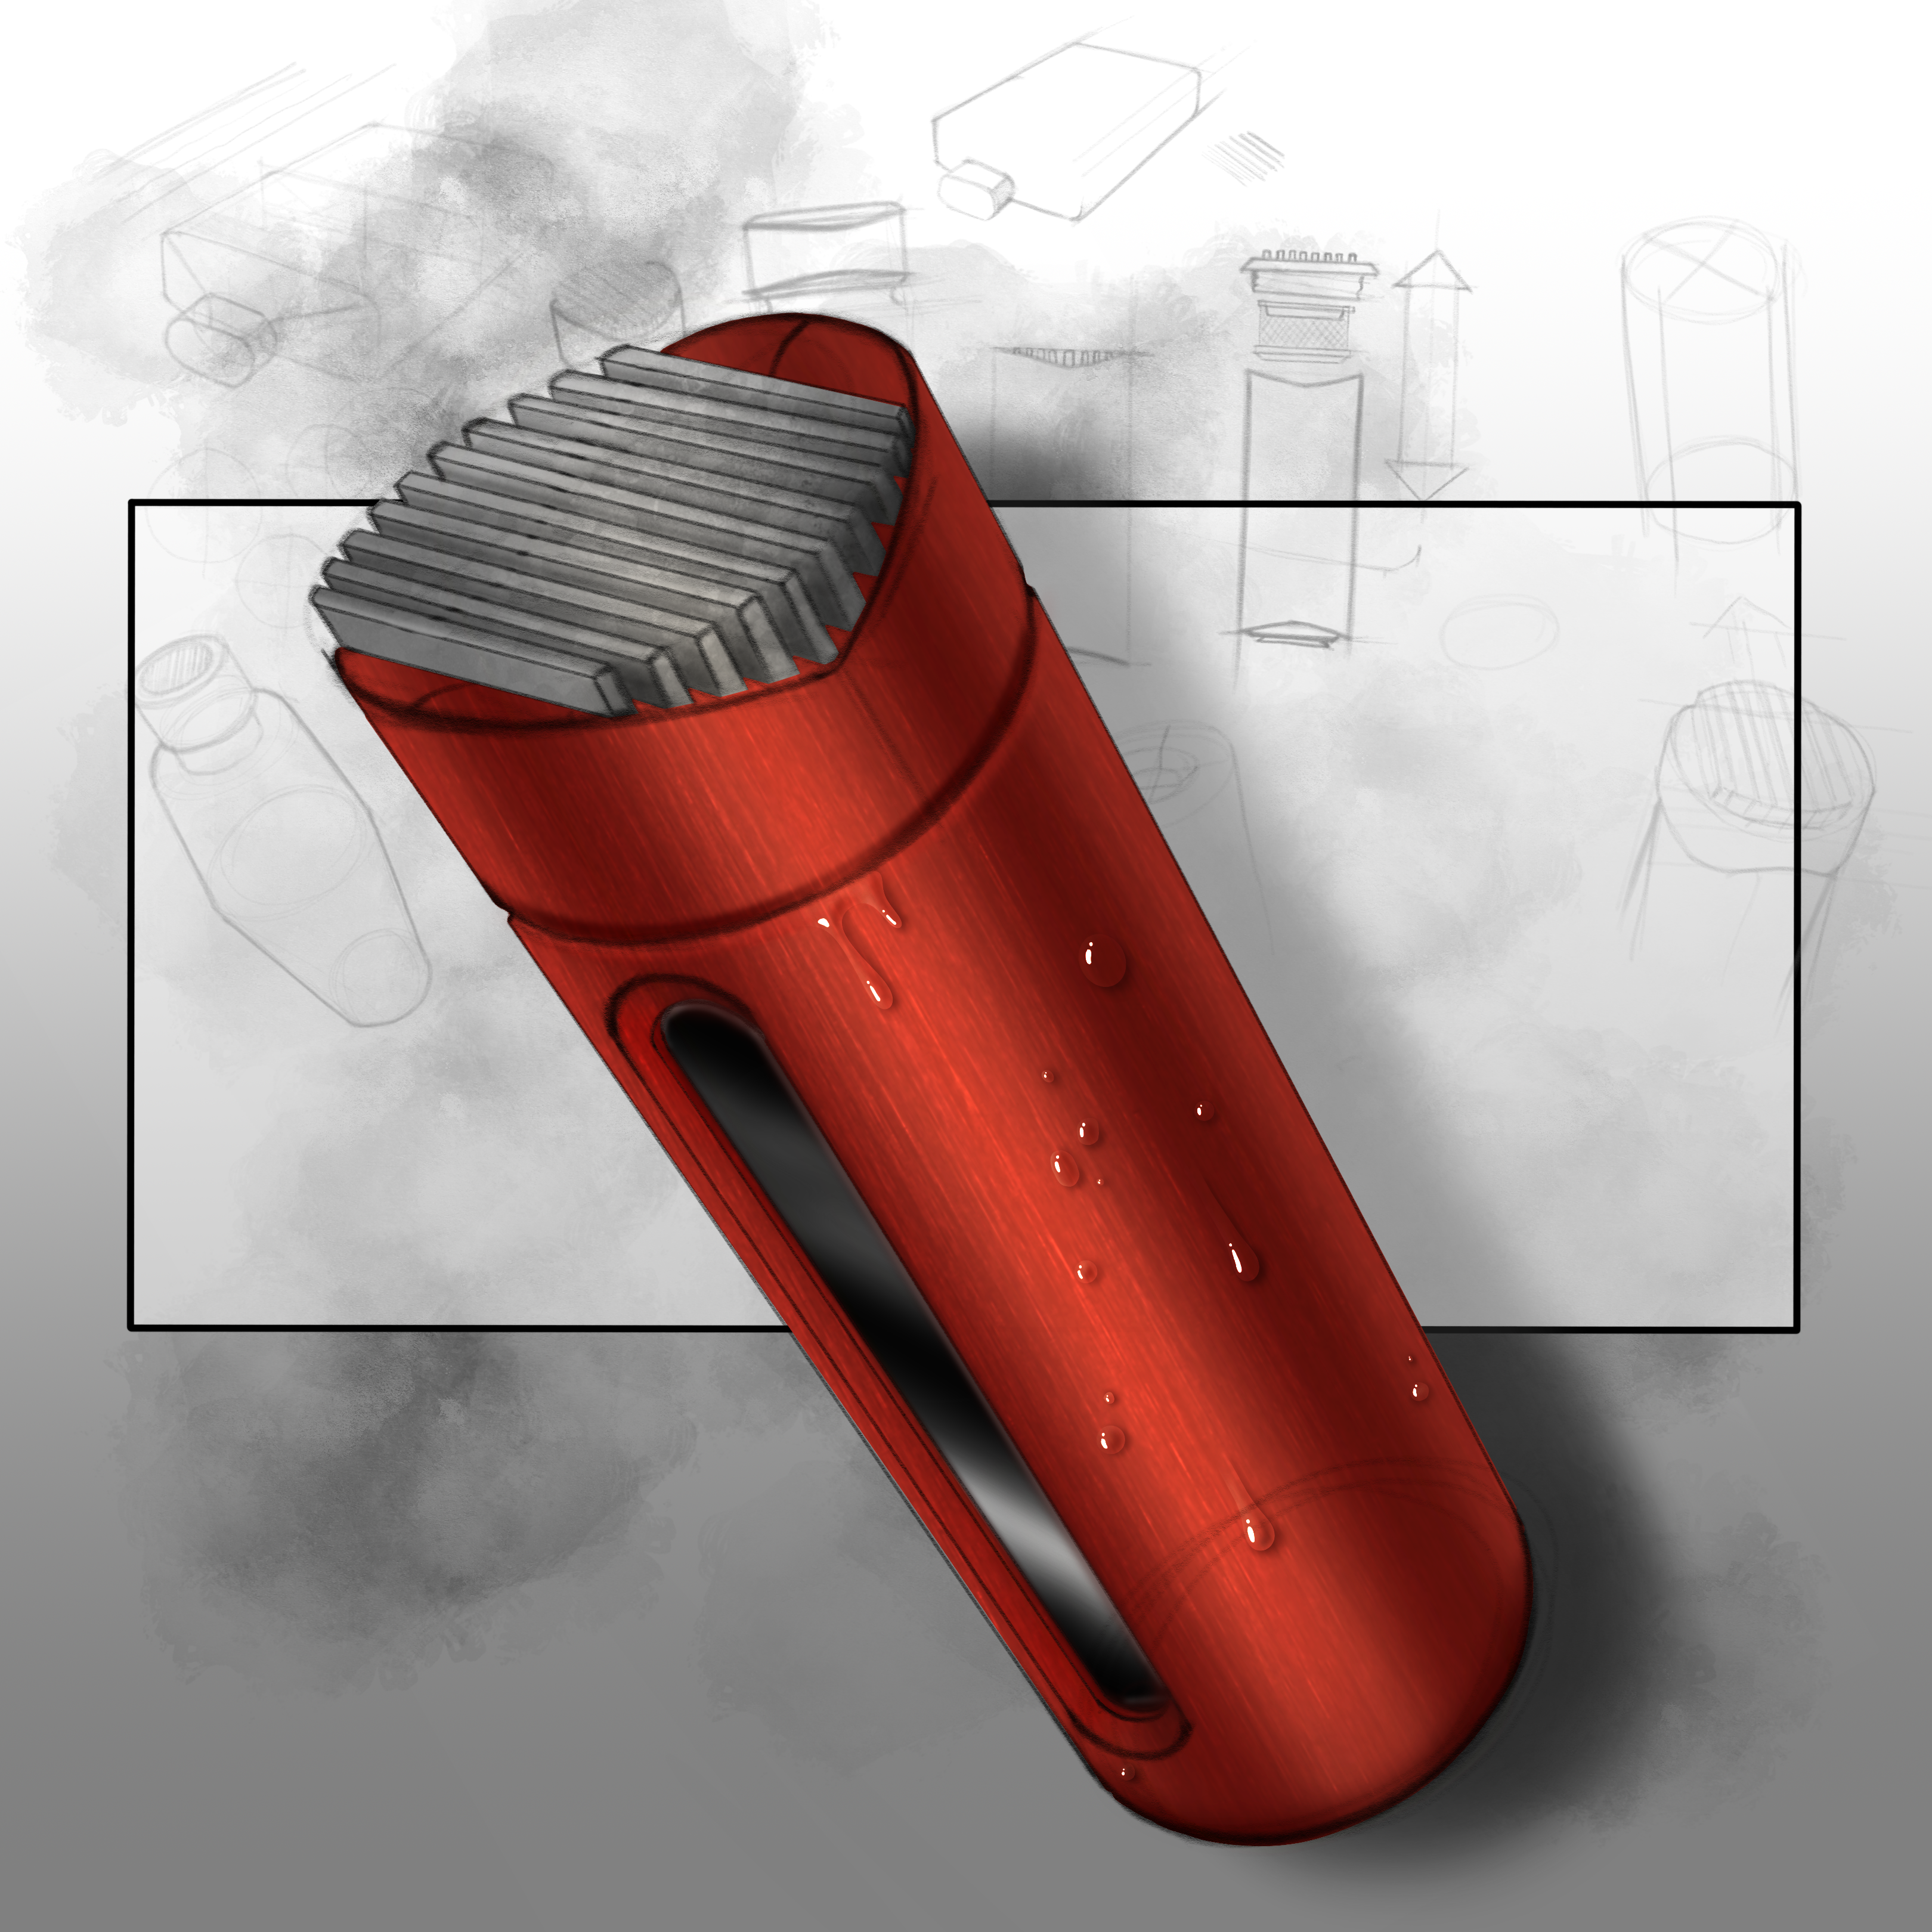
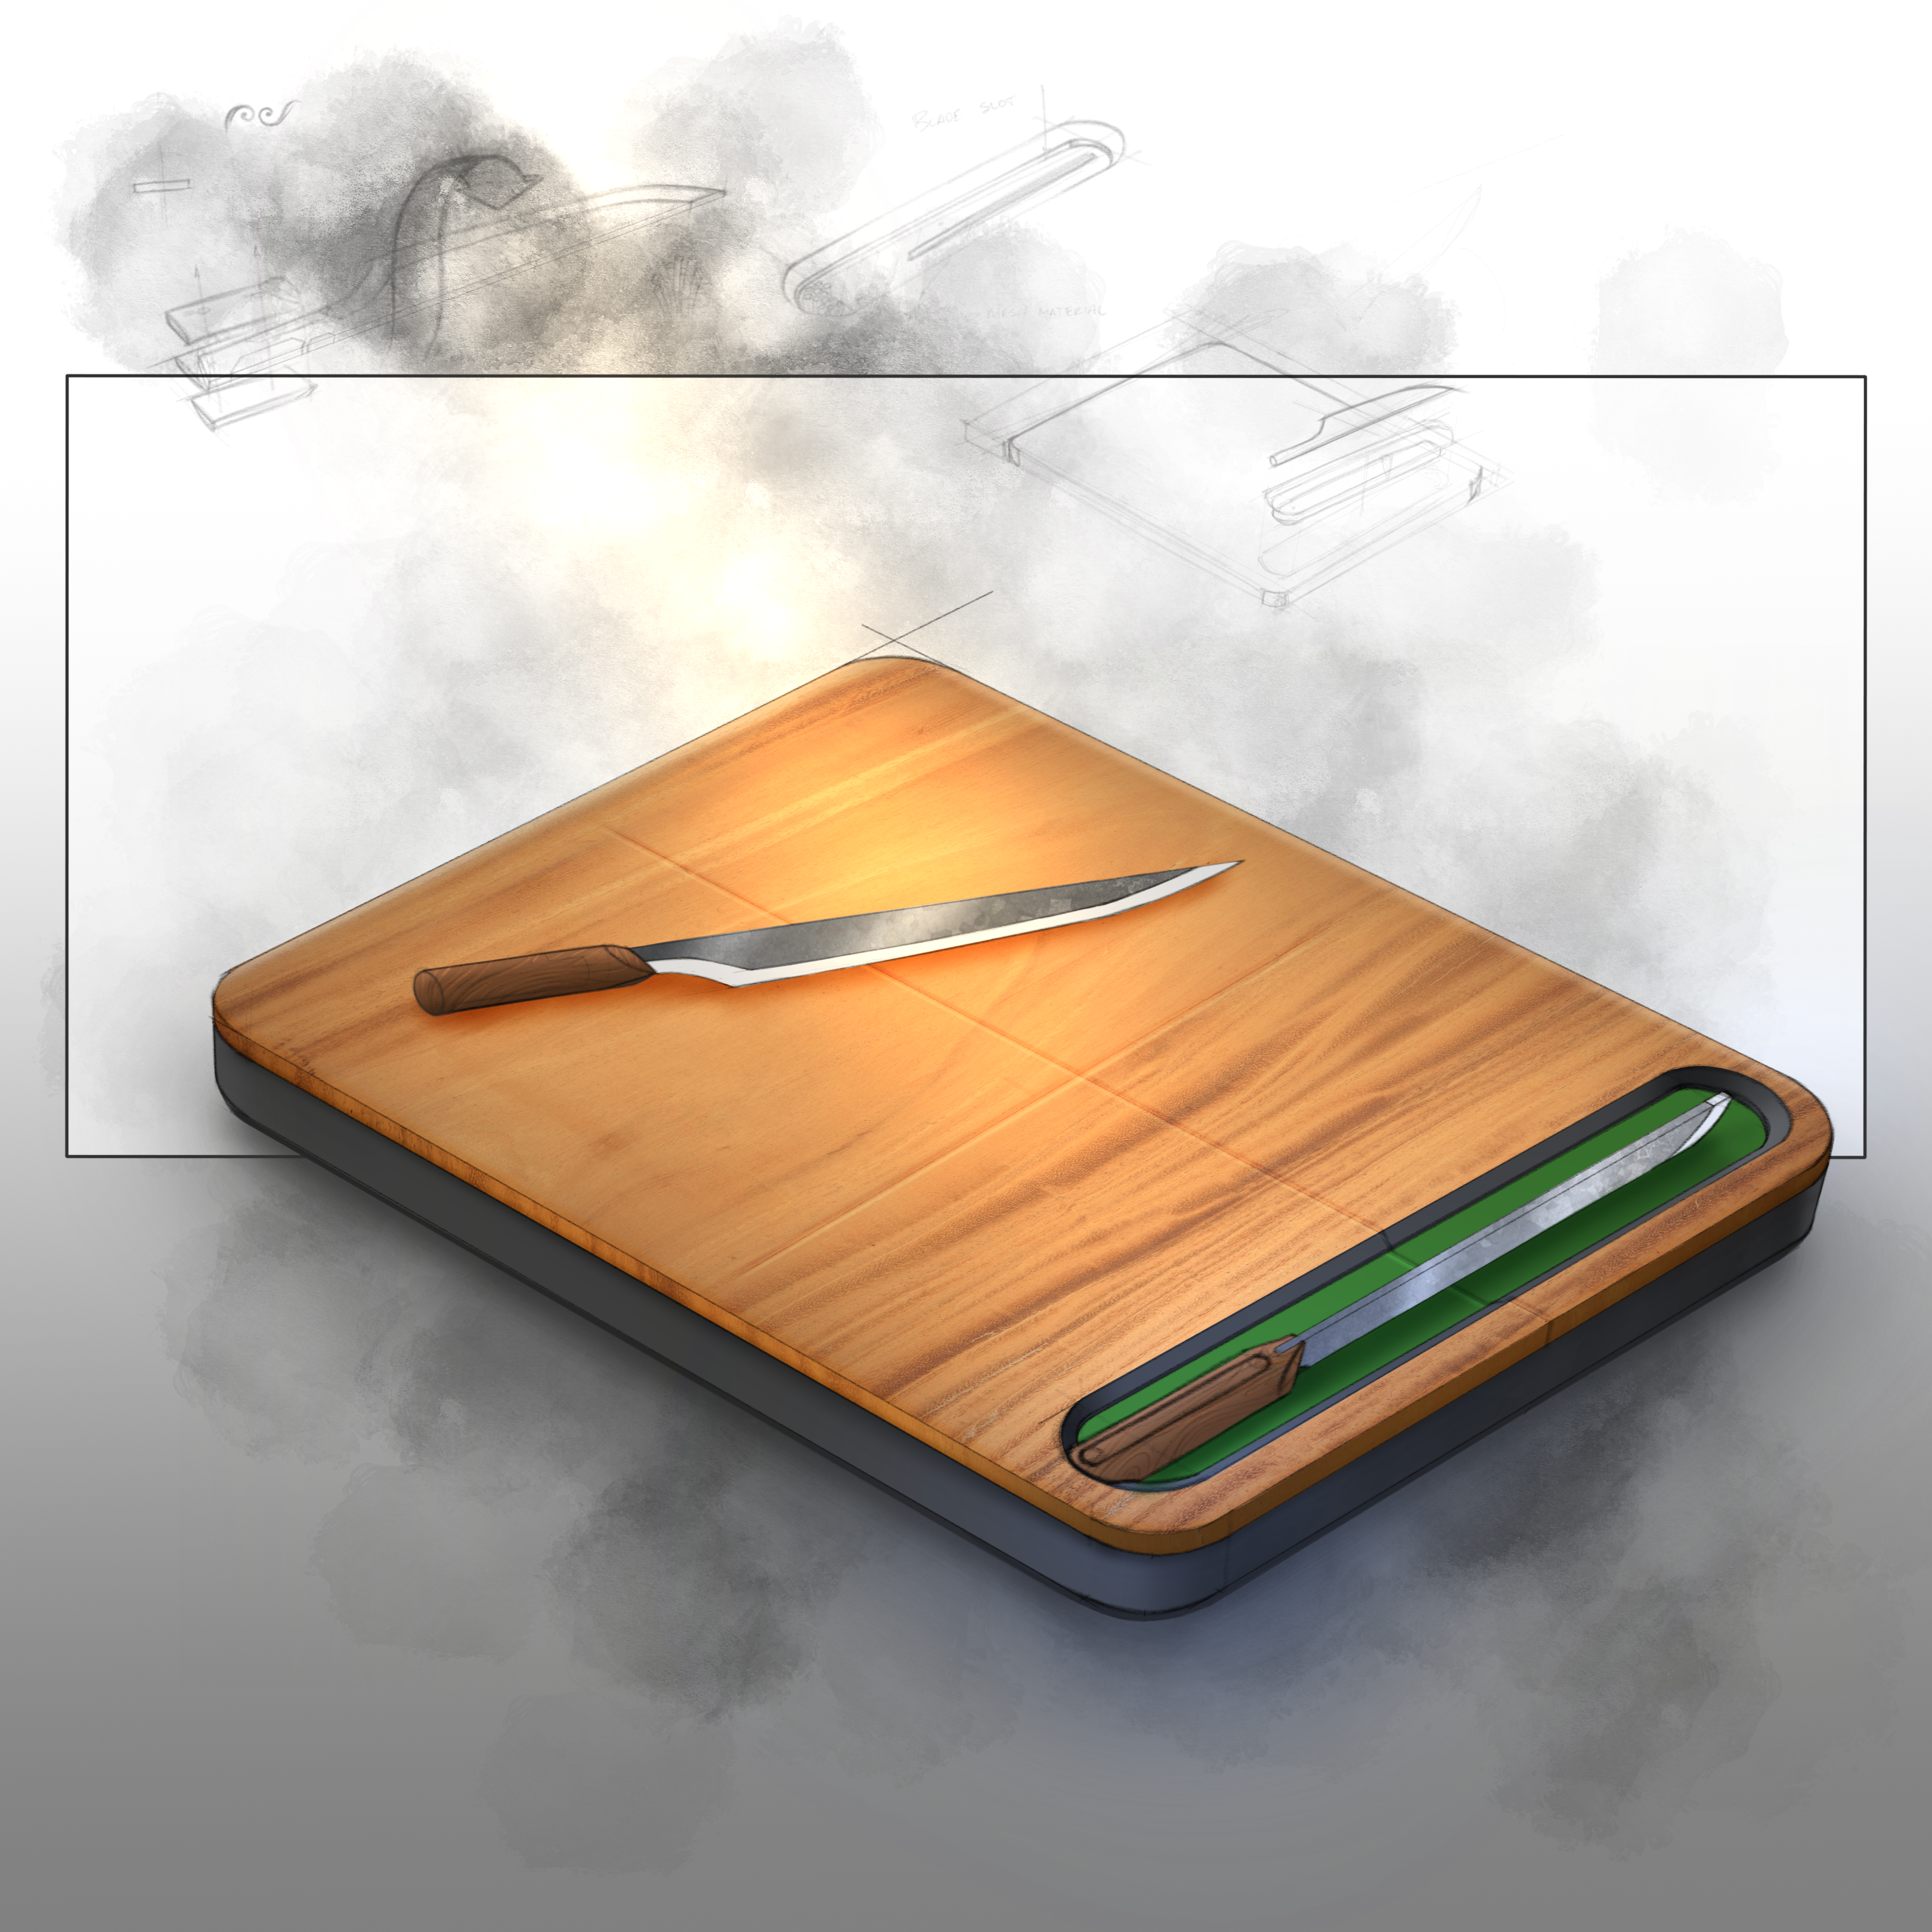
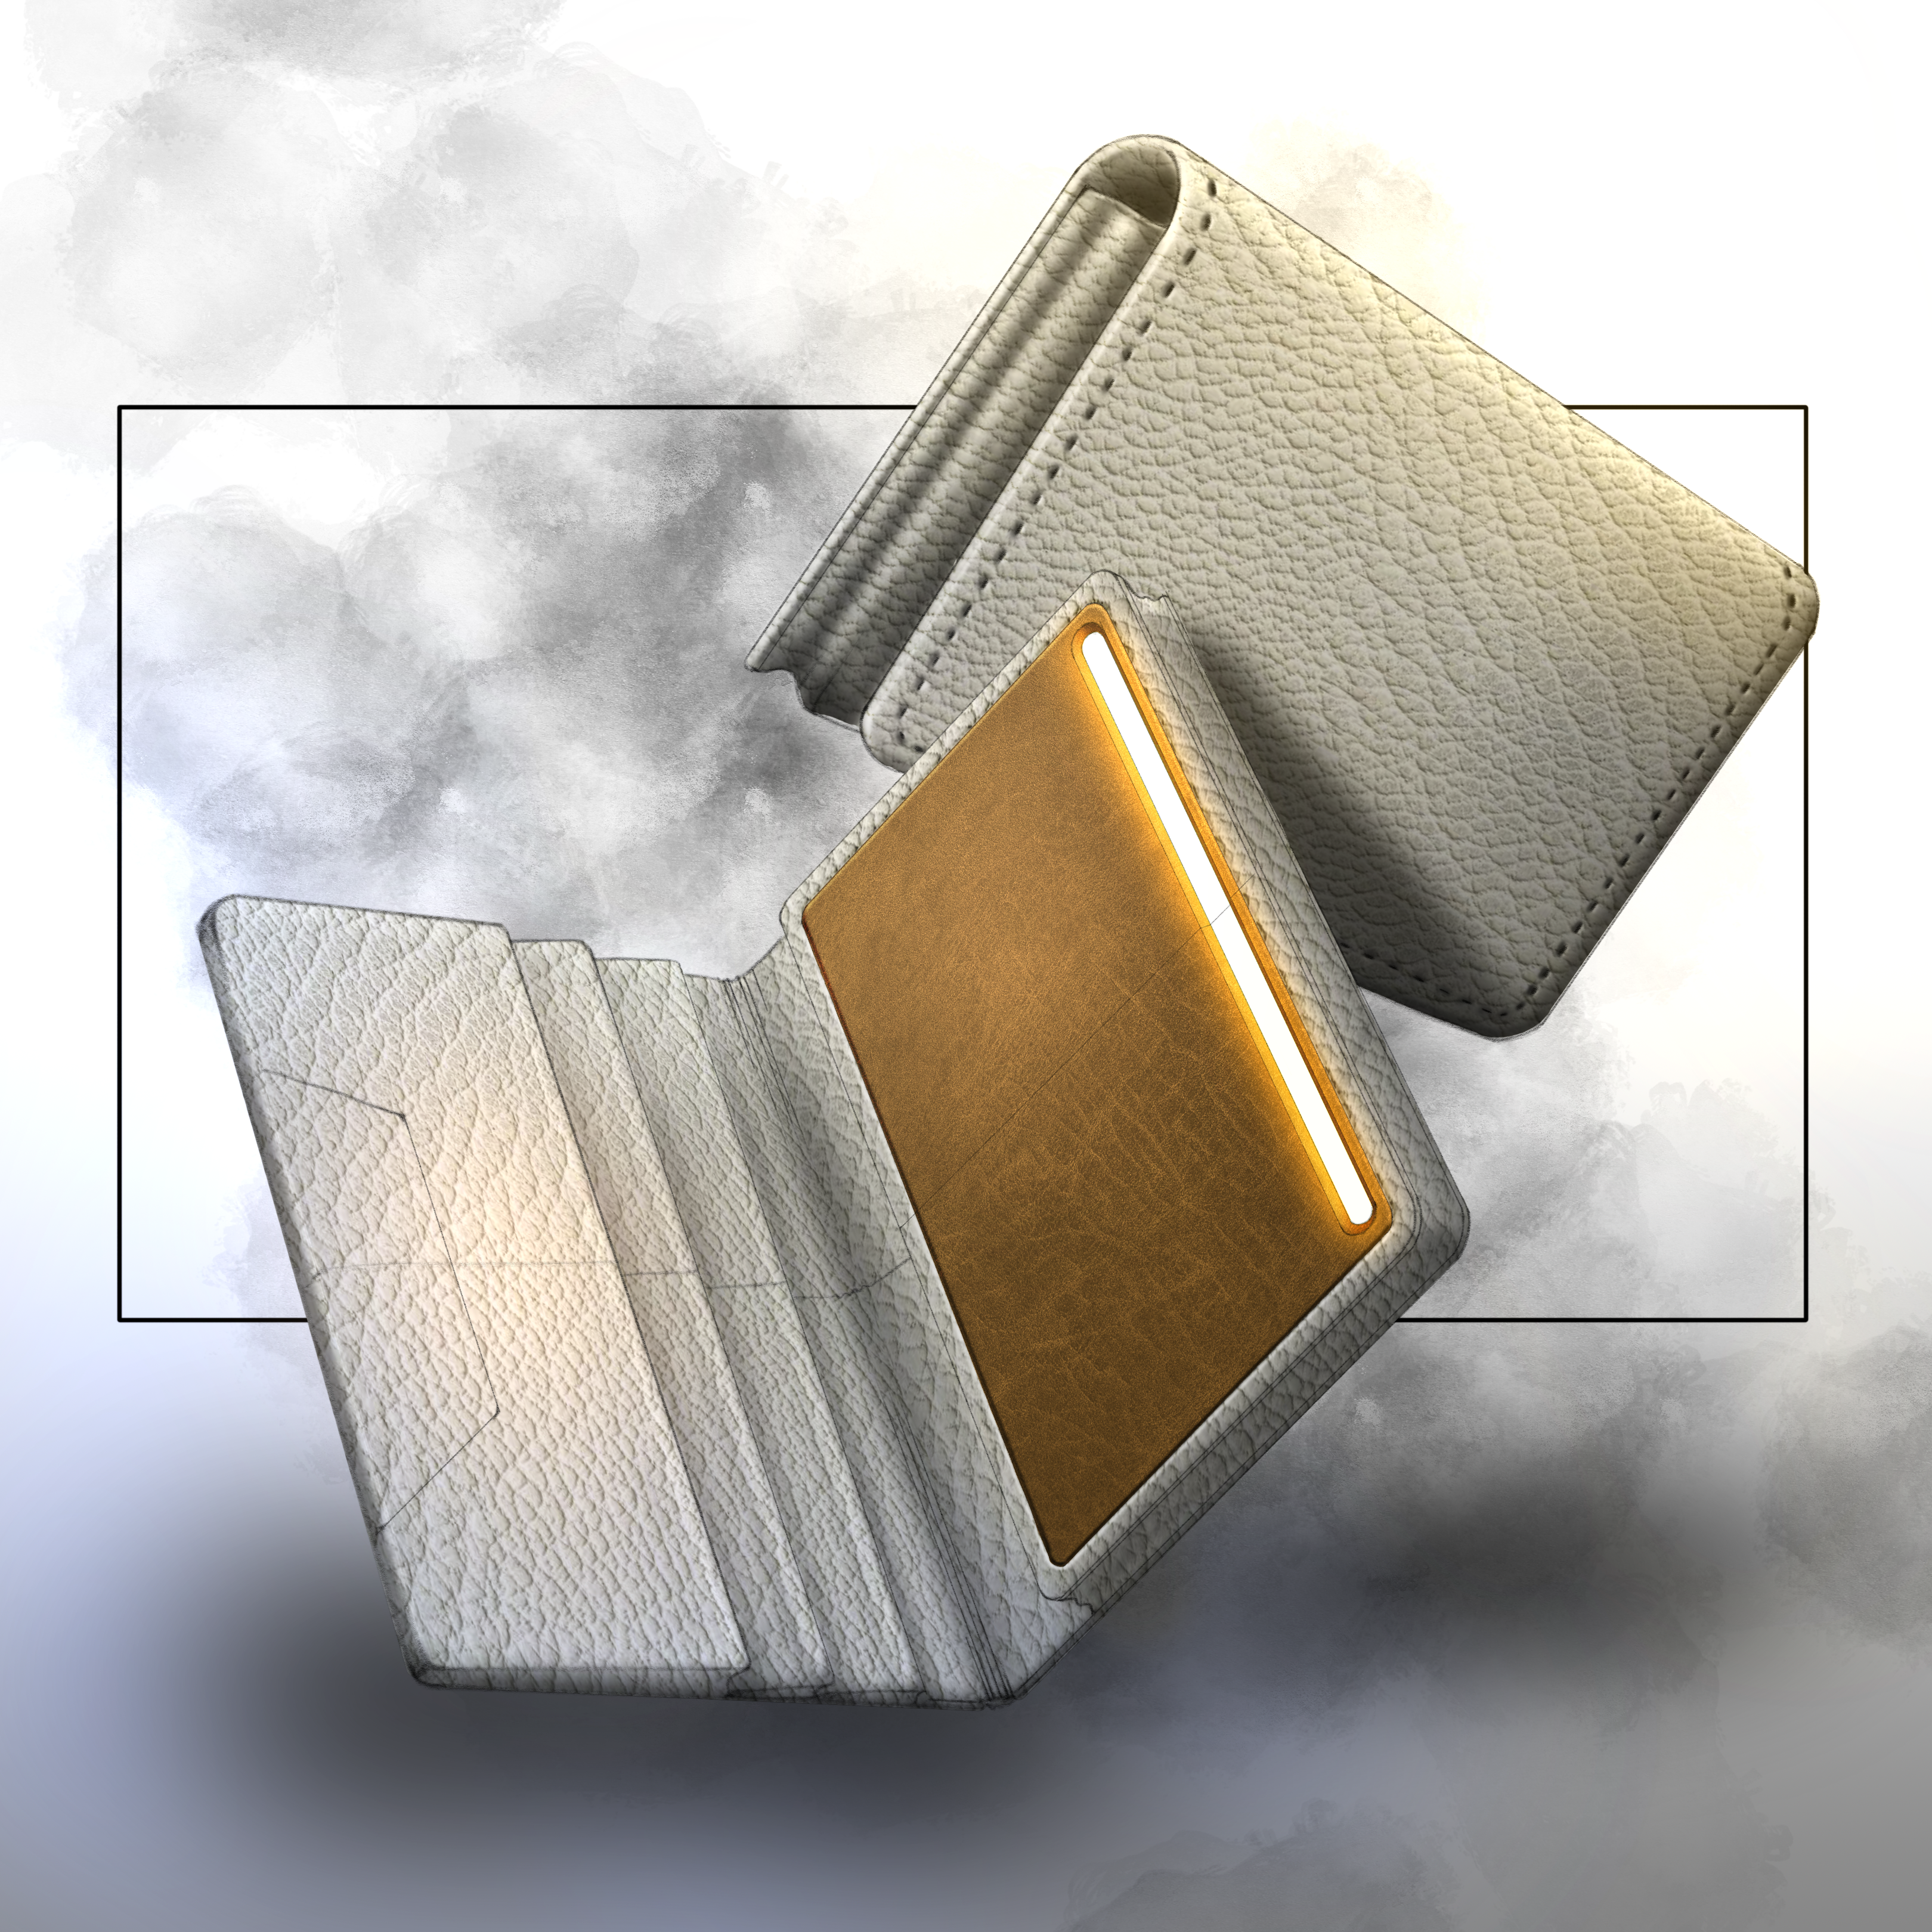
Sketching lets designers visually explore new ideas, concepts and iterations. To develop this skill, a weekly sketchbook was used to record different perspectives and rendering studies; some notable extracts are recorded below

HARDWARE + SOFTWARE
A DIGITAL WORKFLOW
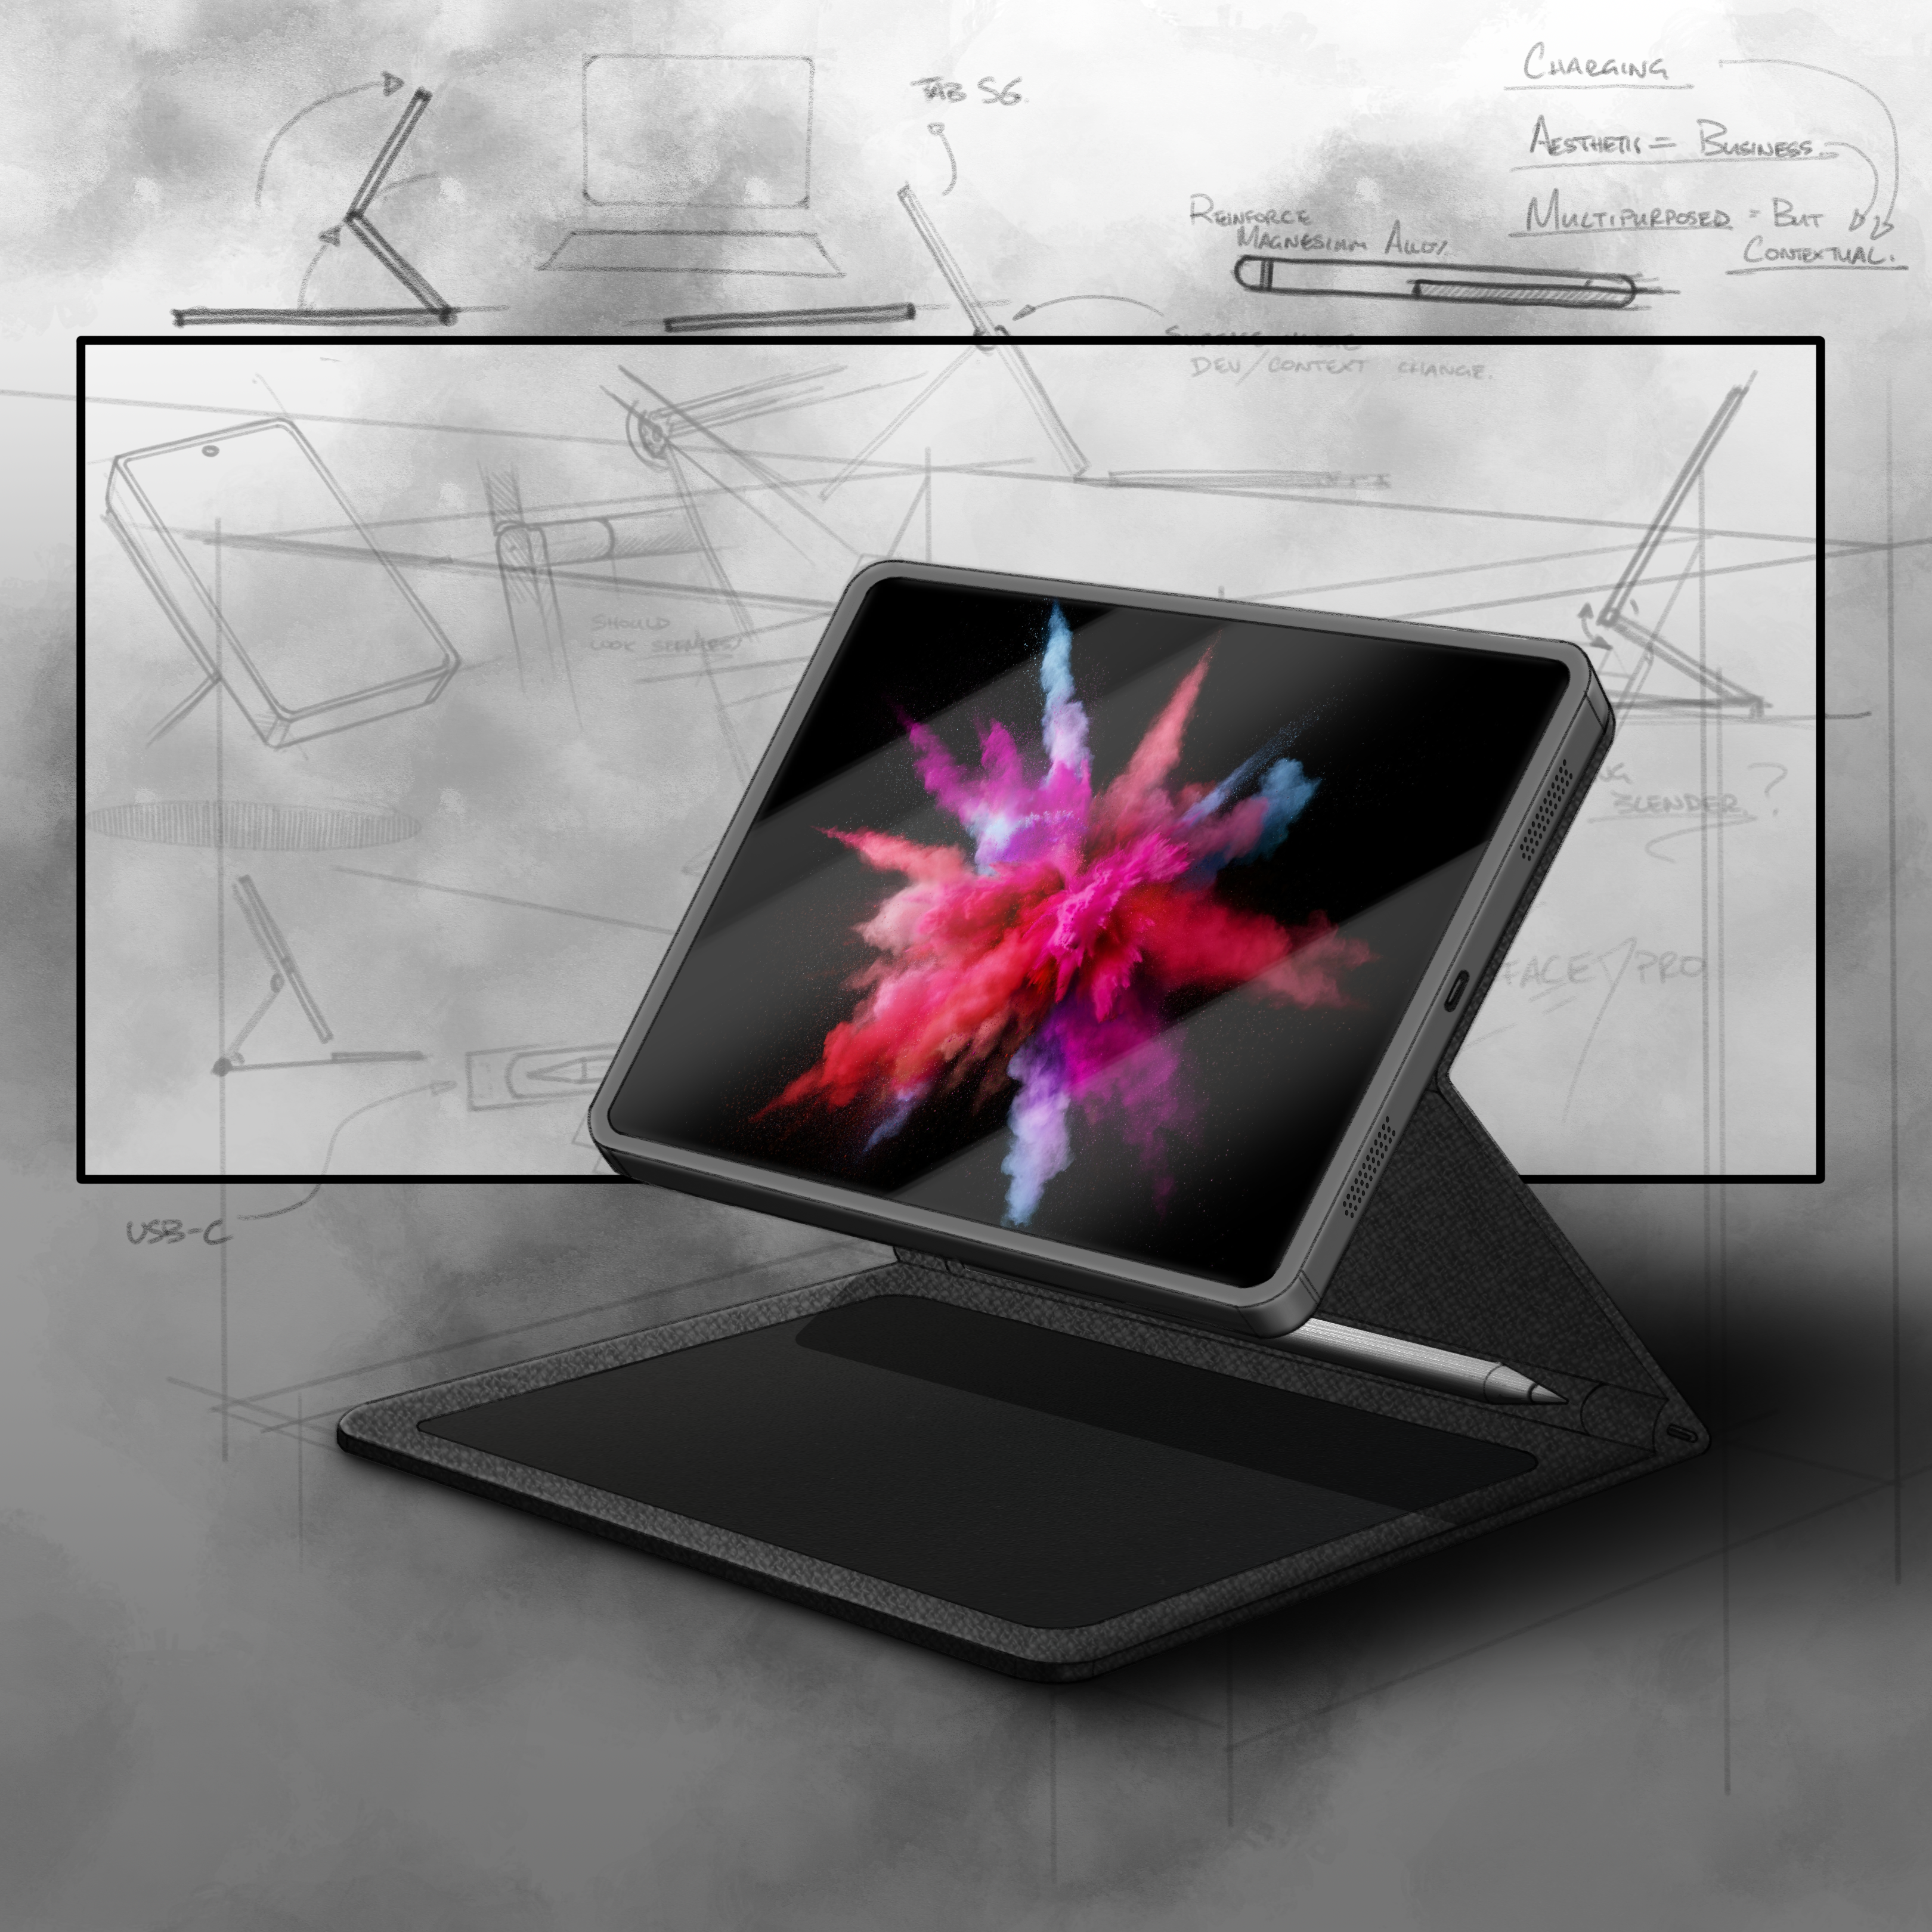
Samsung's Galaxy Tab S7 was used to create these sketches, alongside the Concepts app for linework. Autodesk Sketchbook was used to apply materials and lighting, following a final round of post-processing in Photoshop.

BEHIND EVERY SKETCH...
RENDERING PROCESS
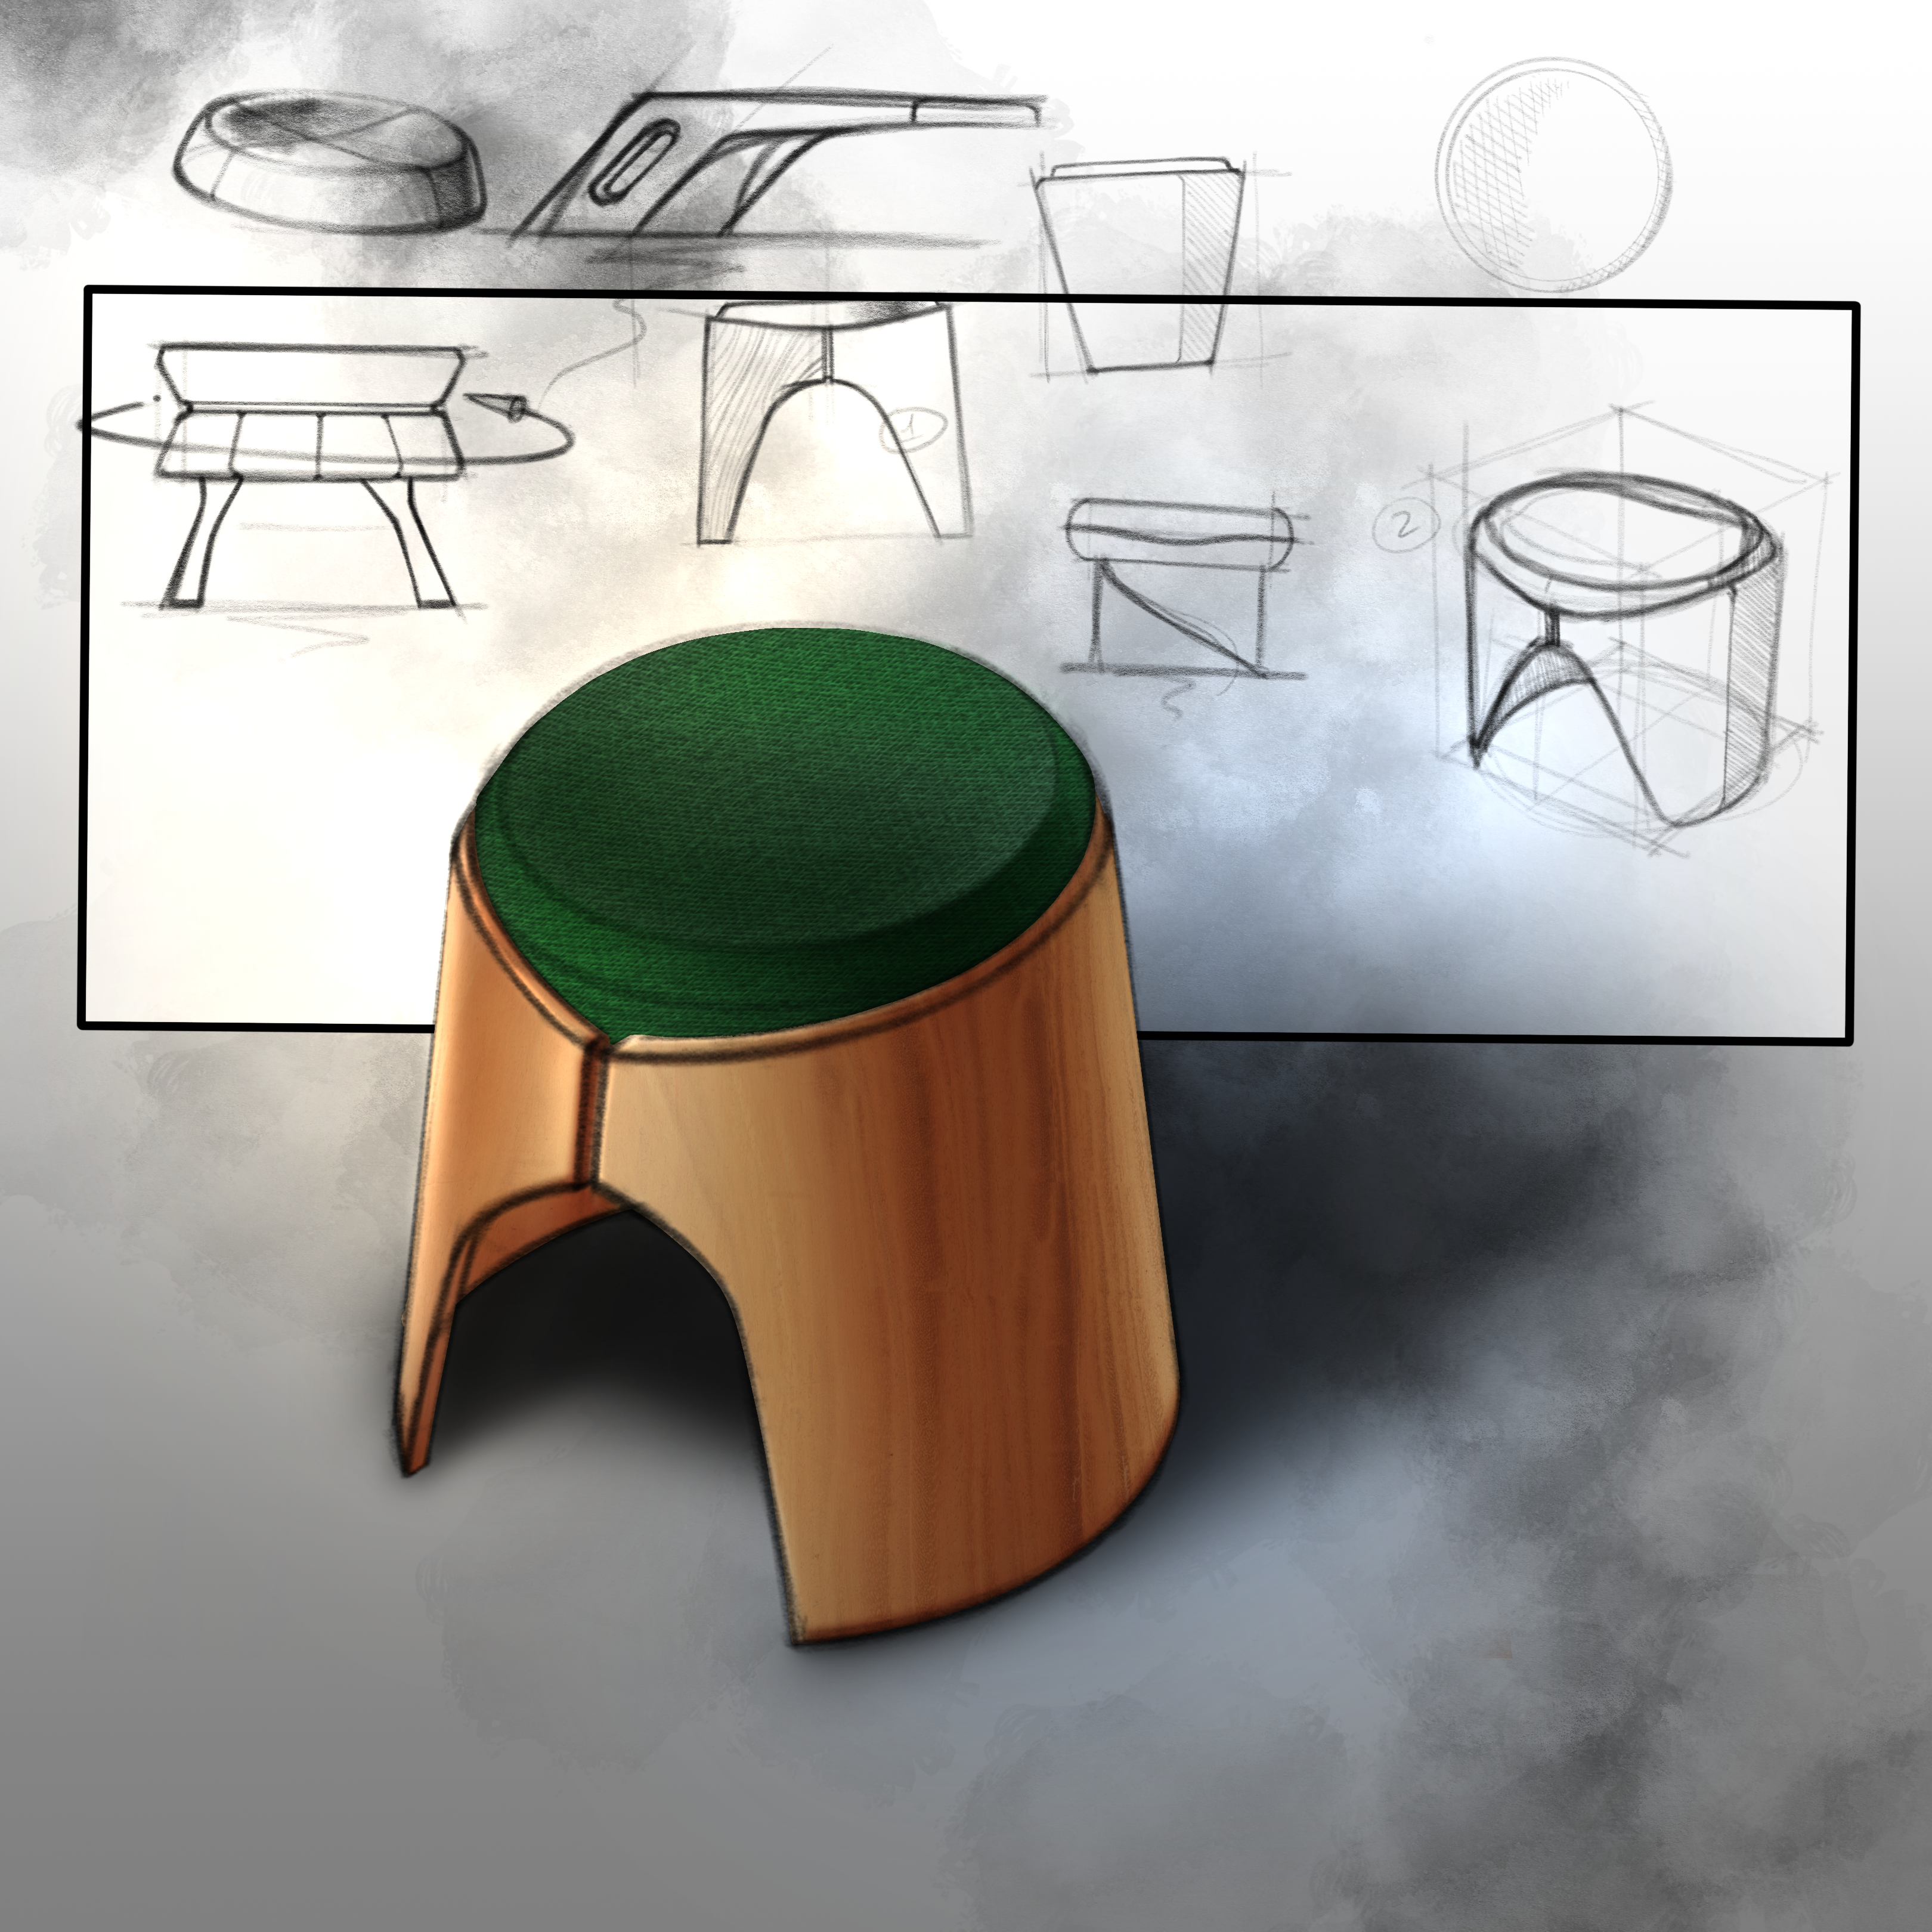
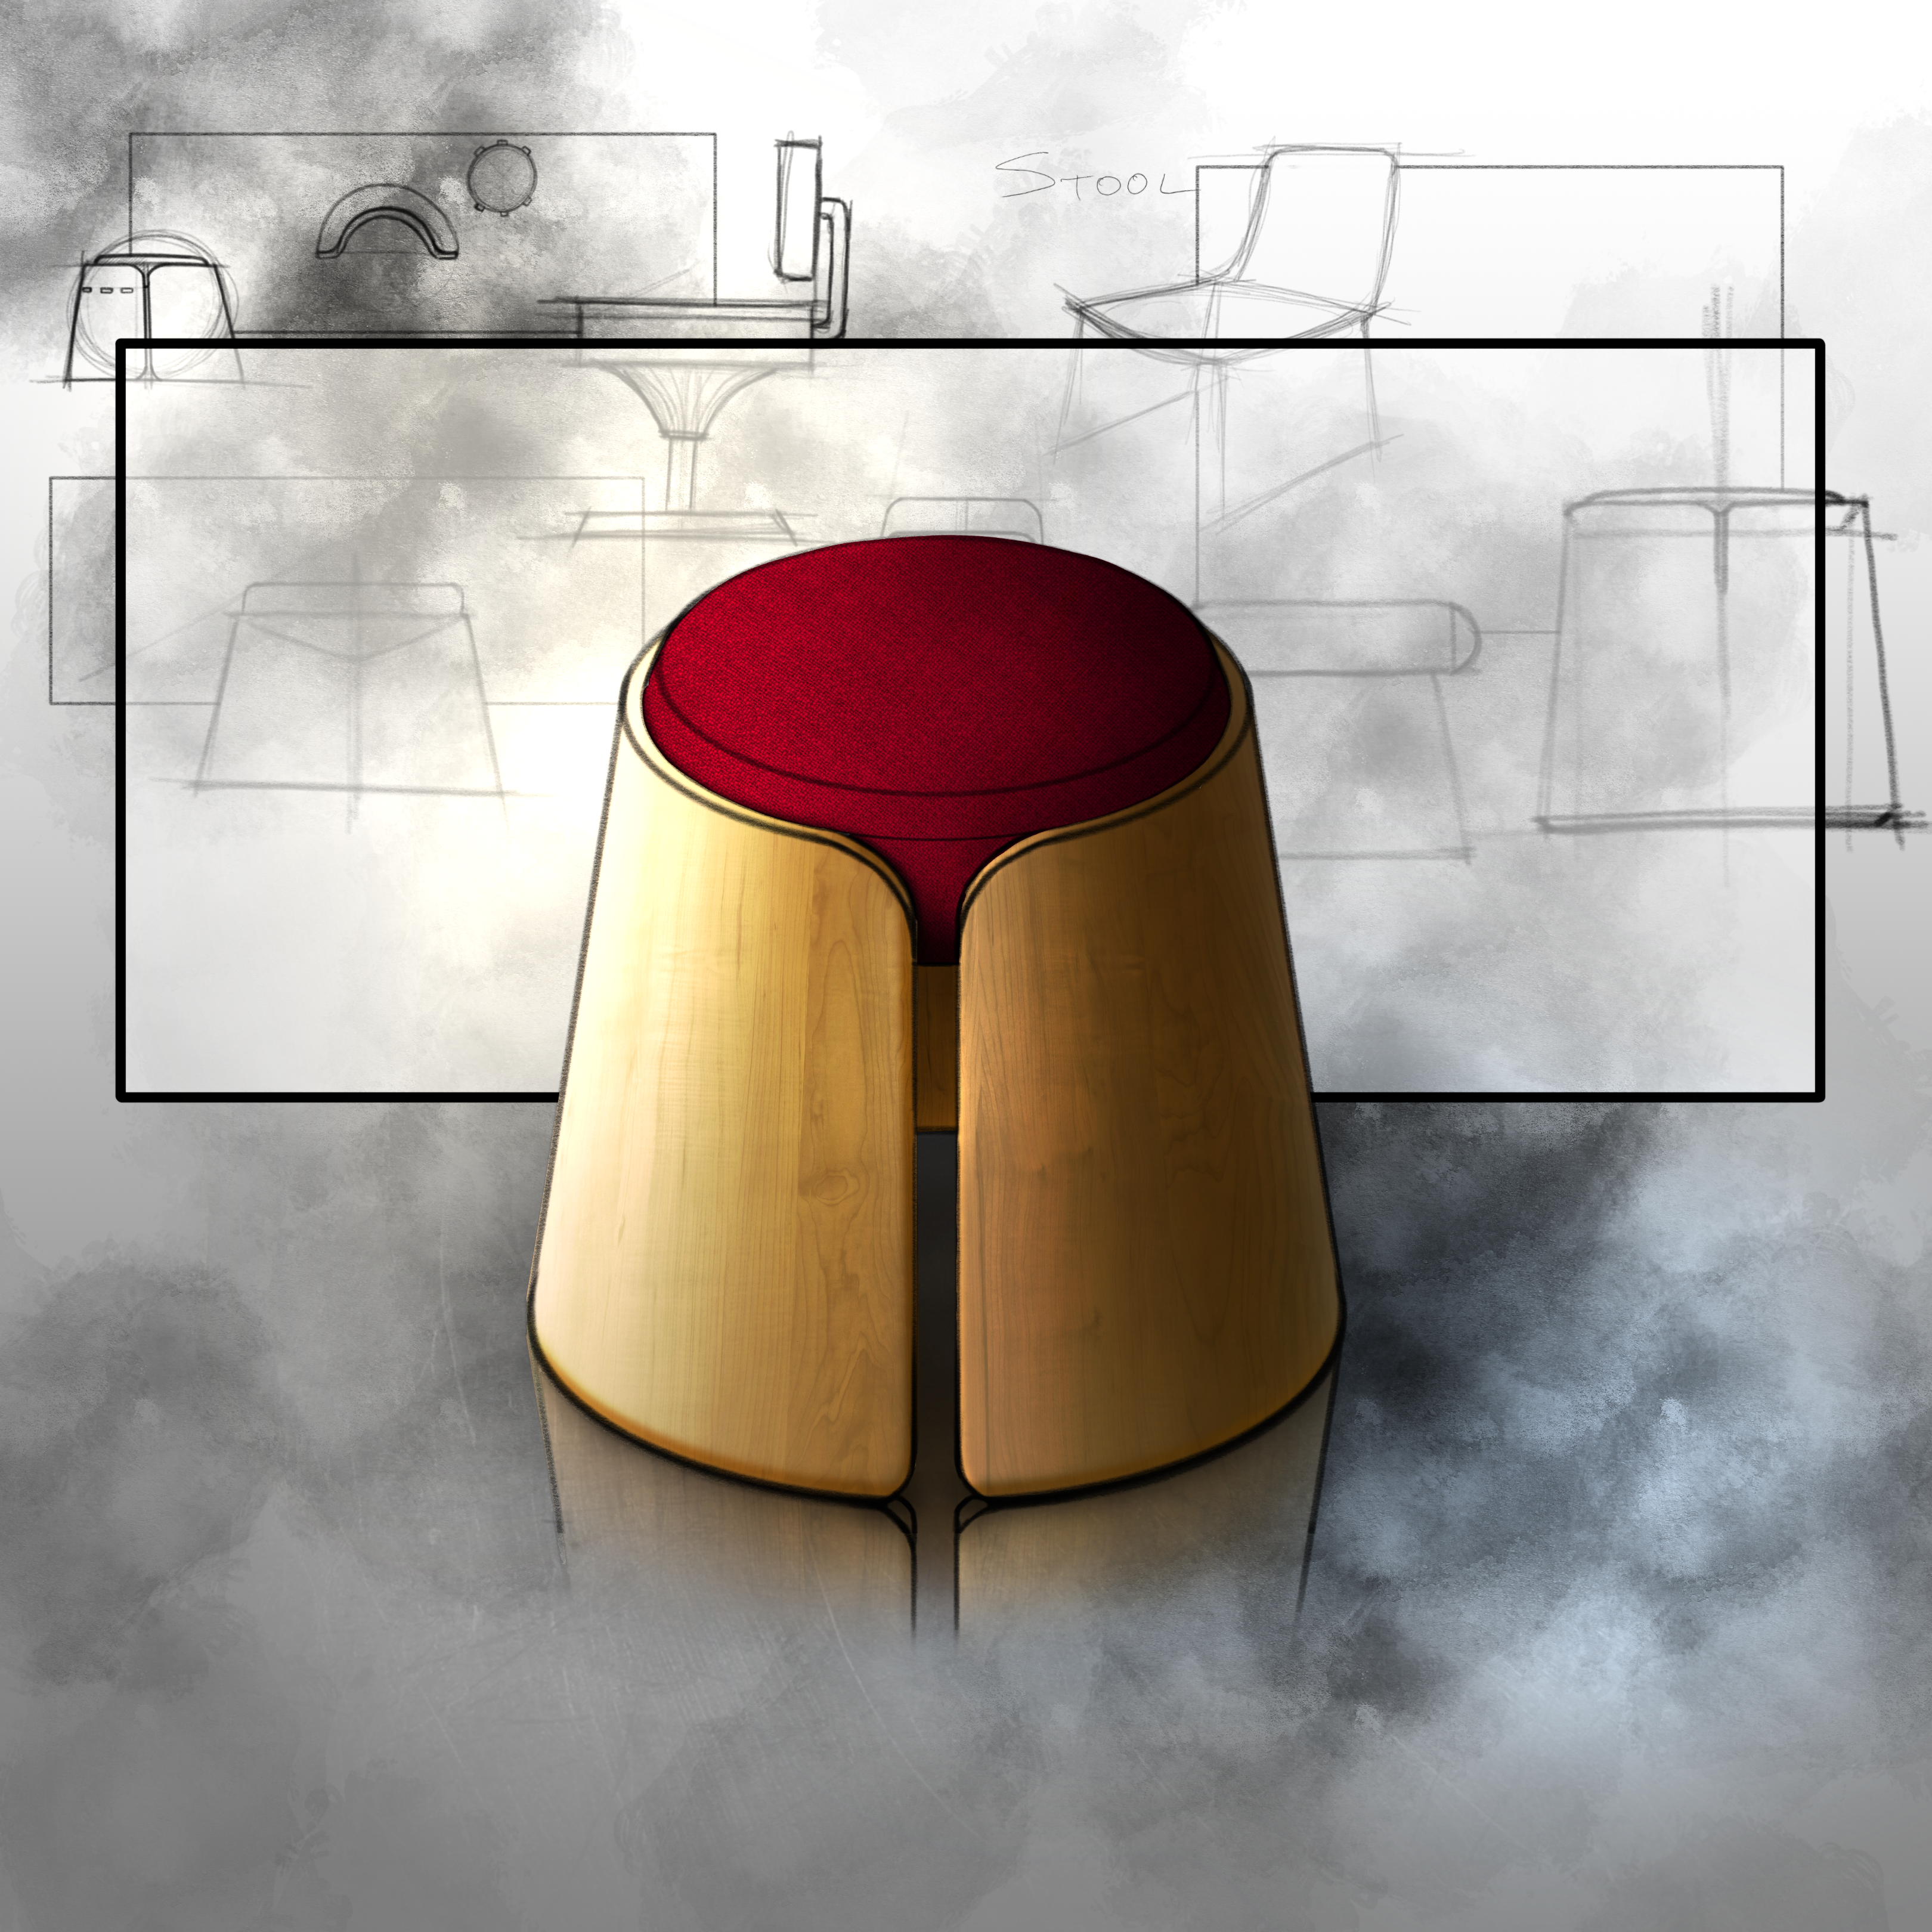
My study consists of generating multiple iterations of a concept focusing on details, perspectives and unique shapes. When the intended design has been explored a refined linework sketch is created for rendering. The rendering process is outlined below.
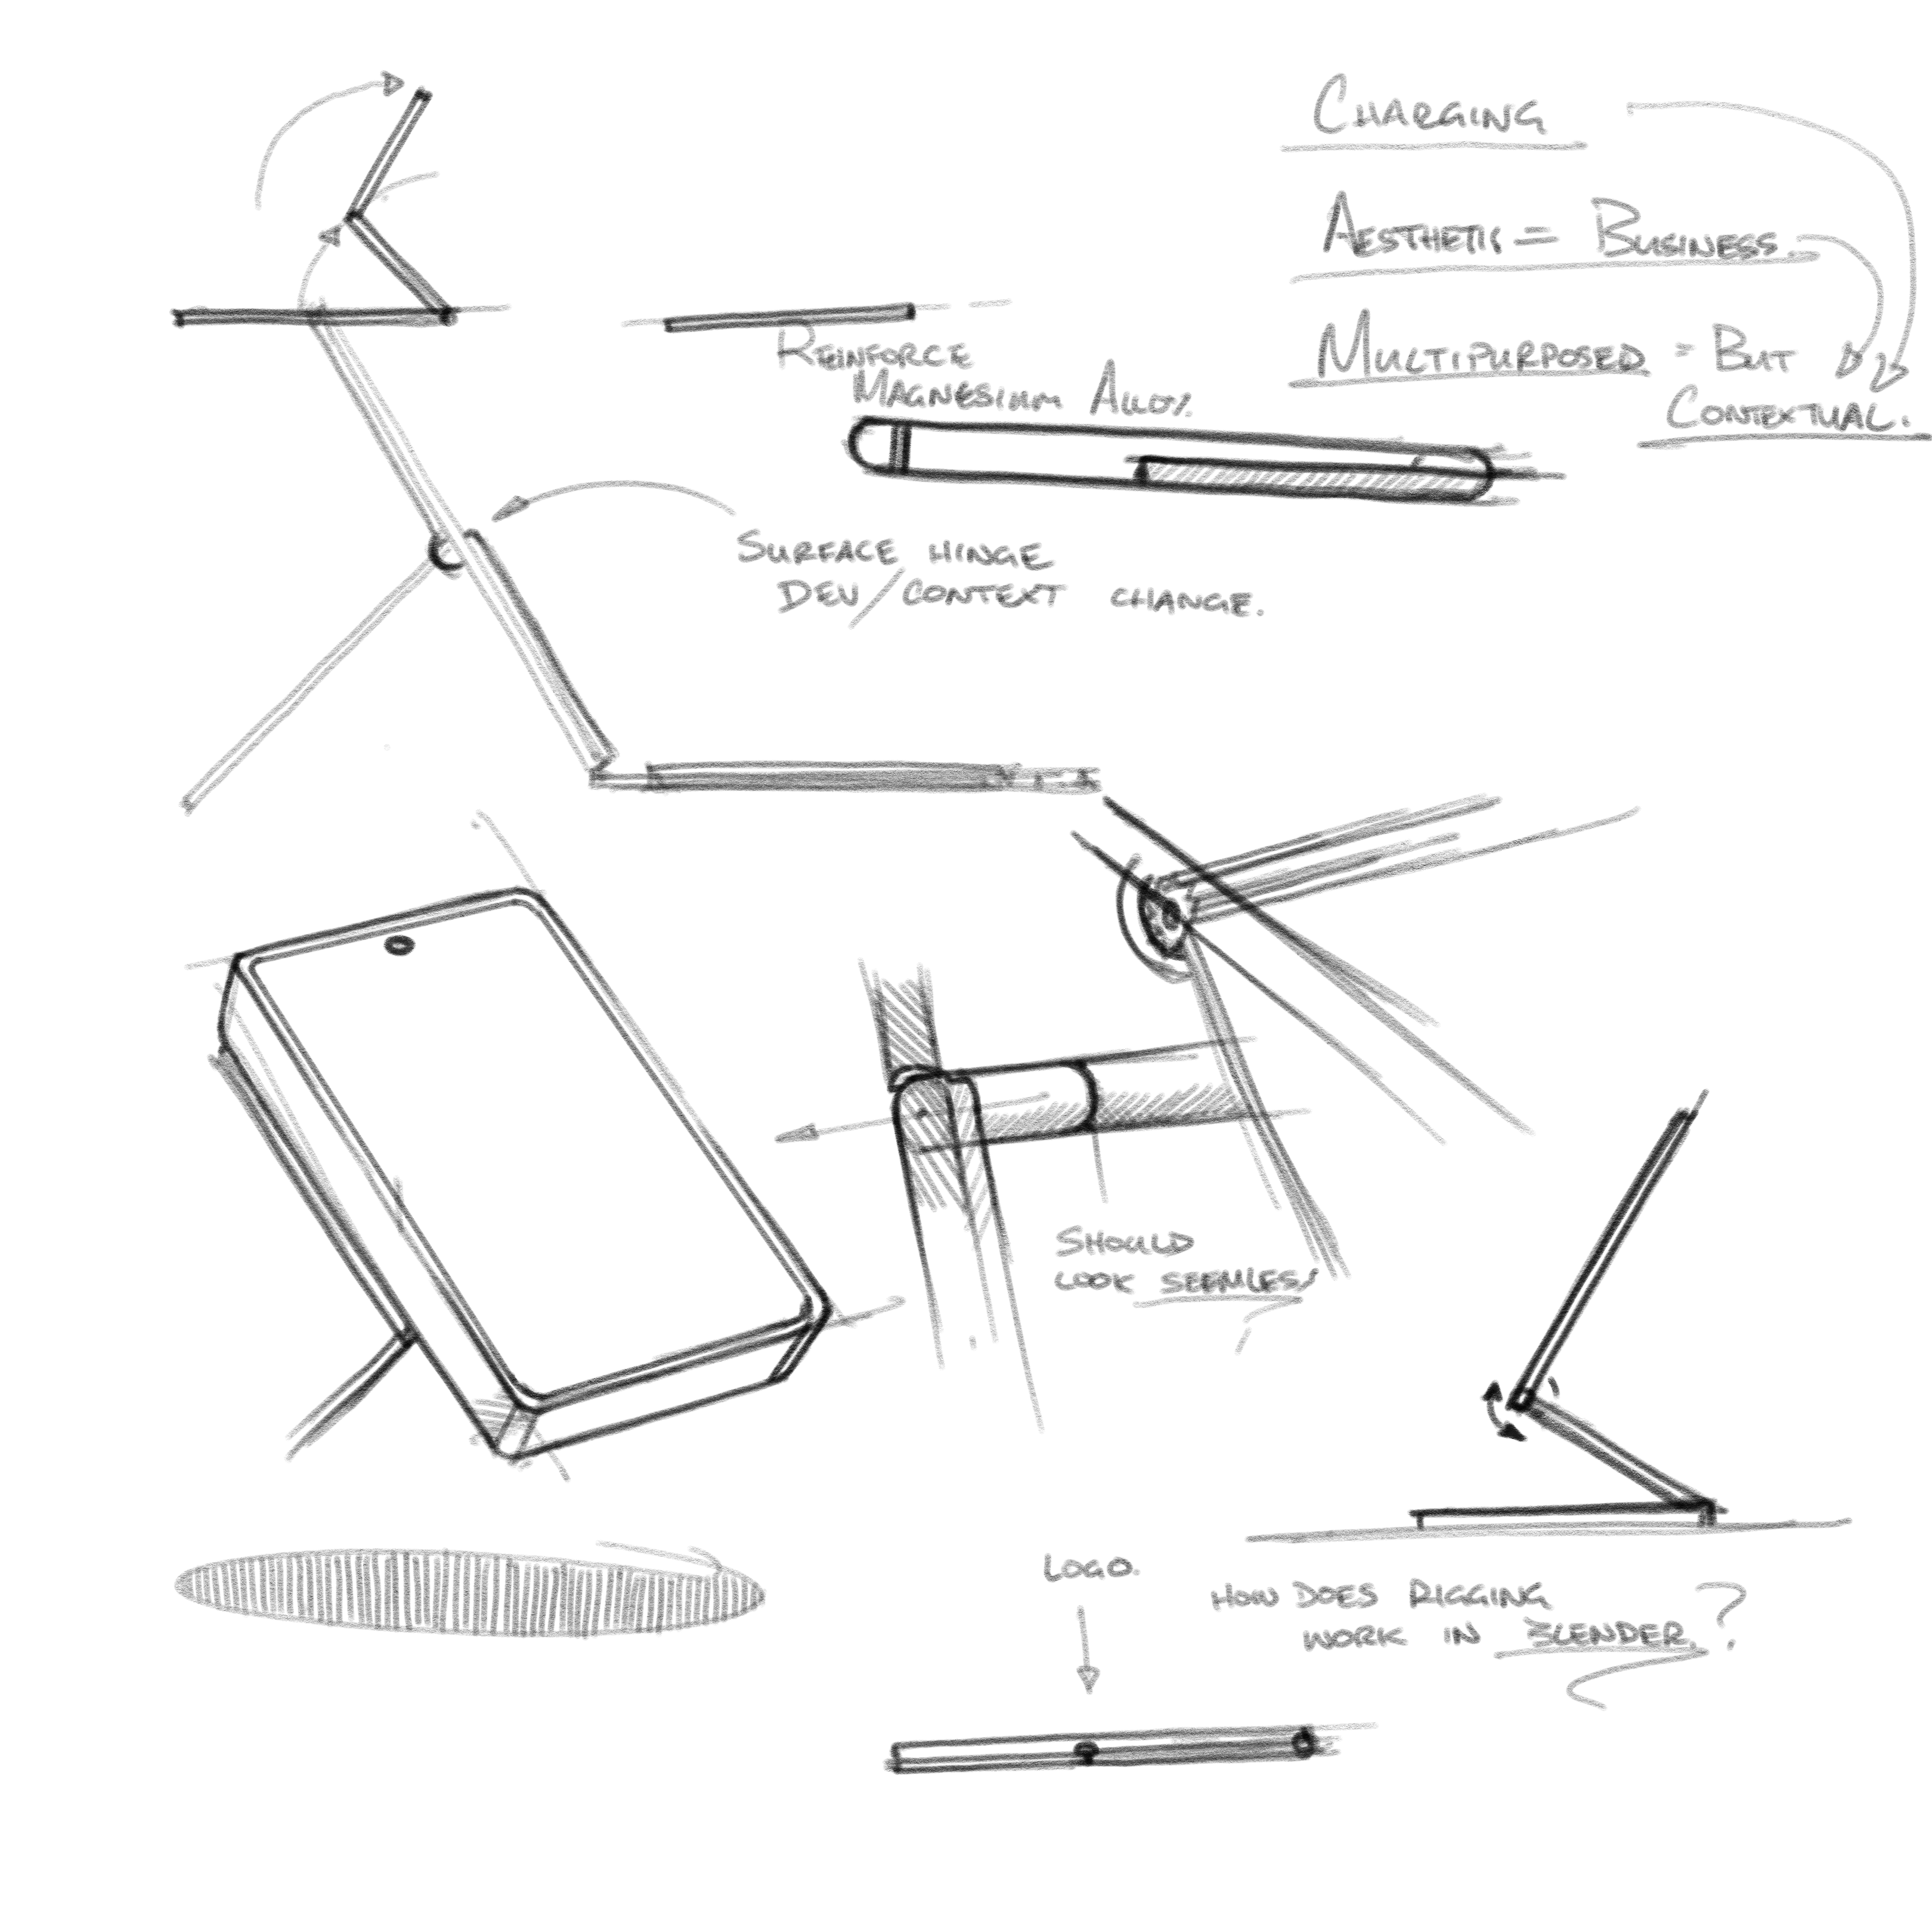
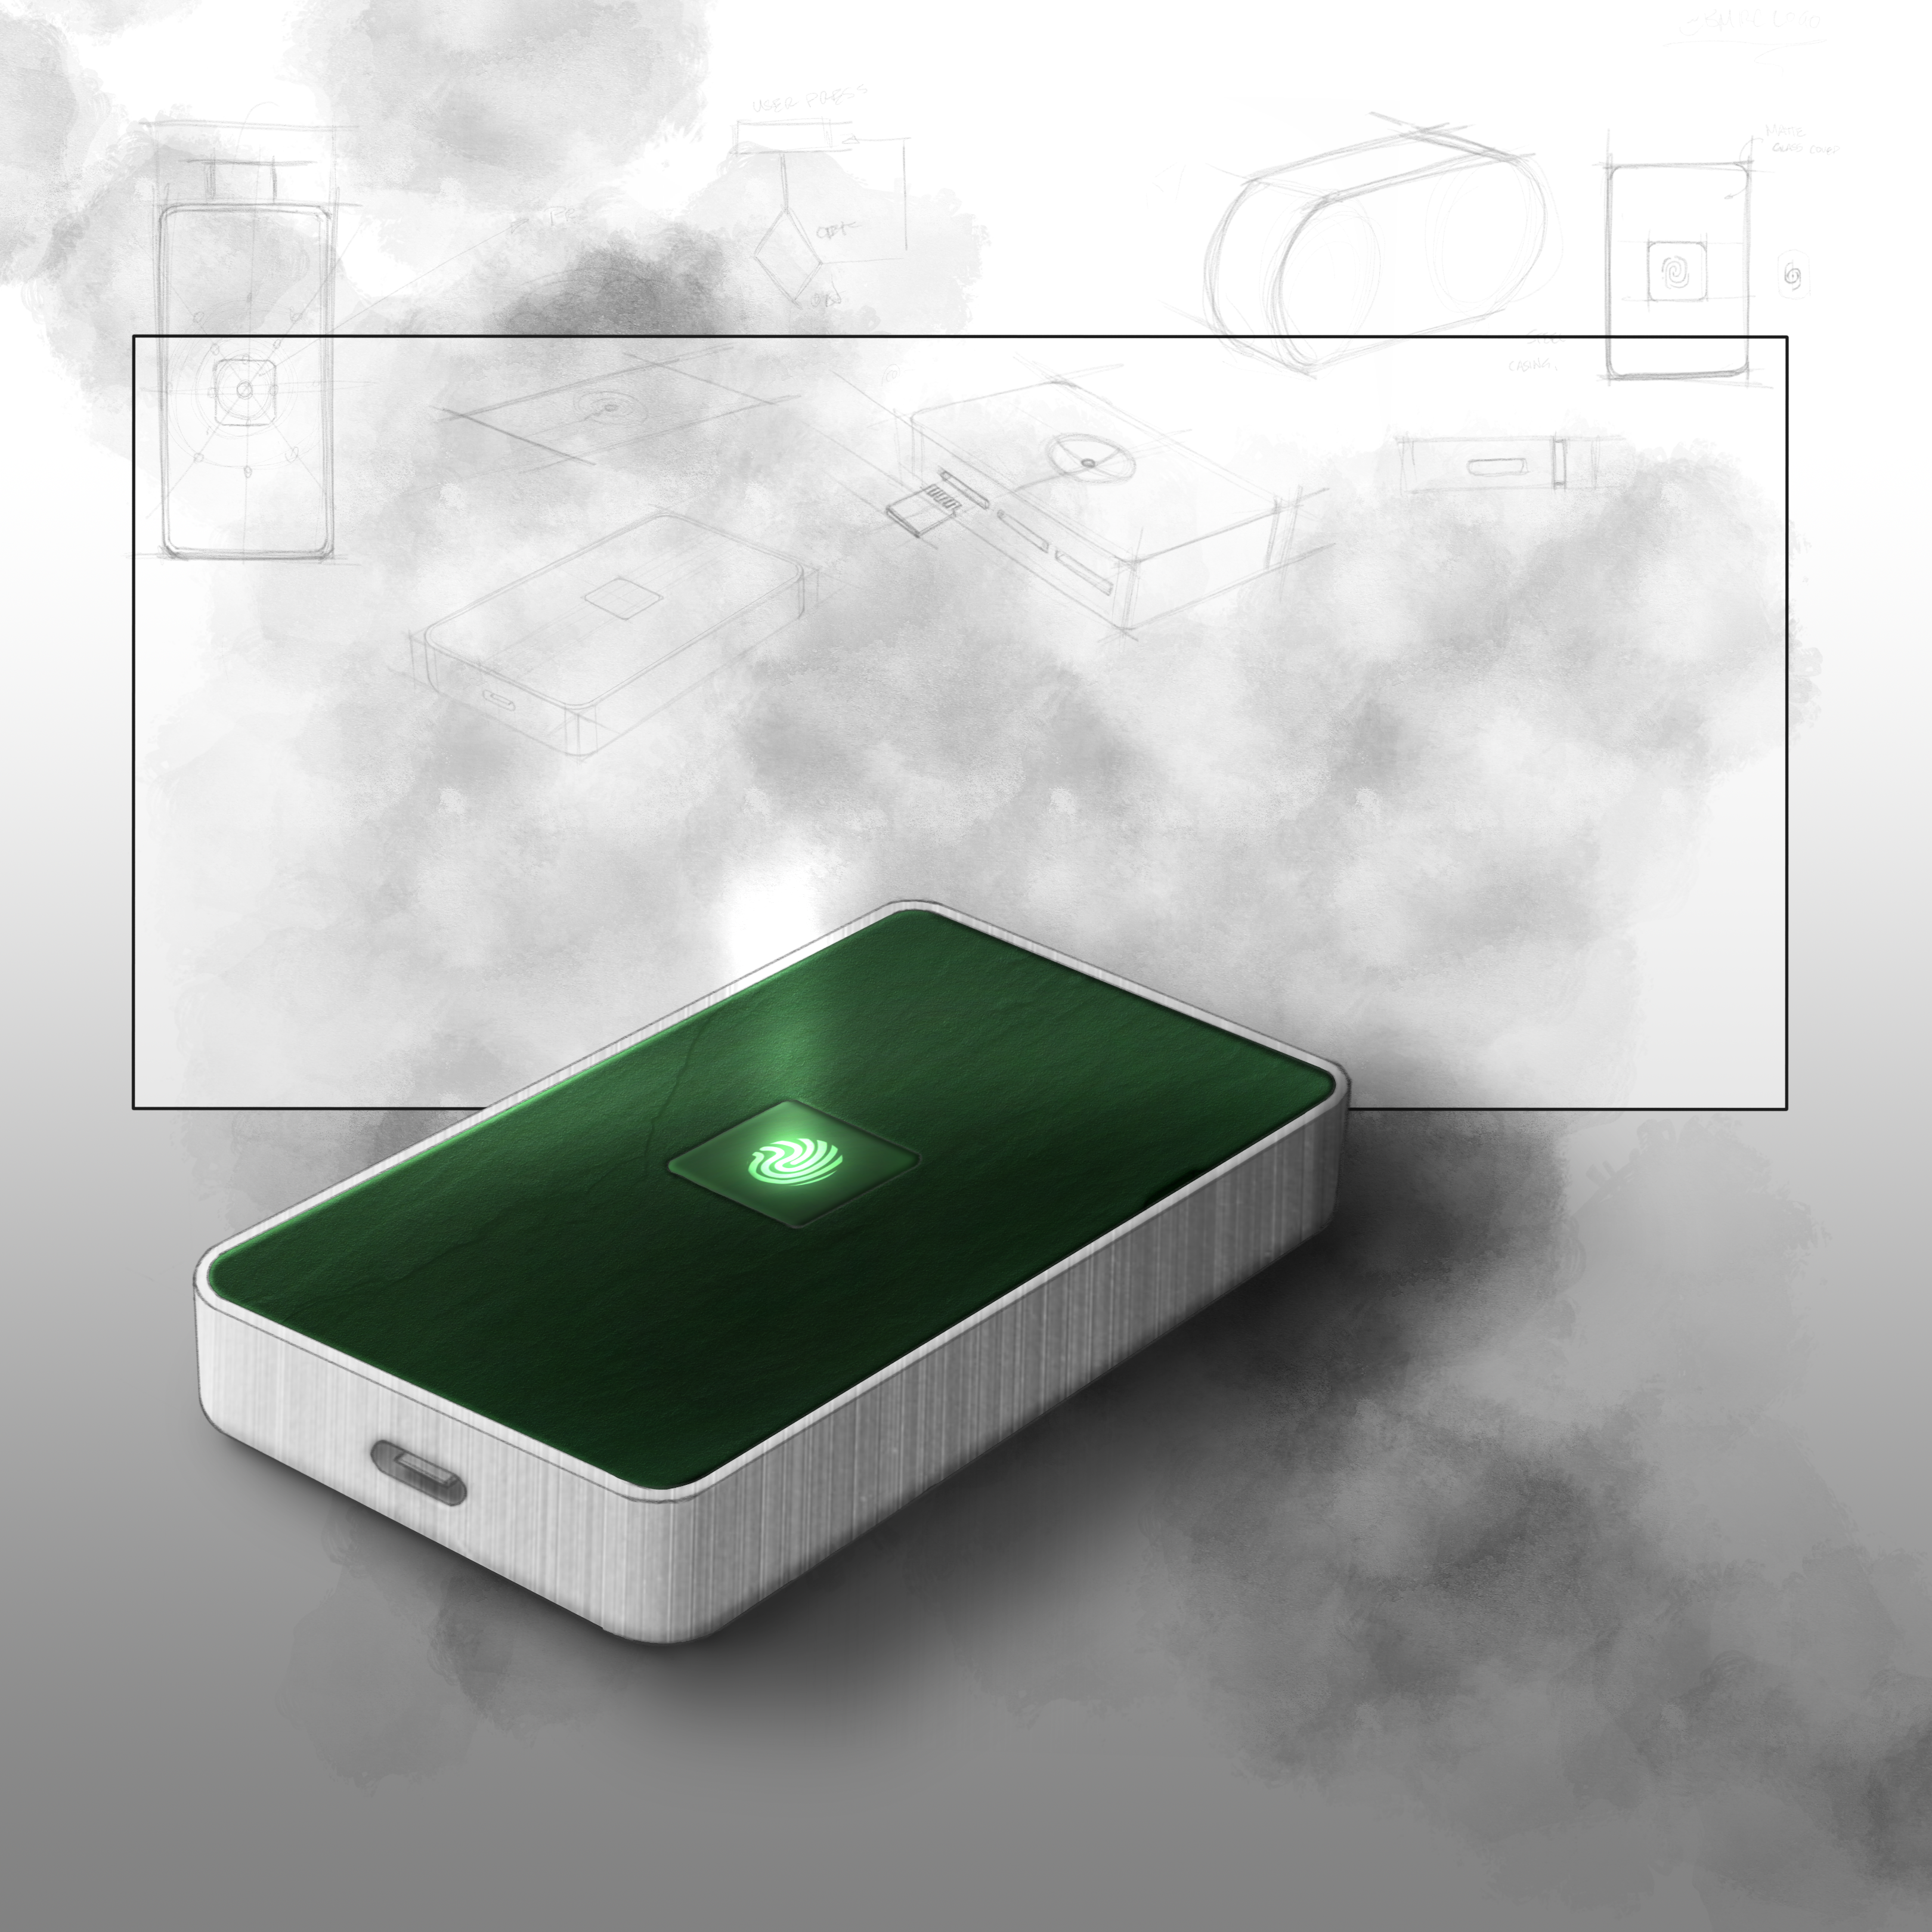
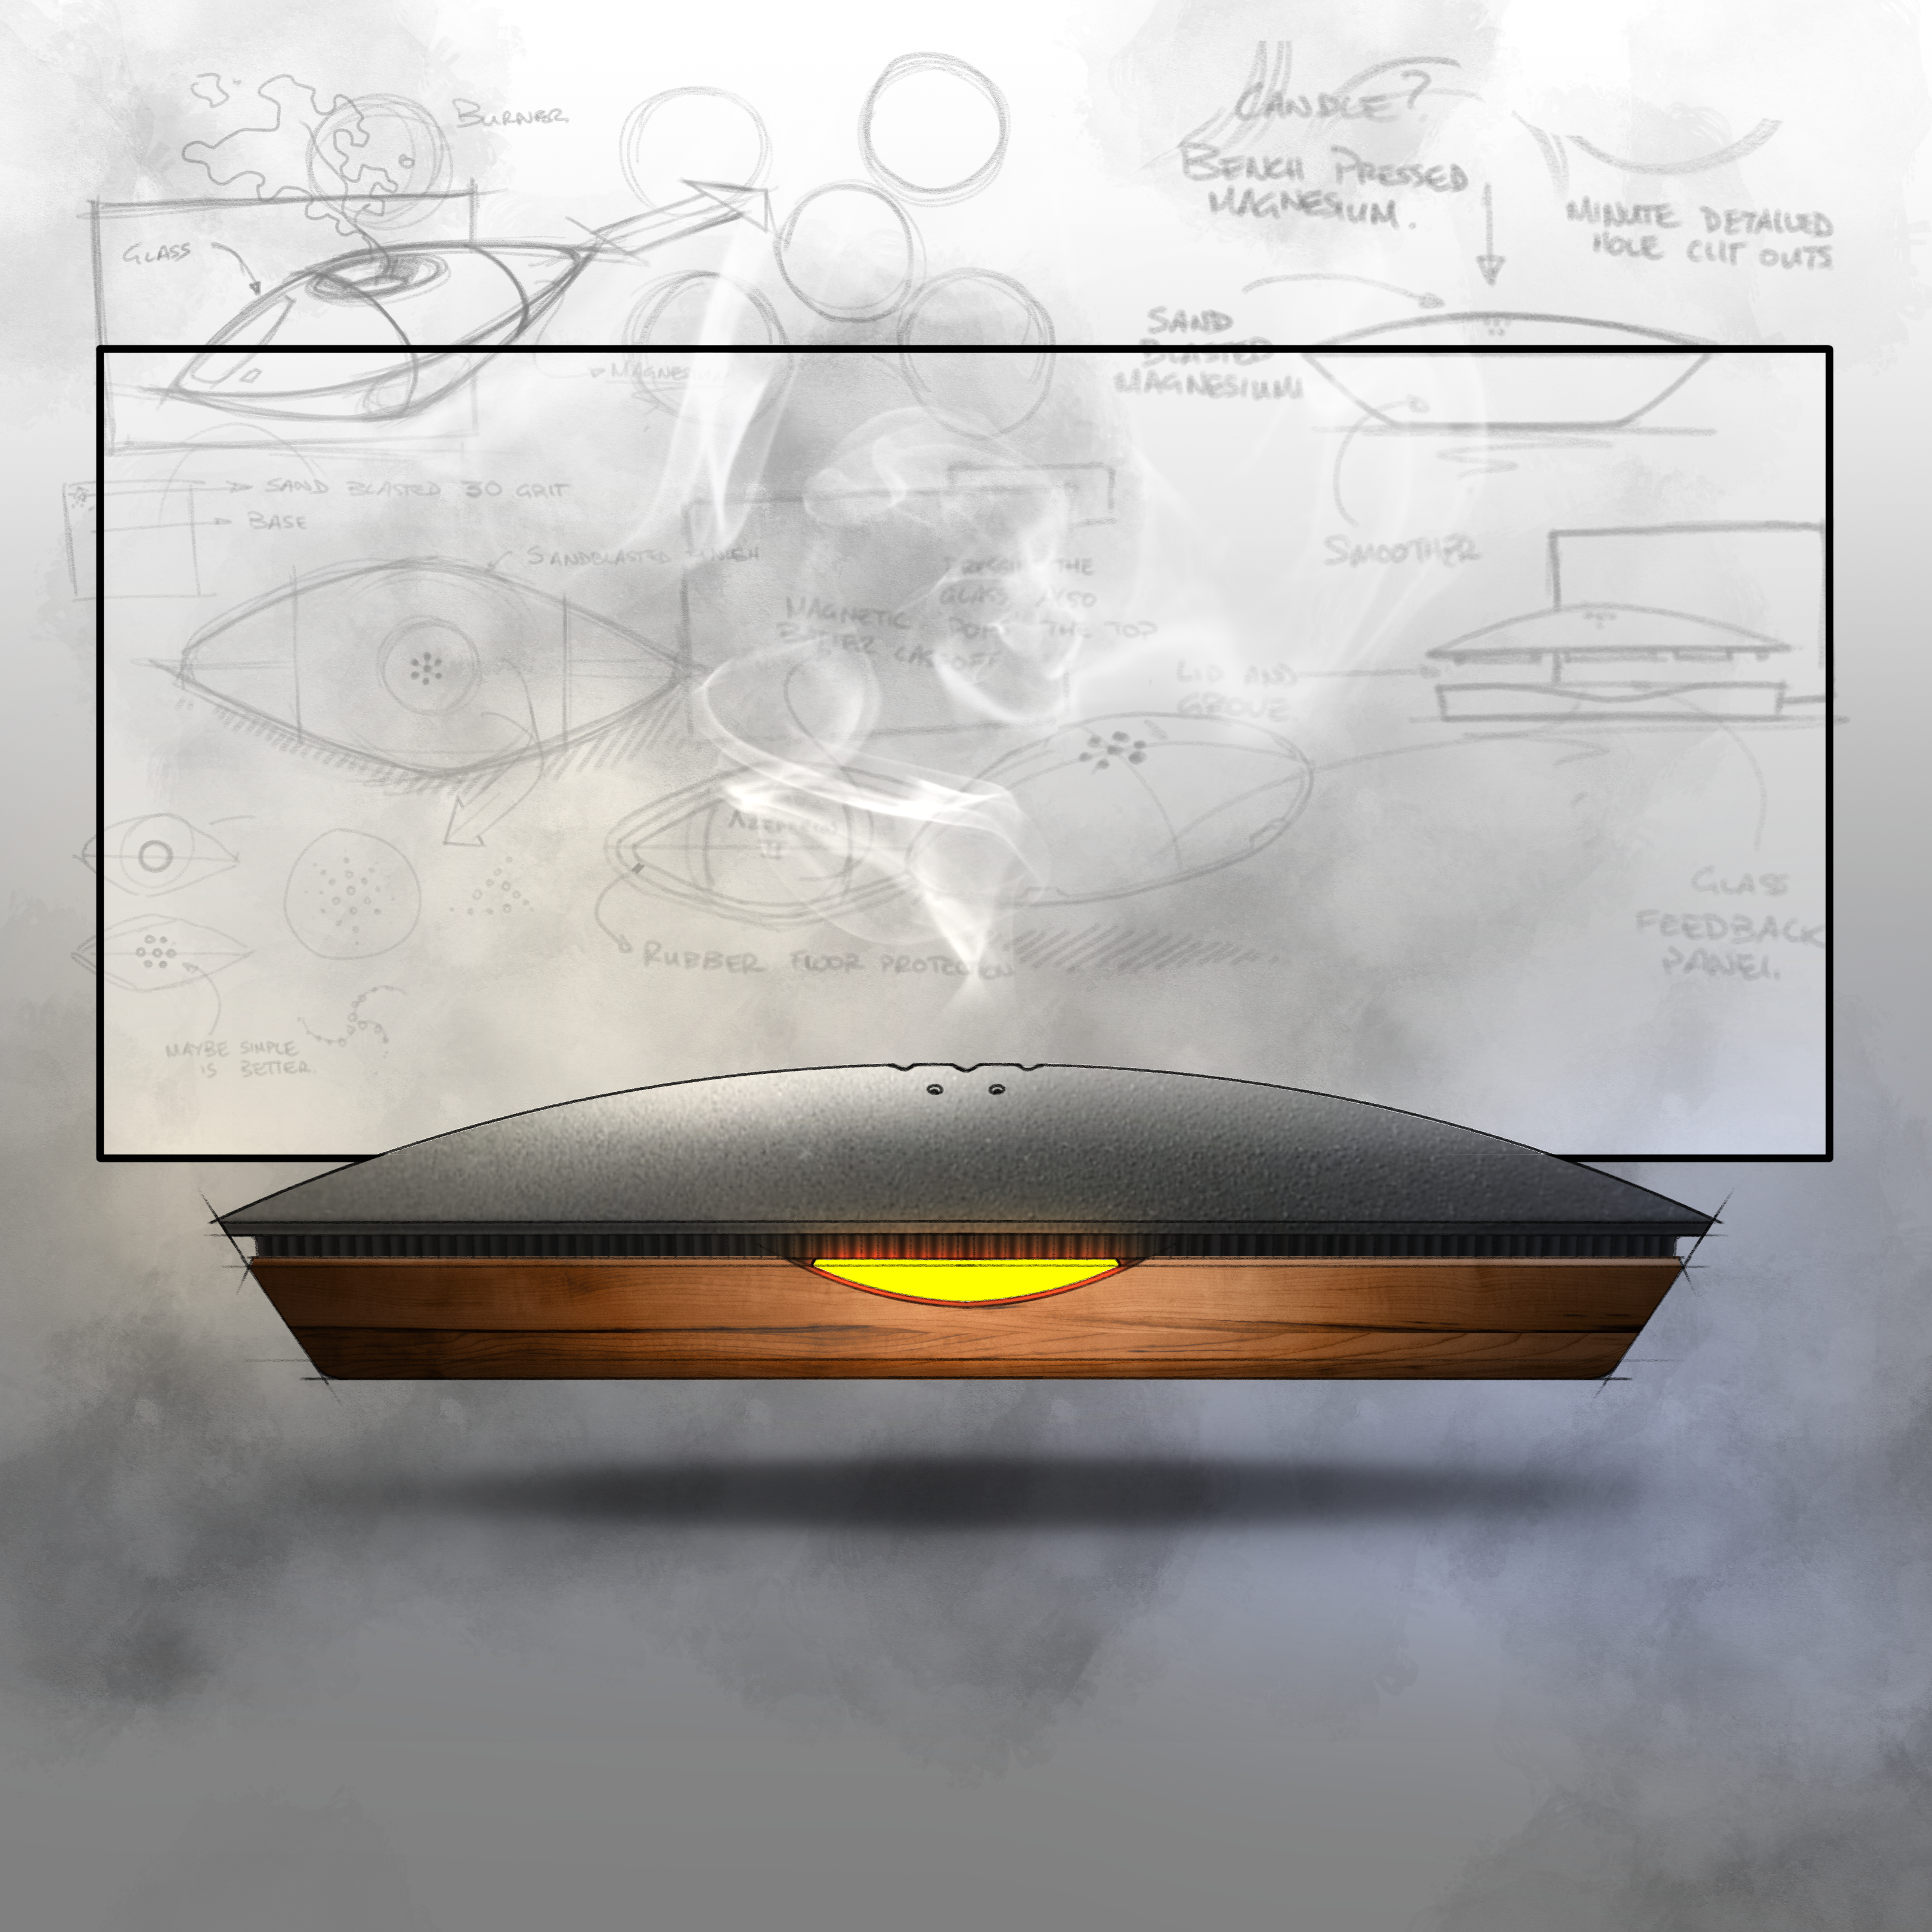
CONCEPT SKETCHING
STEP 1
I rely on the Concepts app to brainstorm ideas as their auto smoothing pencil brush works extremely well on surface devices. Using this platform I usually create 20 - 30 rough sketches exploring materials, forms, details and perspectives. When I've settled on an idea, I export a handful of these sketches into Autodesk Sketchbook and begin working on a refined sketch out-line
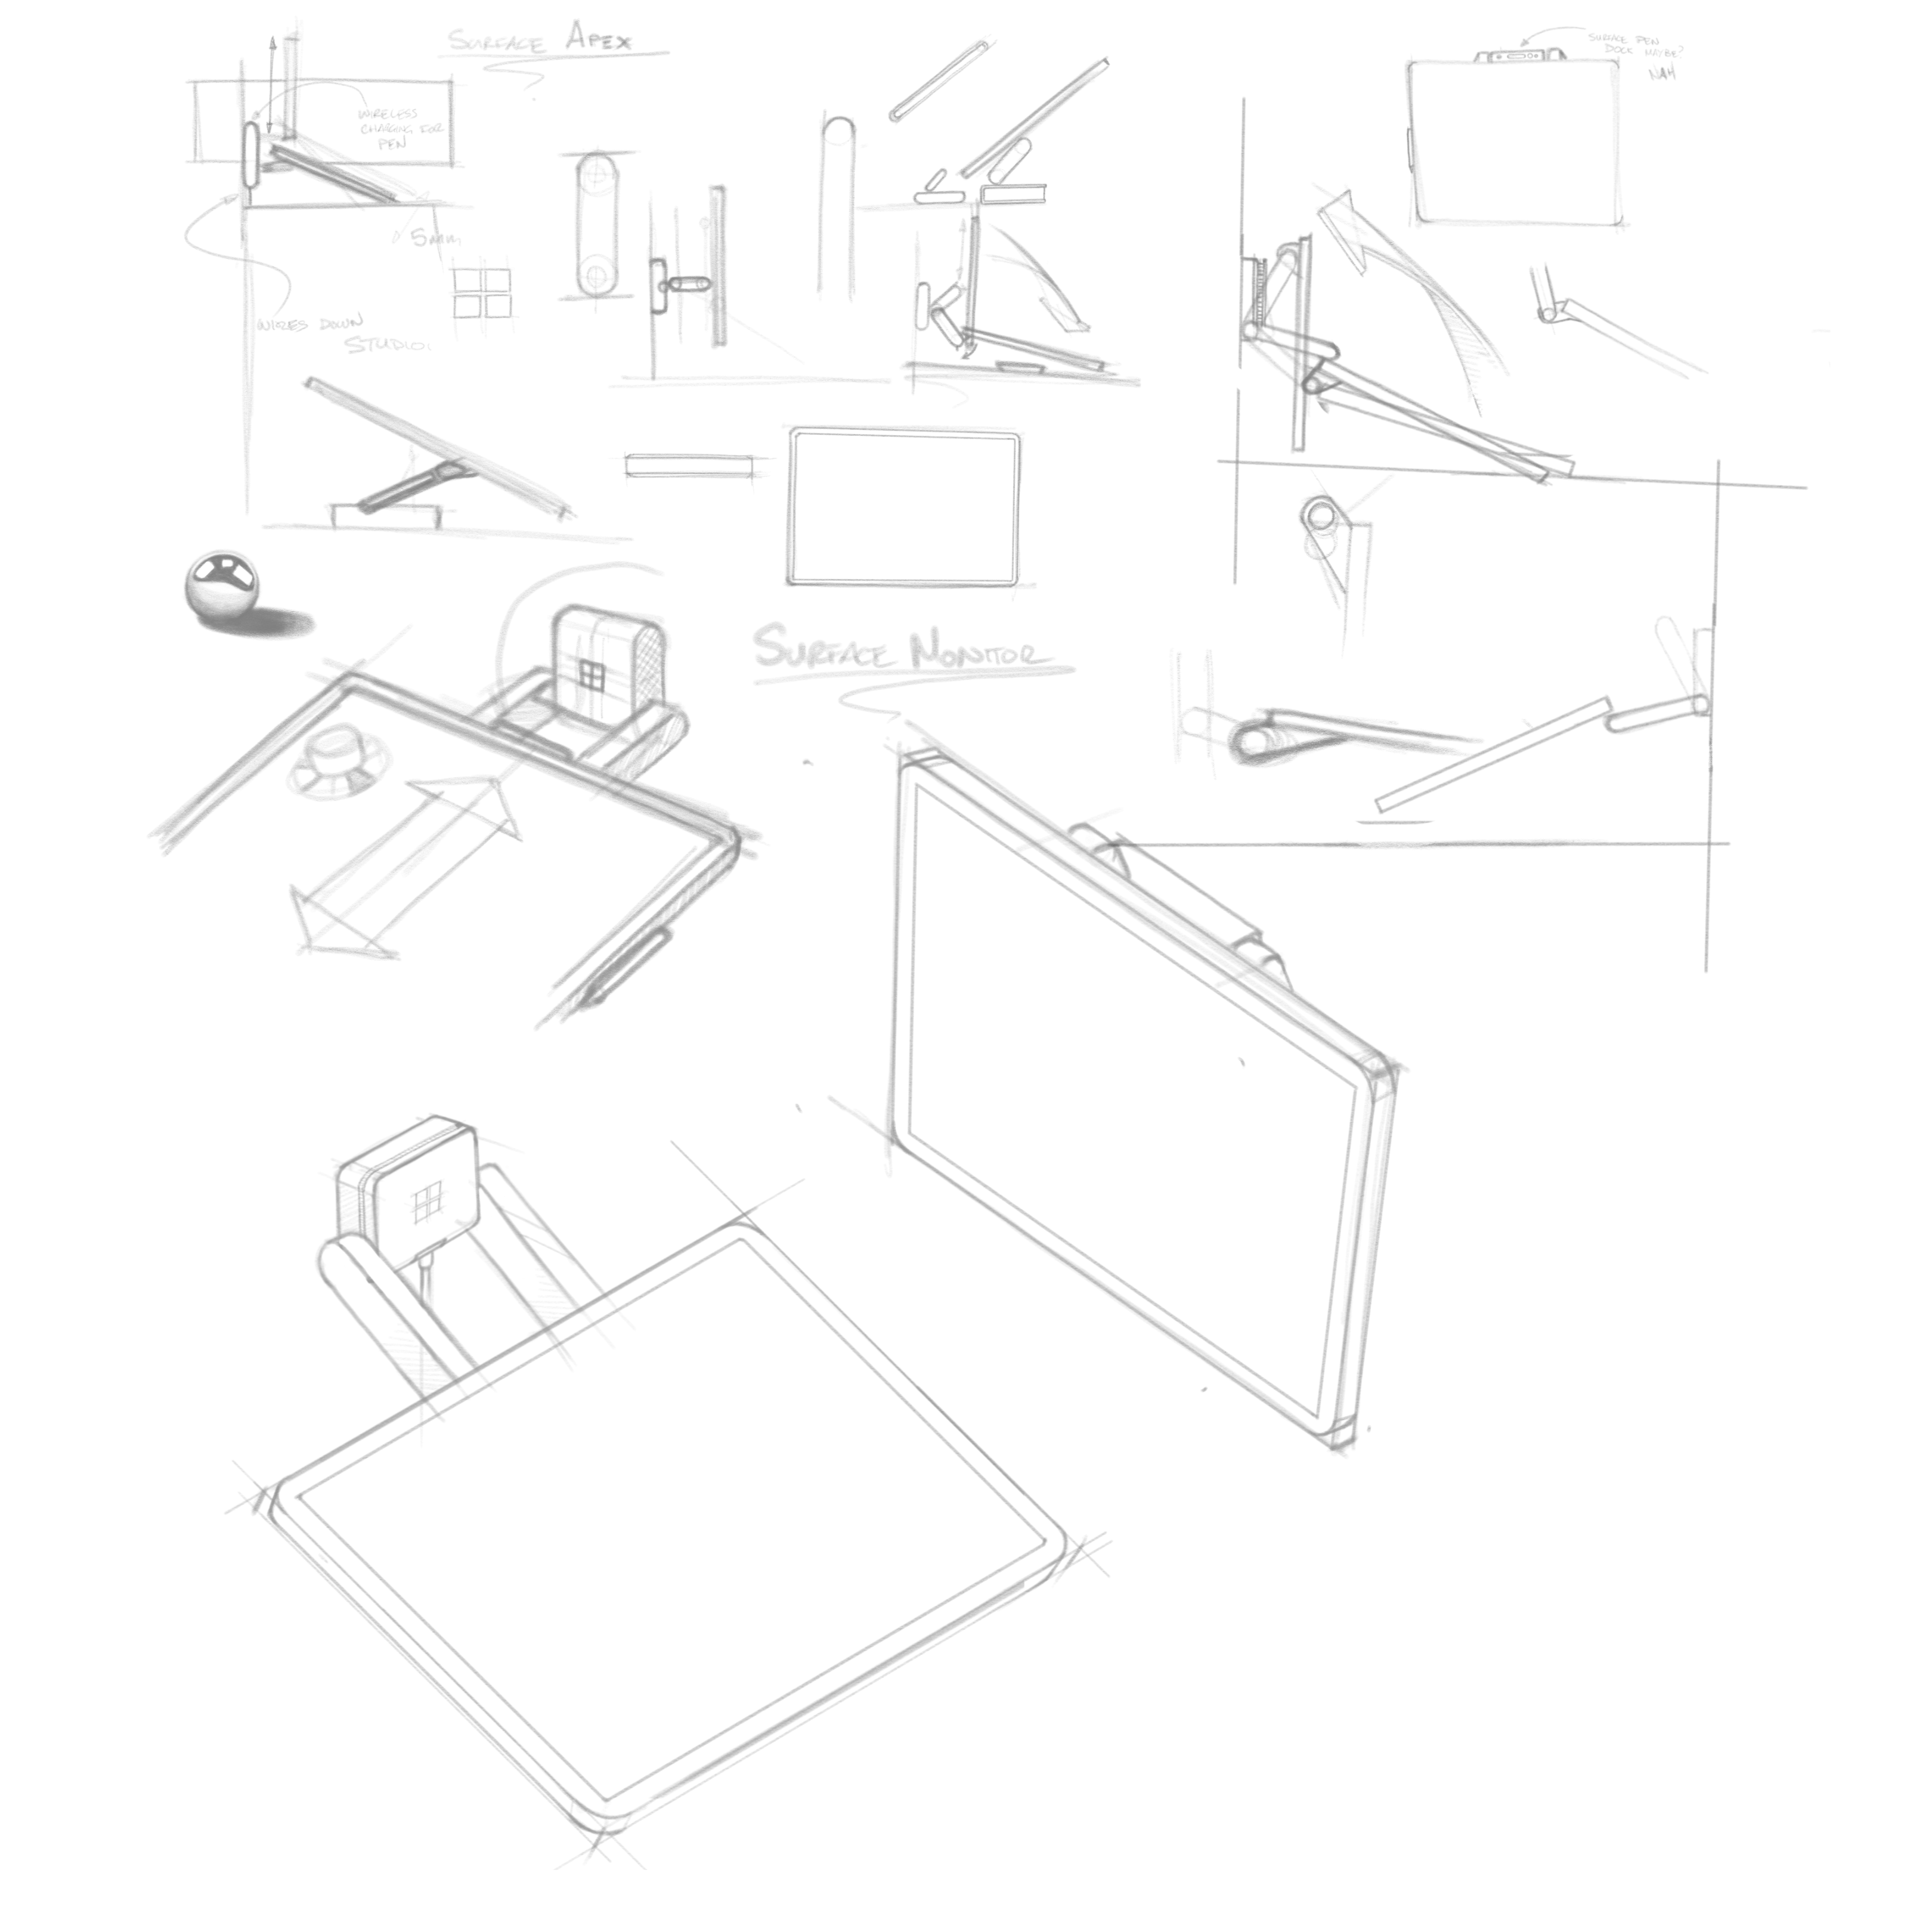
LINEWORK UNDERLAY
STEP 2
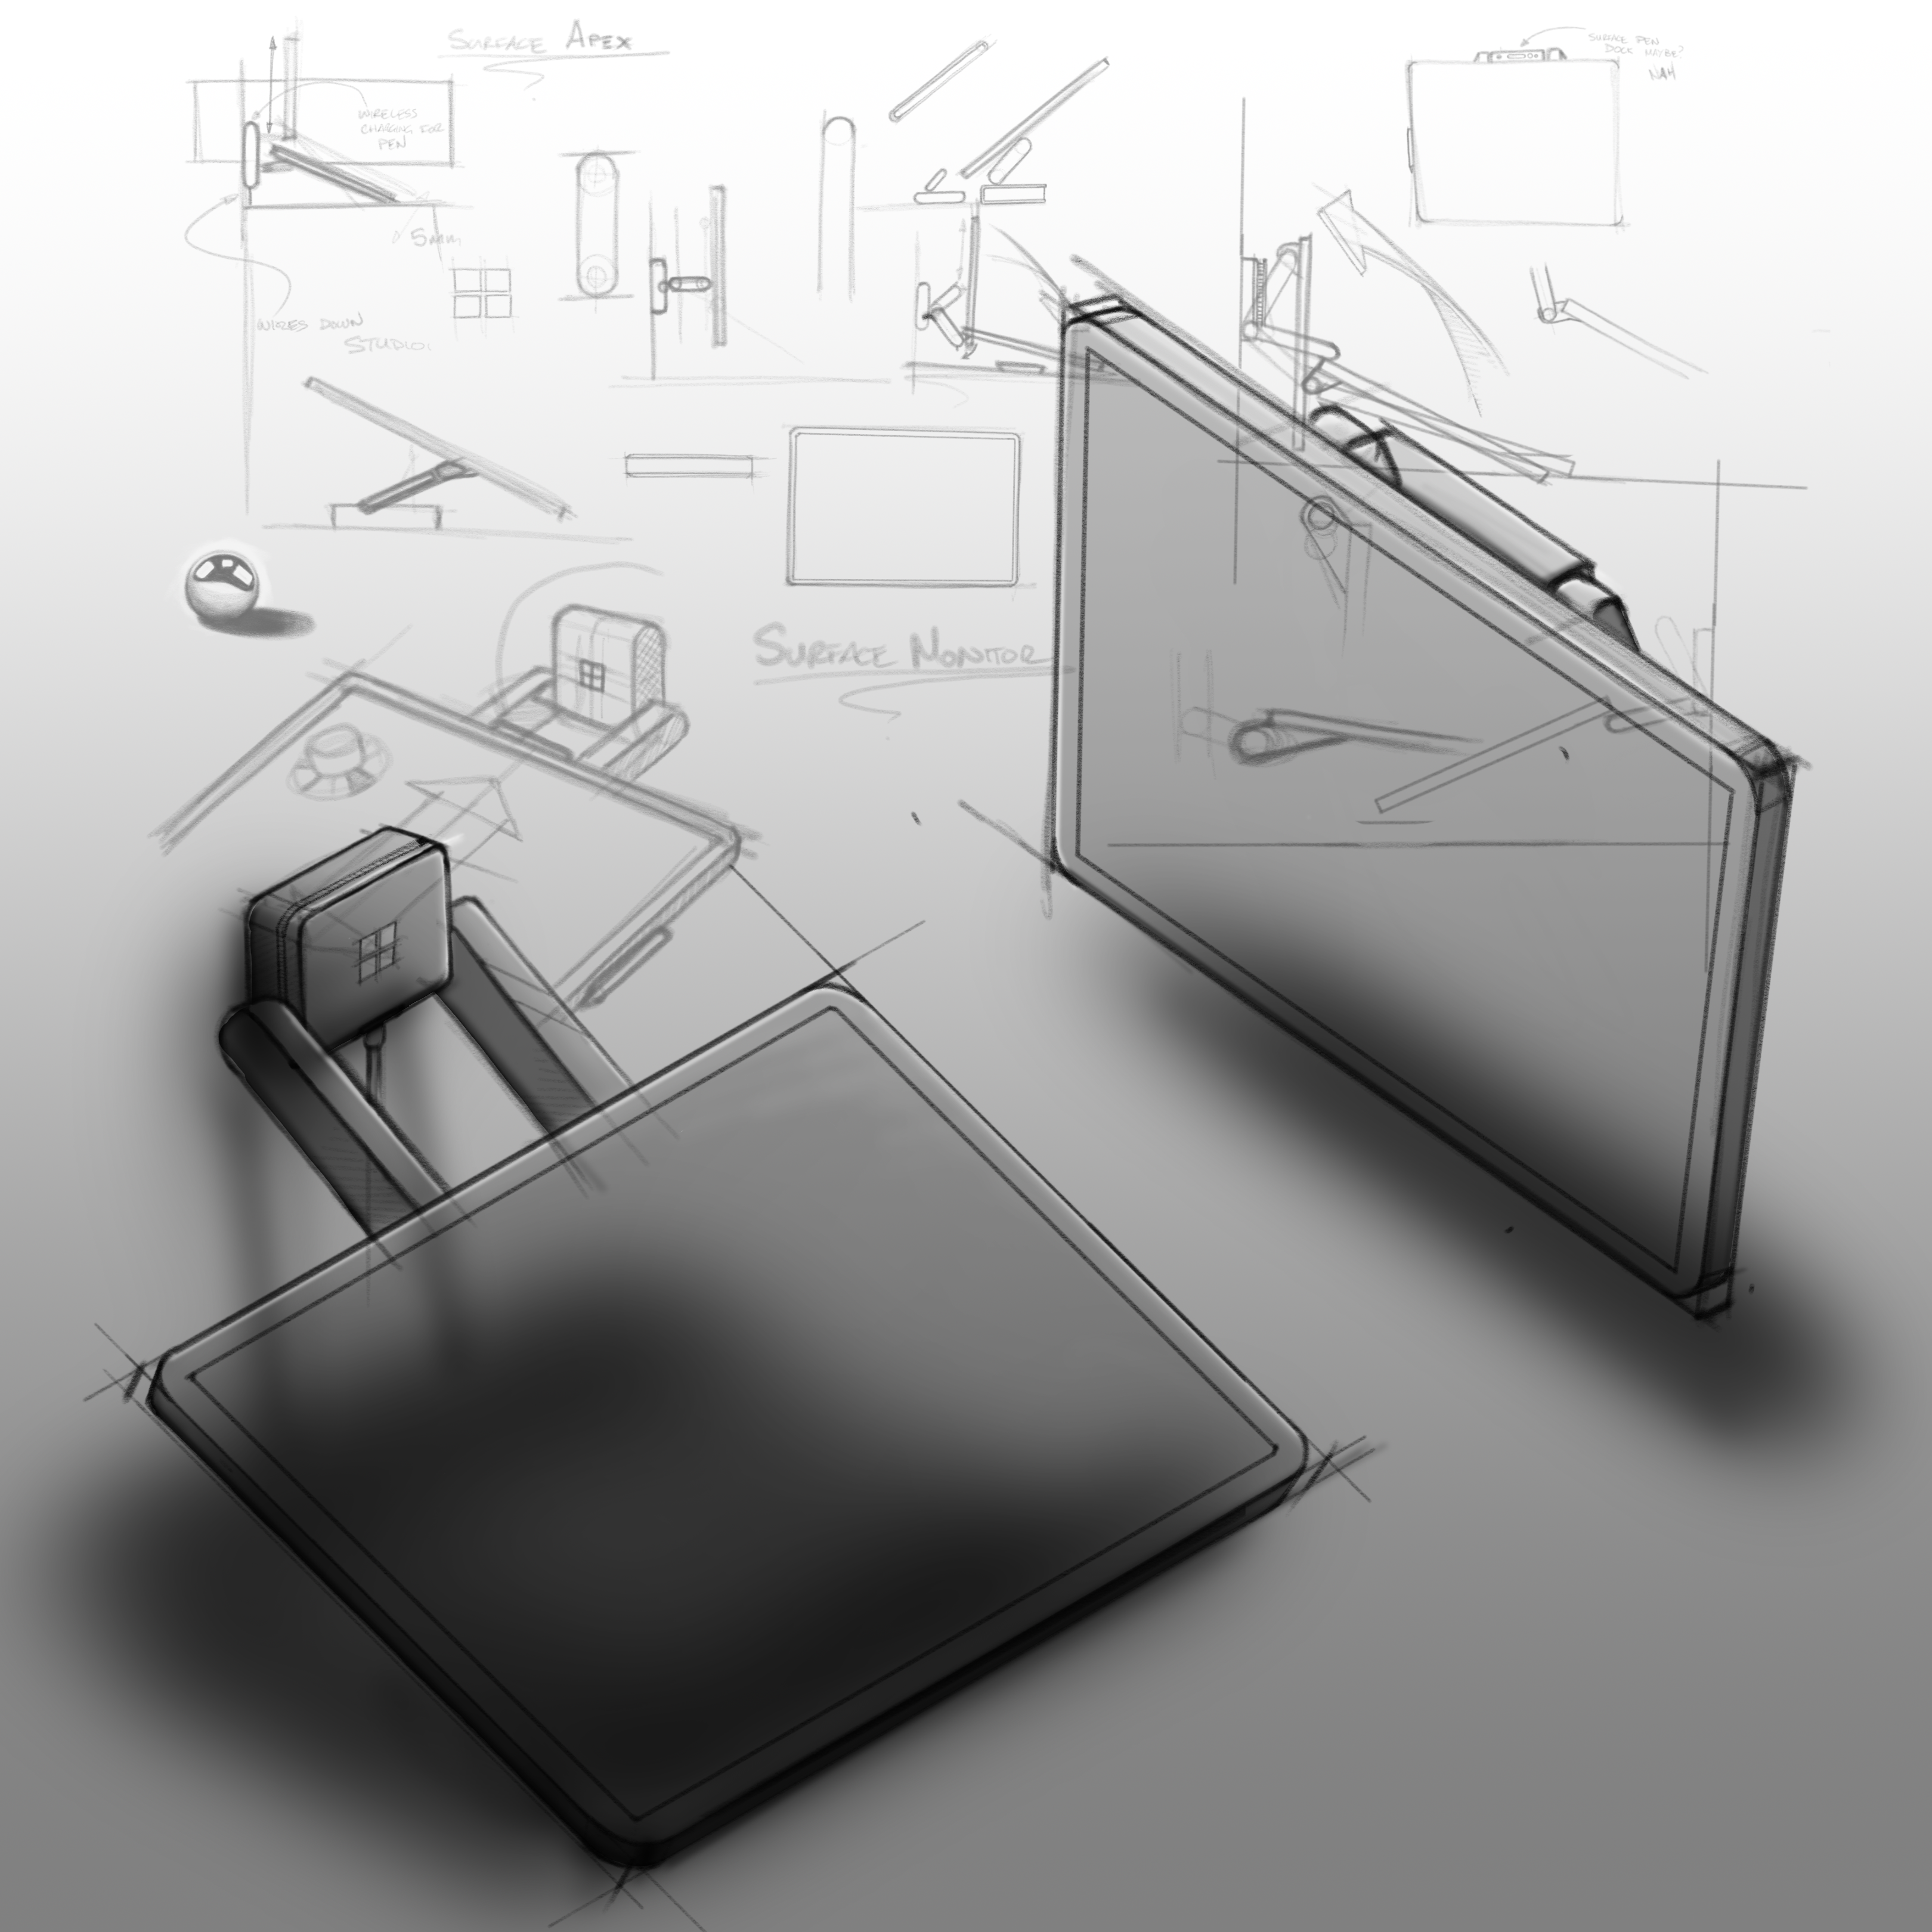
Within Autodesk Sketchbook, lower the opacity of the rough sketch you wish to refine and rebuild its contour using Sketchbook's drawing guides and perspective grid. The sketch should be drawn with a consistent line weight so a fill tool can be used to effectively block out base colours.

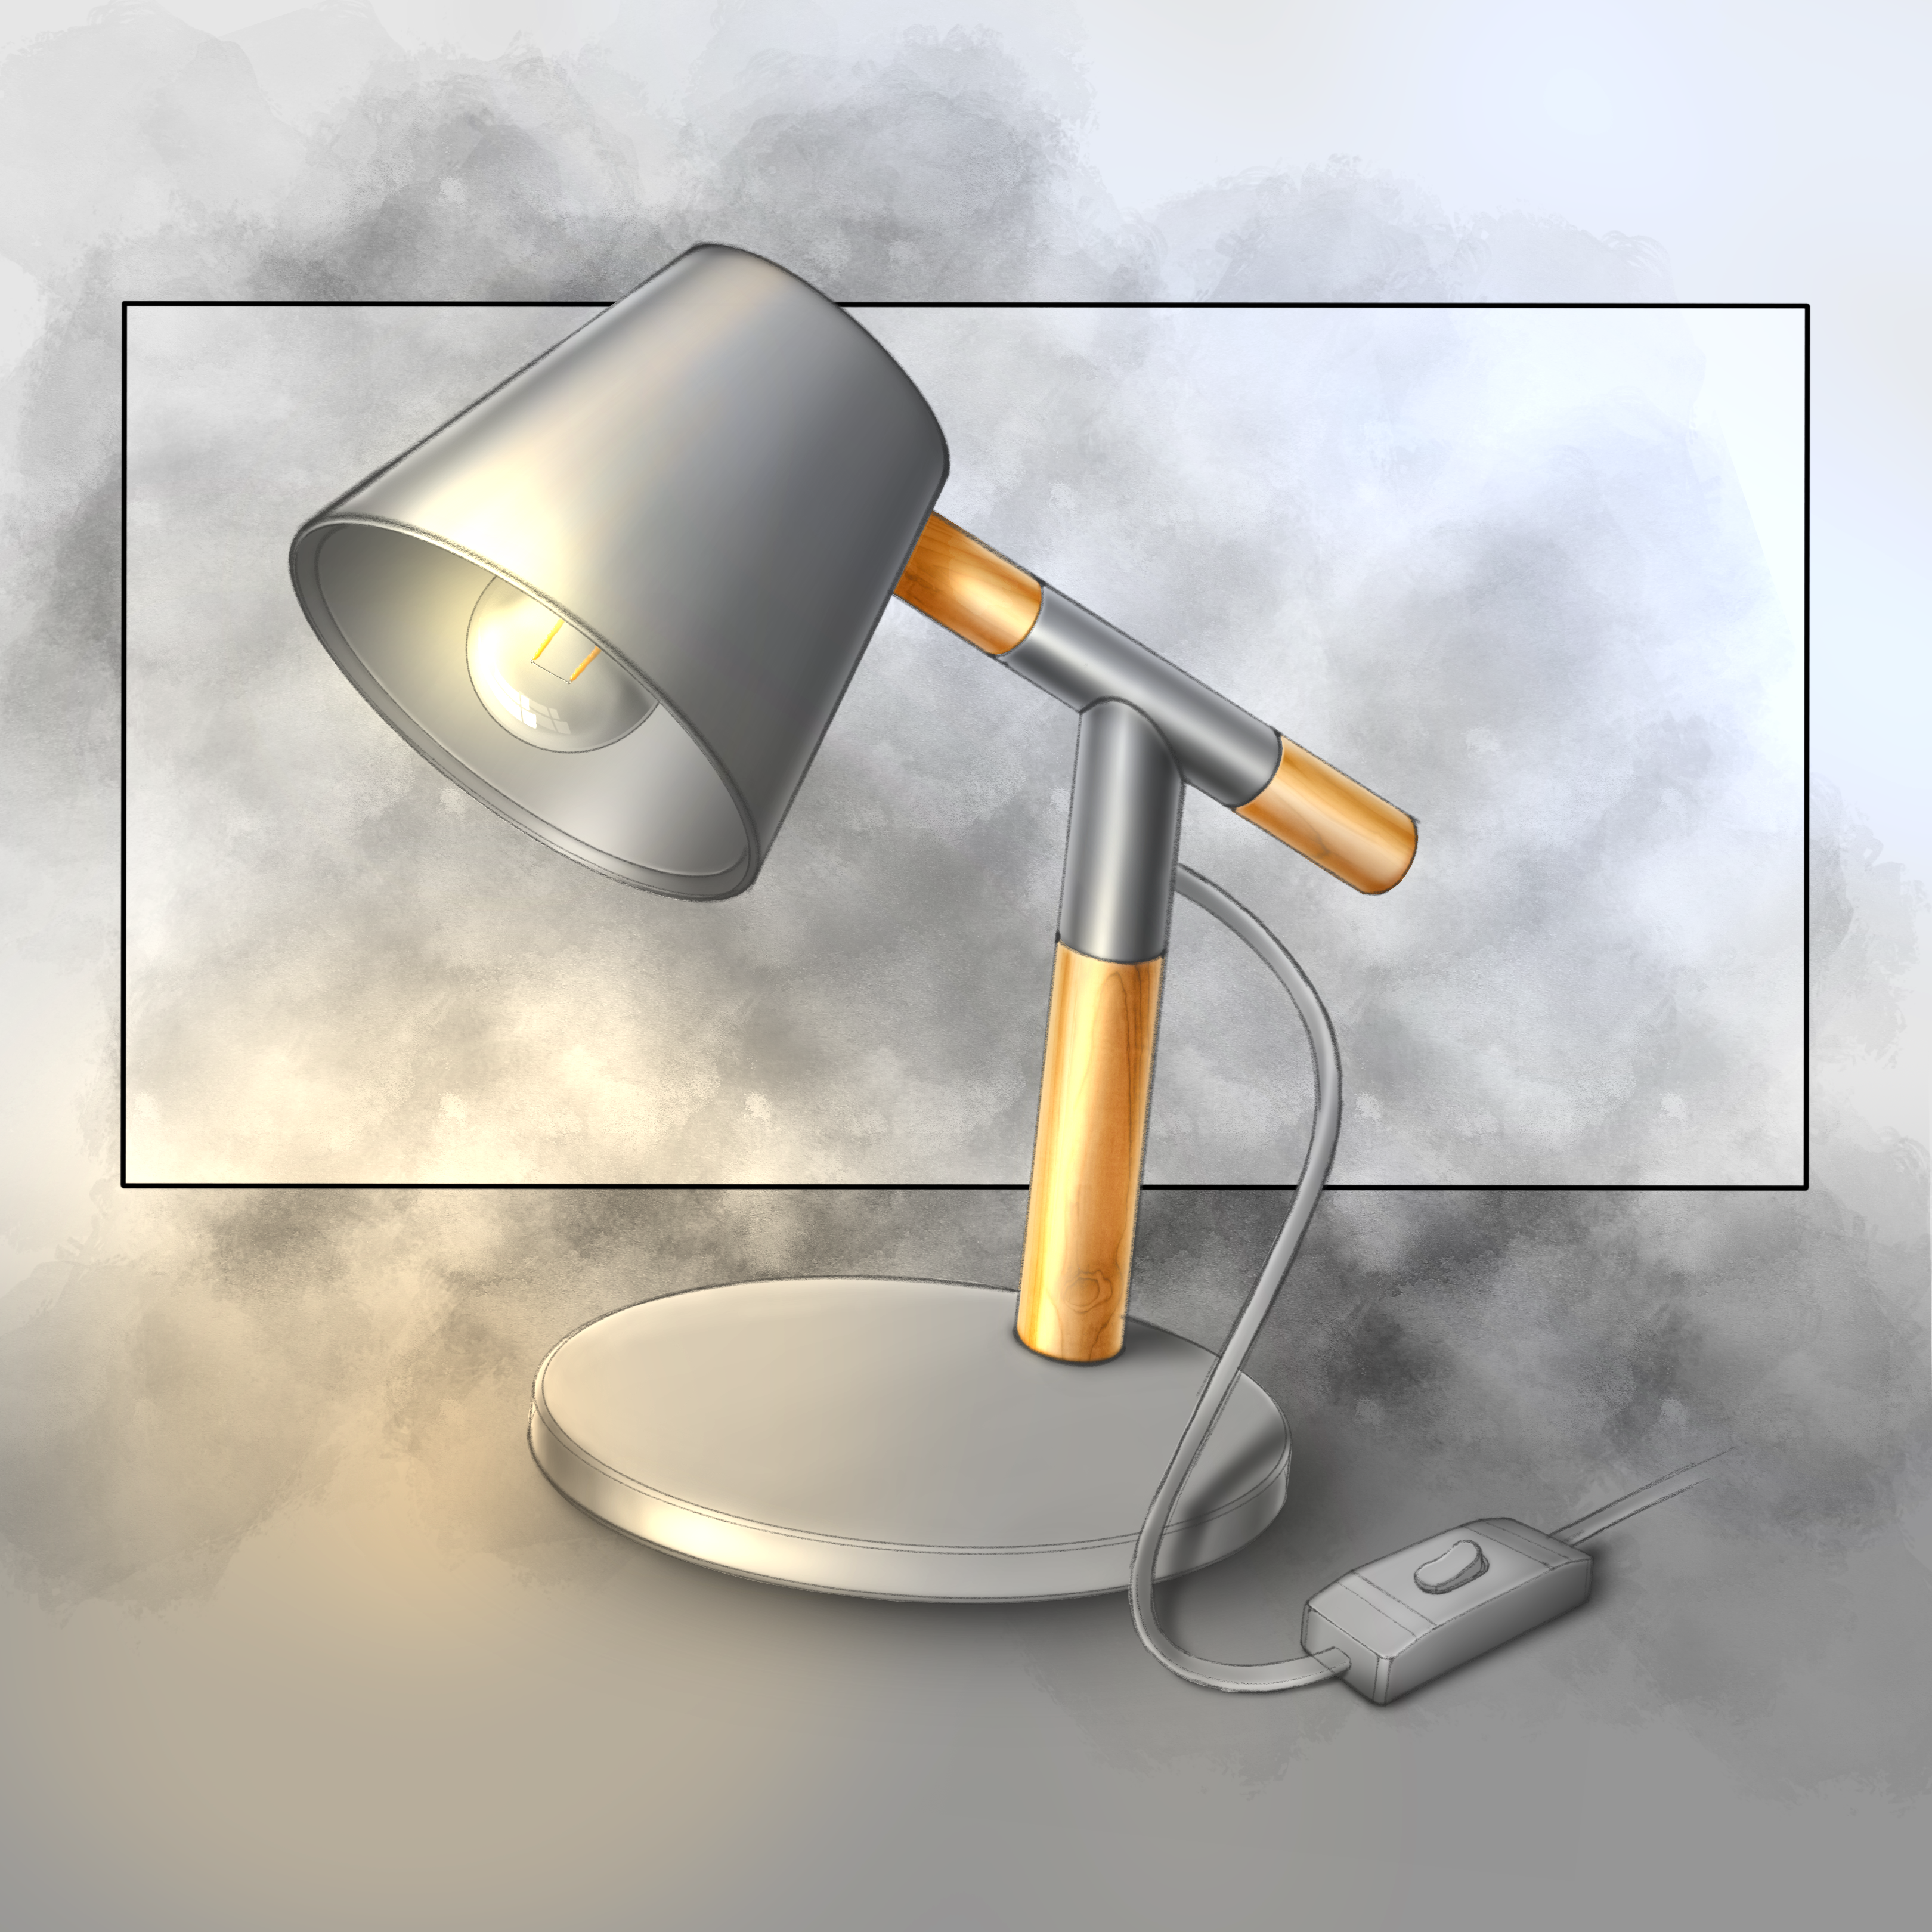
BASE COLOUR BLOCK OUT
STEP 3
Using the brush or fill tool, start blocking out different parts of the product based on the material intended to be used. I intend to use a brushed aluminium finish for the example on the left, so the entire sketch has been filled in grey.
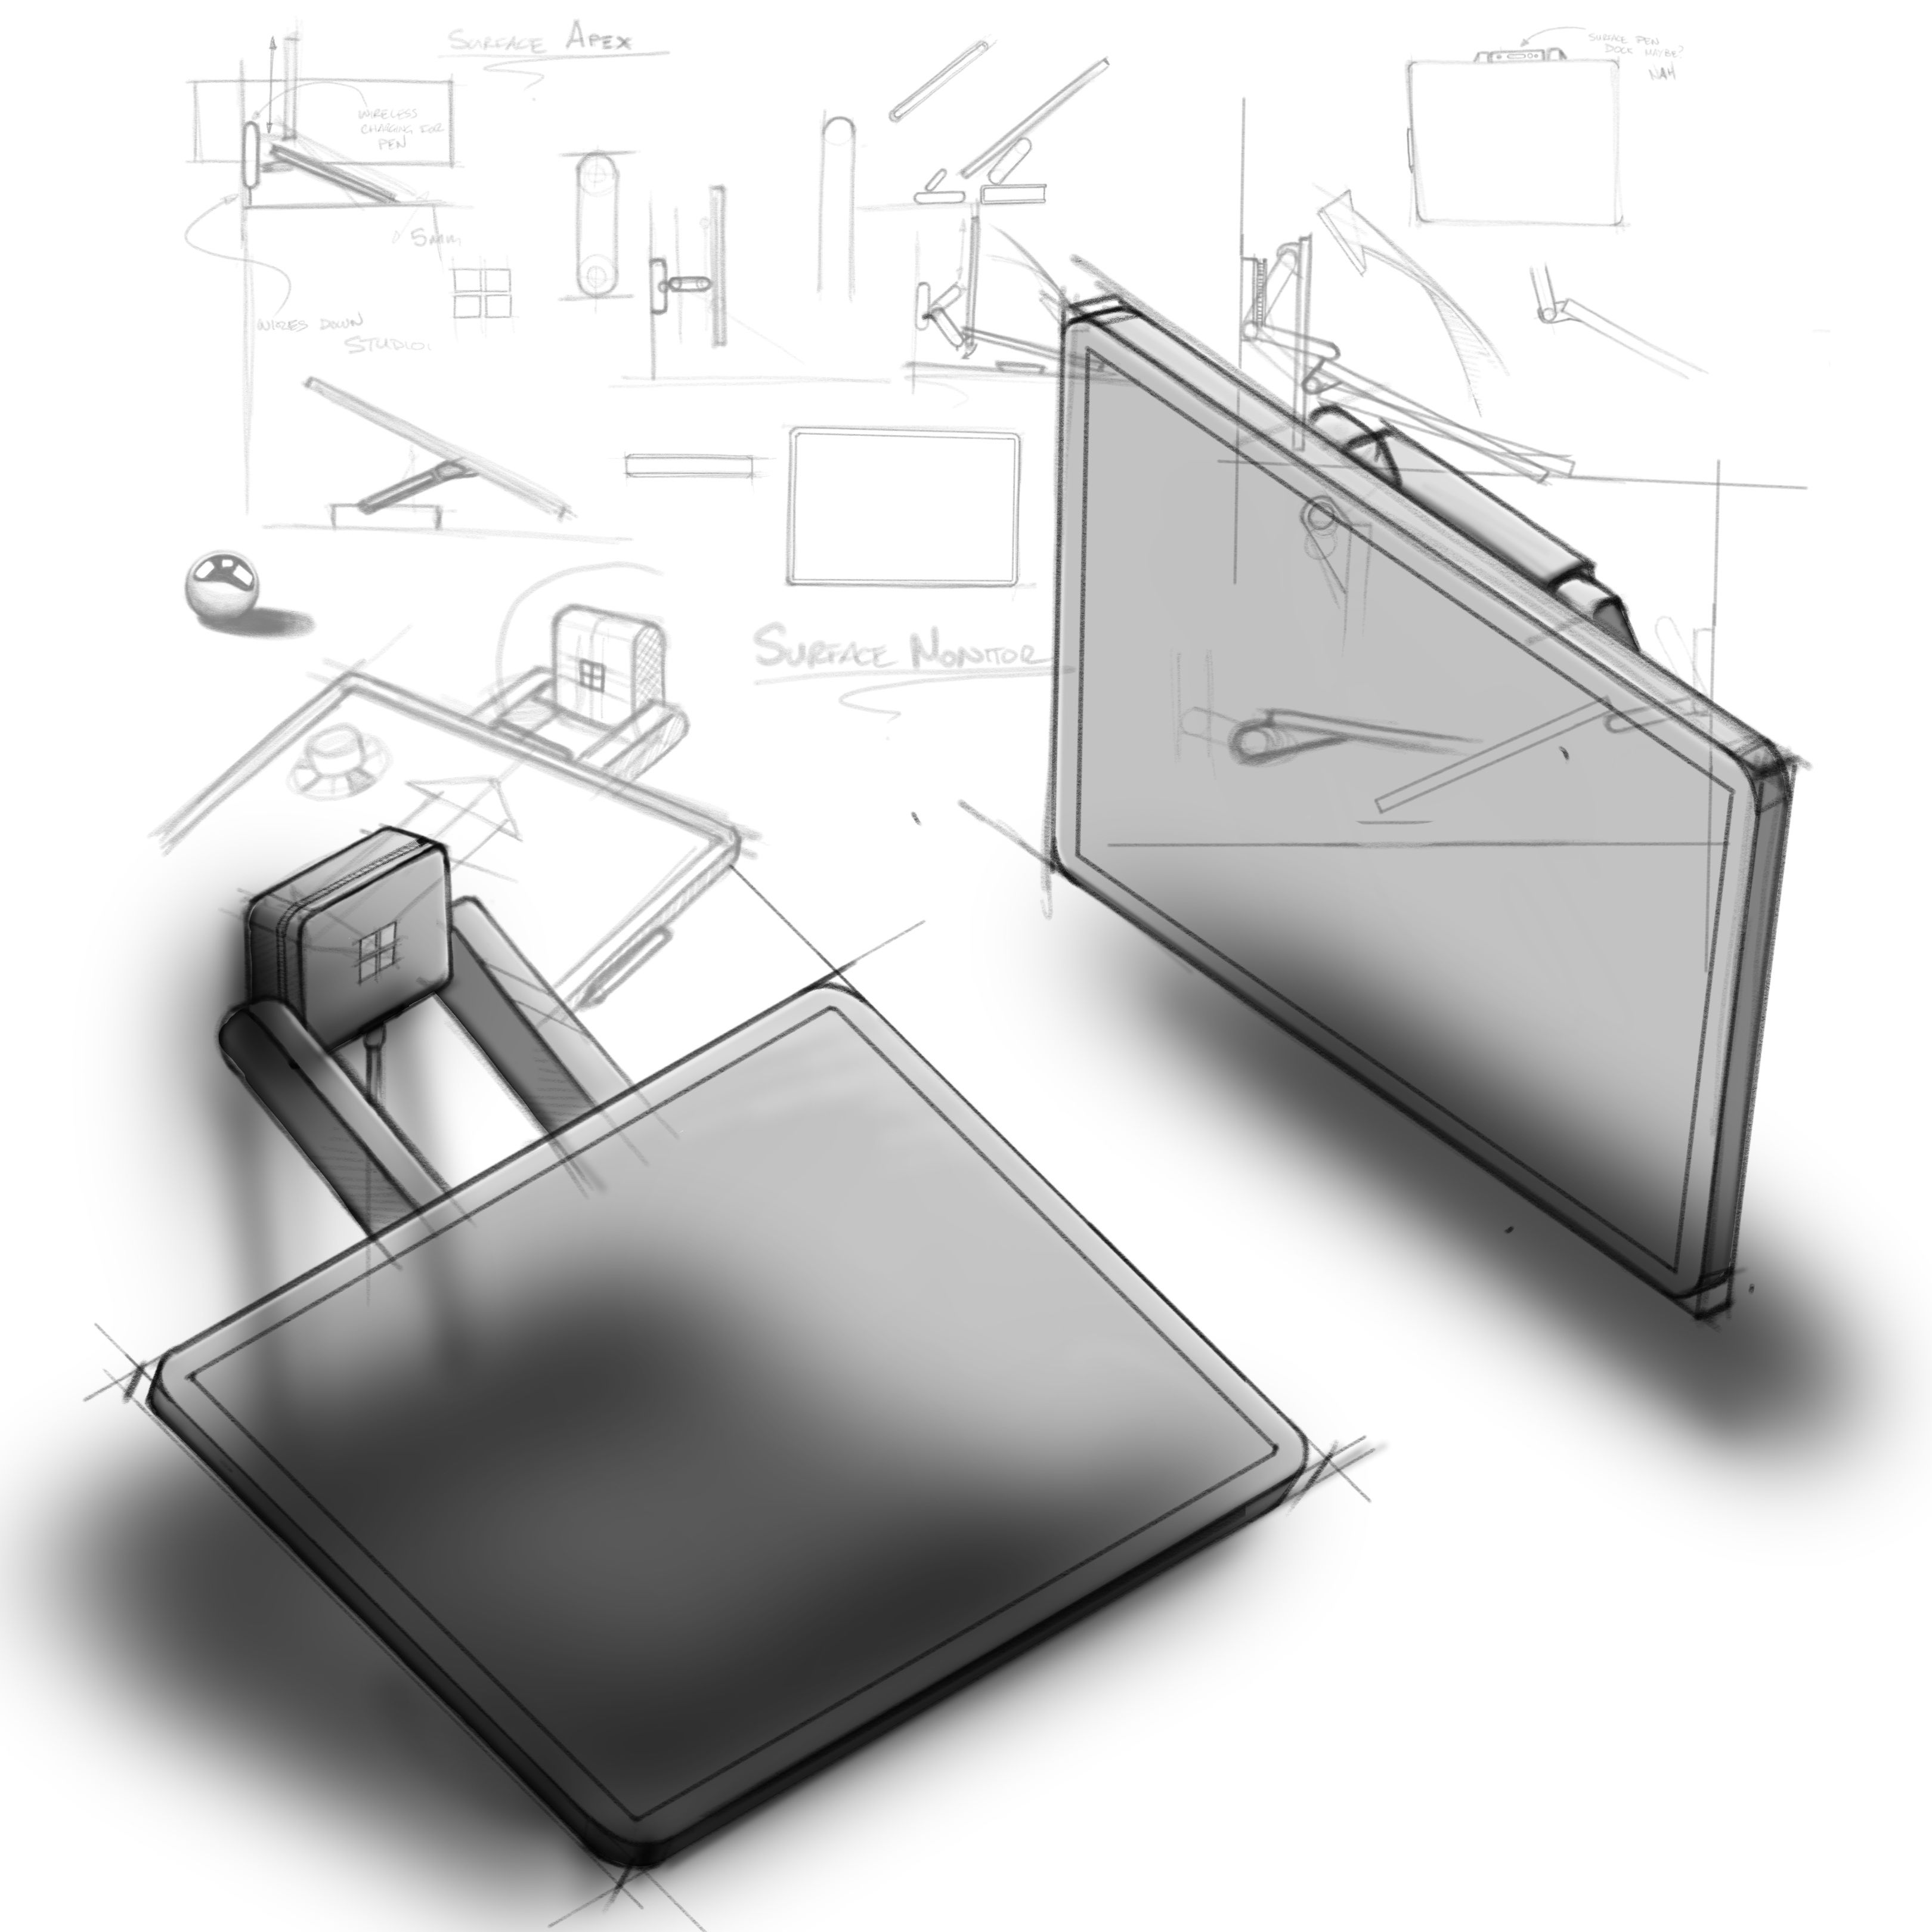
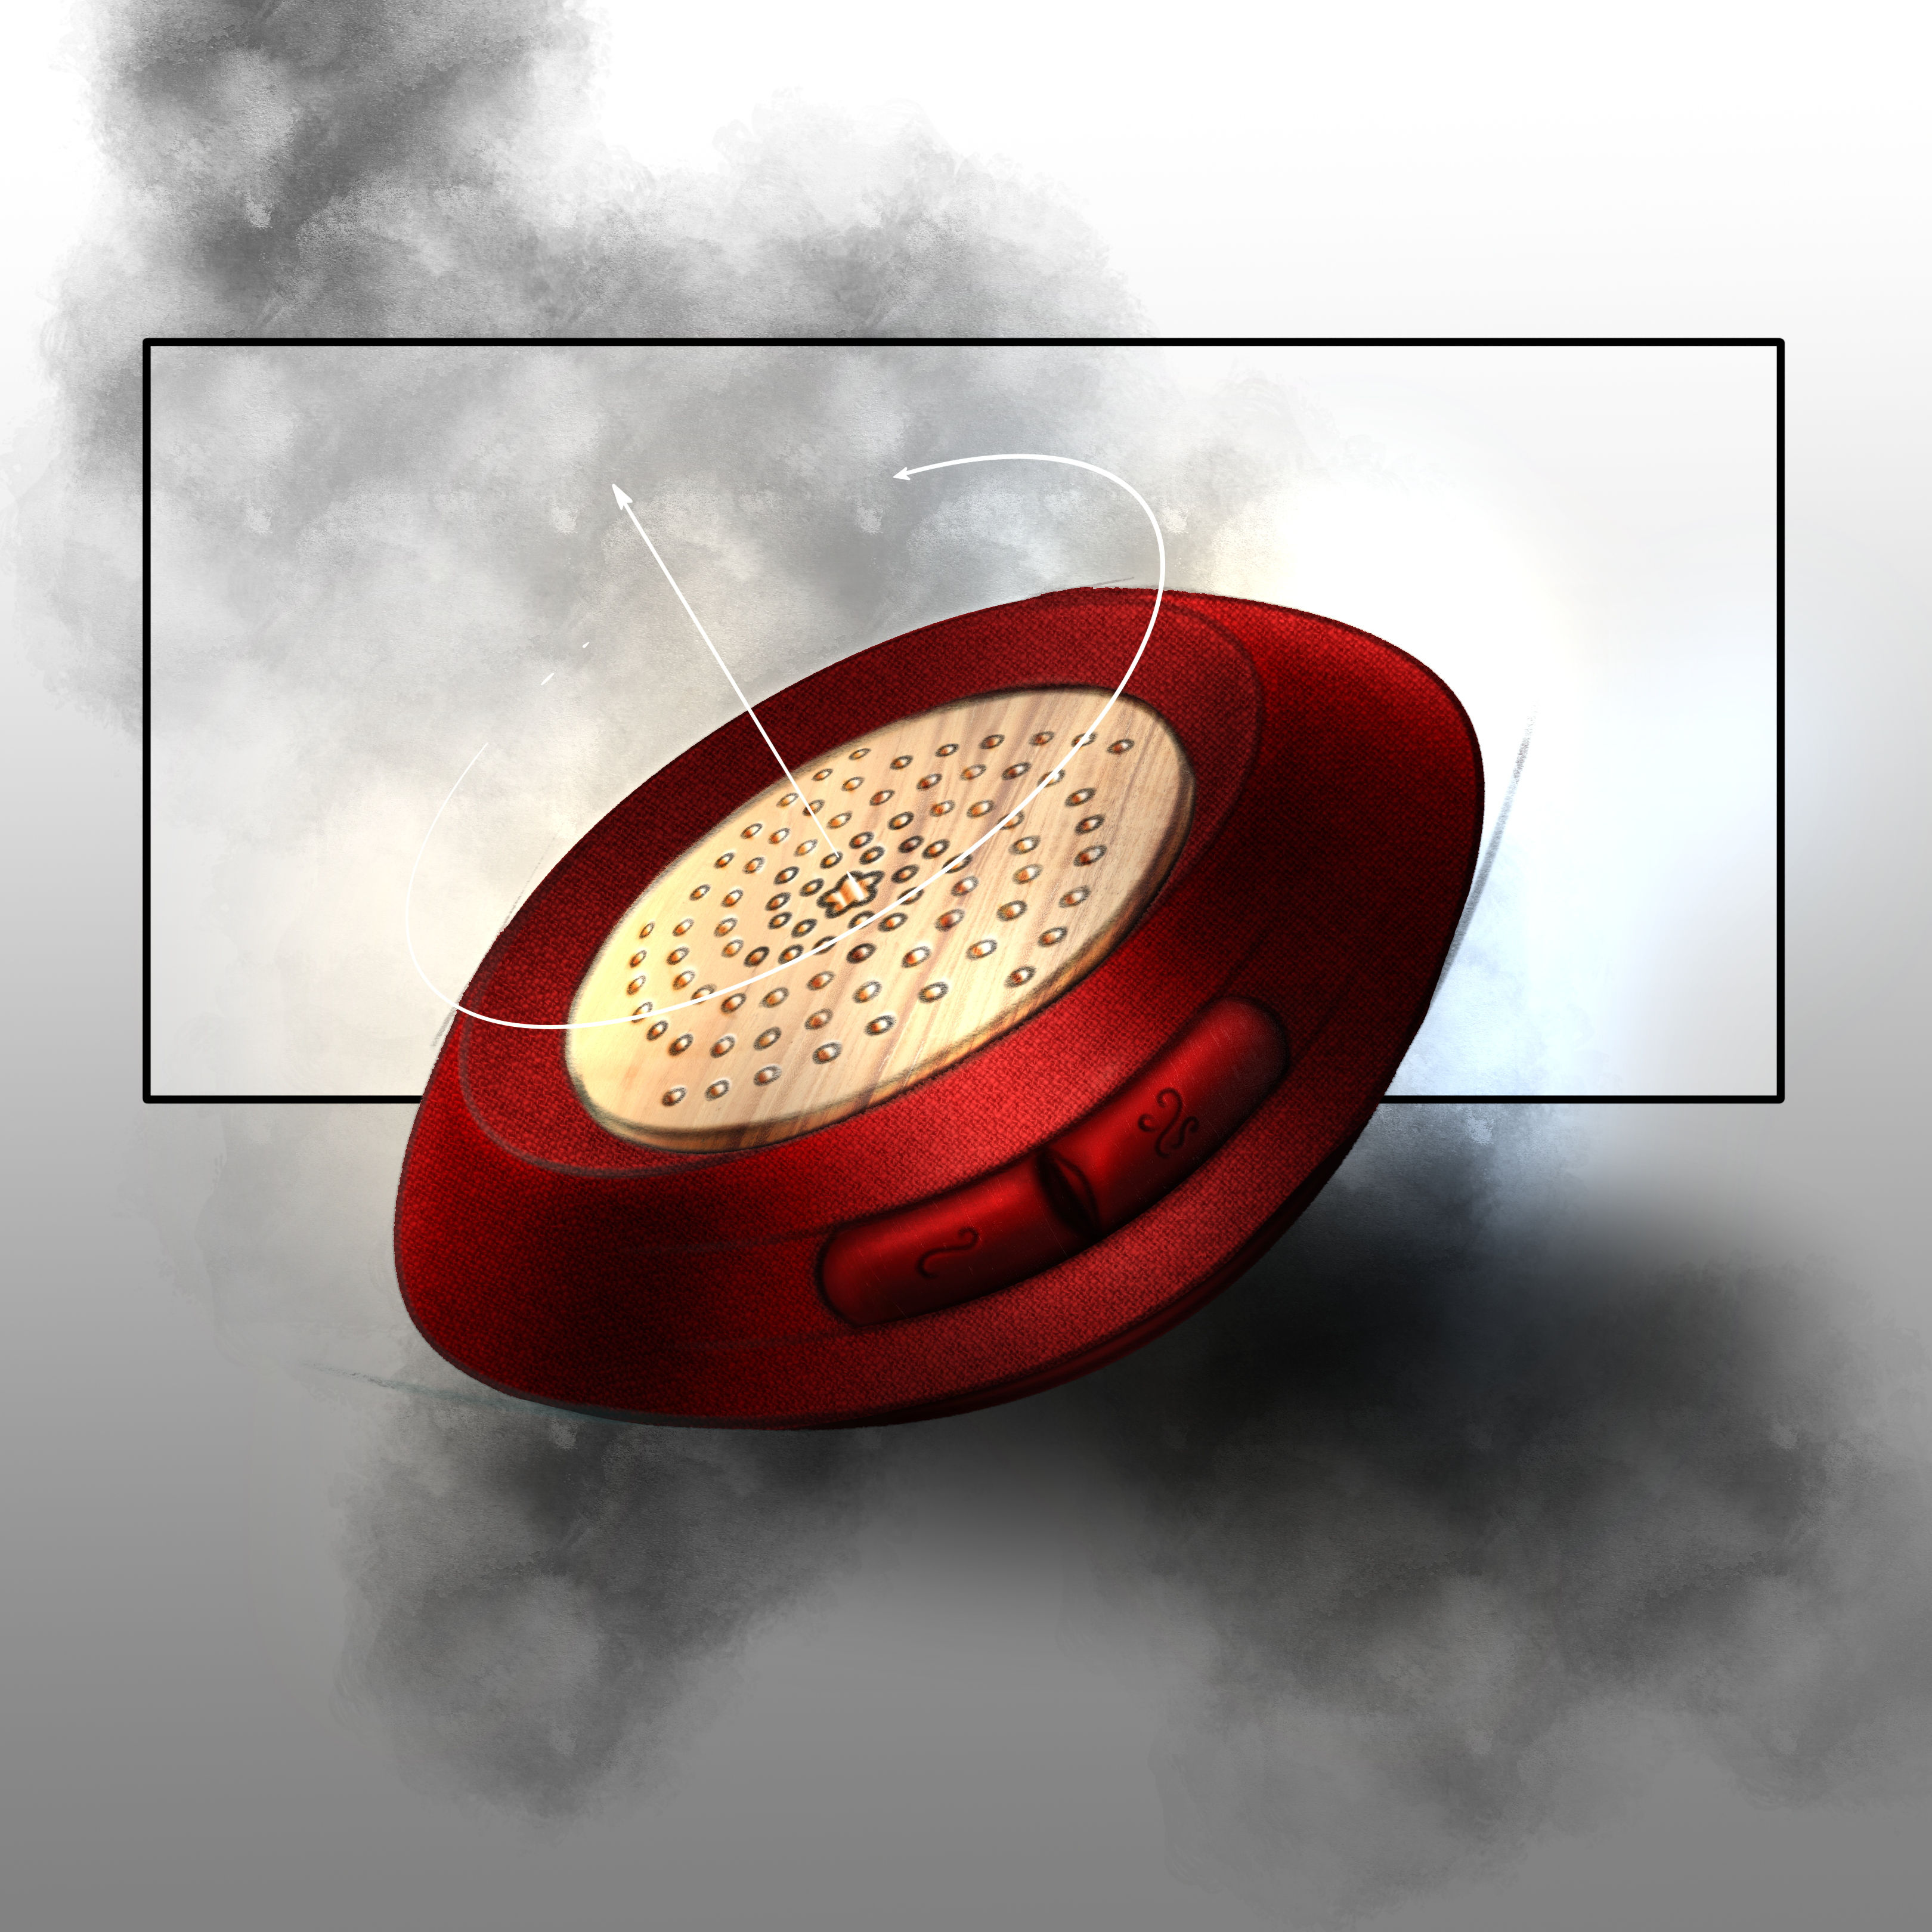
SHADOW APPLICATION
STEP 4
Next, we need to establish a light source. I find it easiest to imagine one from either the top left or top right. This way we know that top facing areas are the lightest, and areas facing away from the light are in shadow. Create a selection using the base colour layer, then on a new layer start filling out the darker/lighter areas.
BACKGROUND CONTEXT
STEP 5
Generally, a product should be grounded in some kind of context; like a floor, wall or larger scene. I find that the easiest way to show this is by casting a shadow on the floor. If the sketch is complex, simply creating a blurred ellipse beneath the product will achieve the same effect.
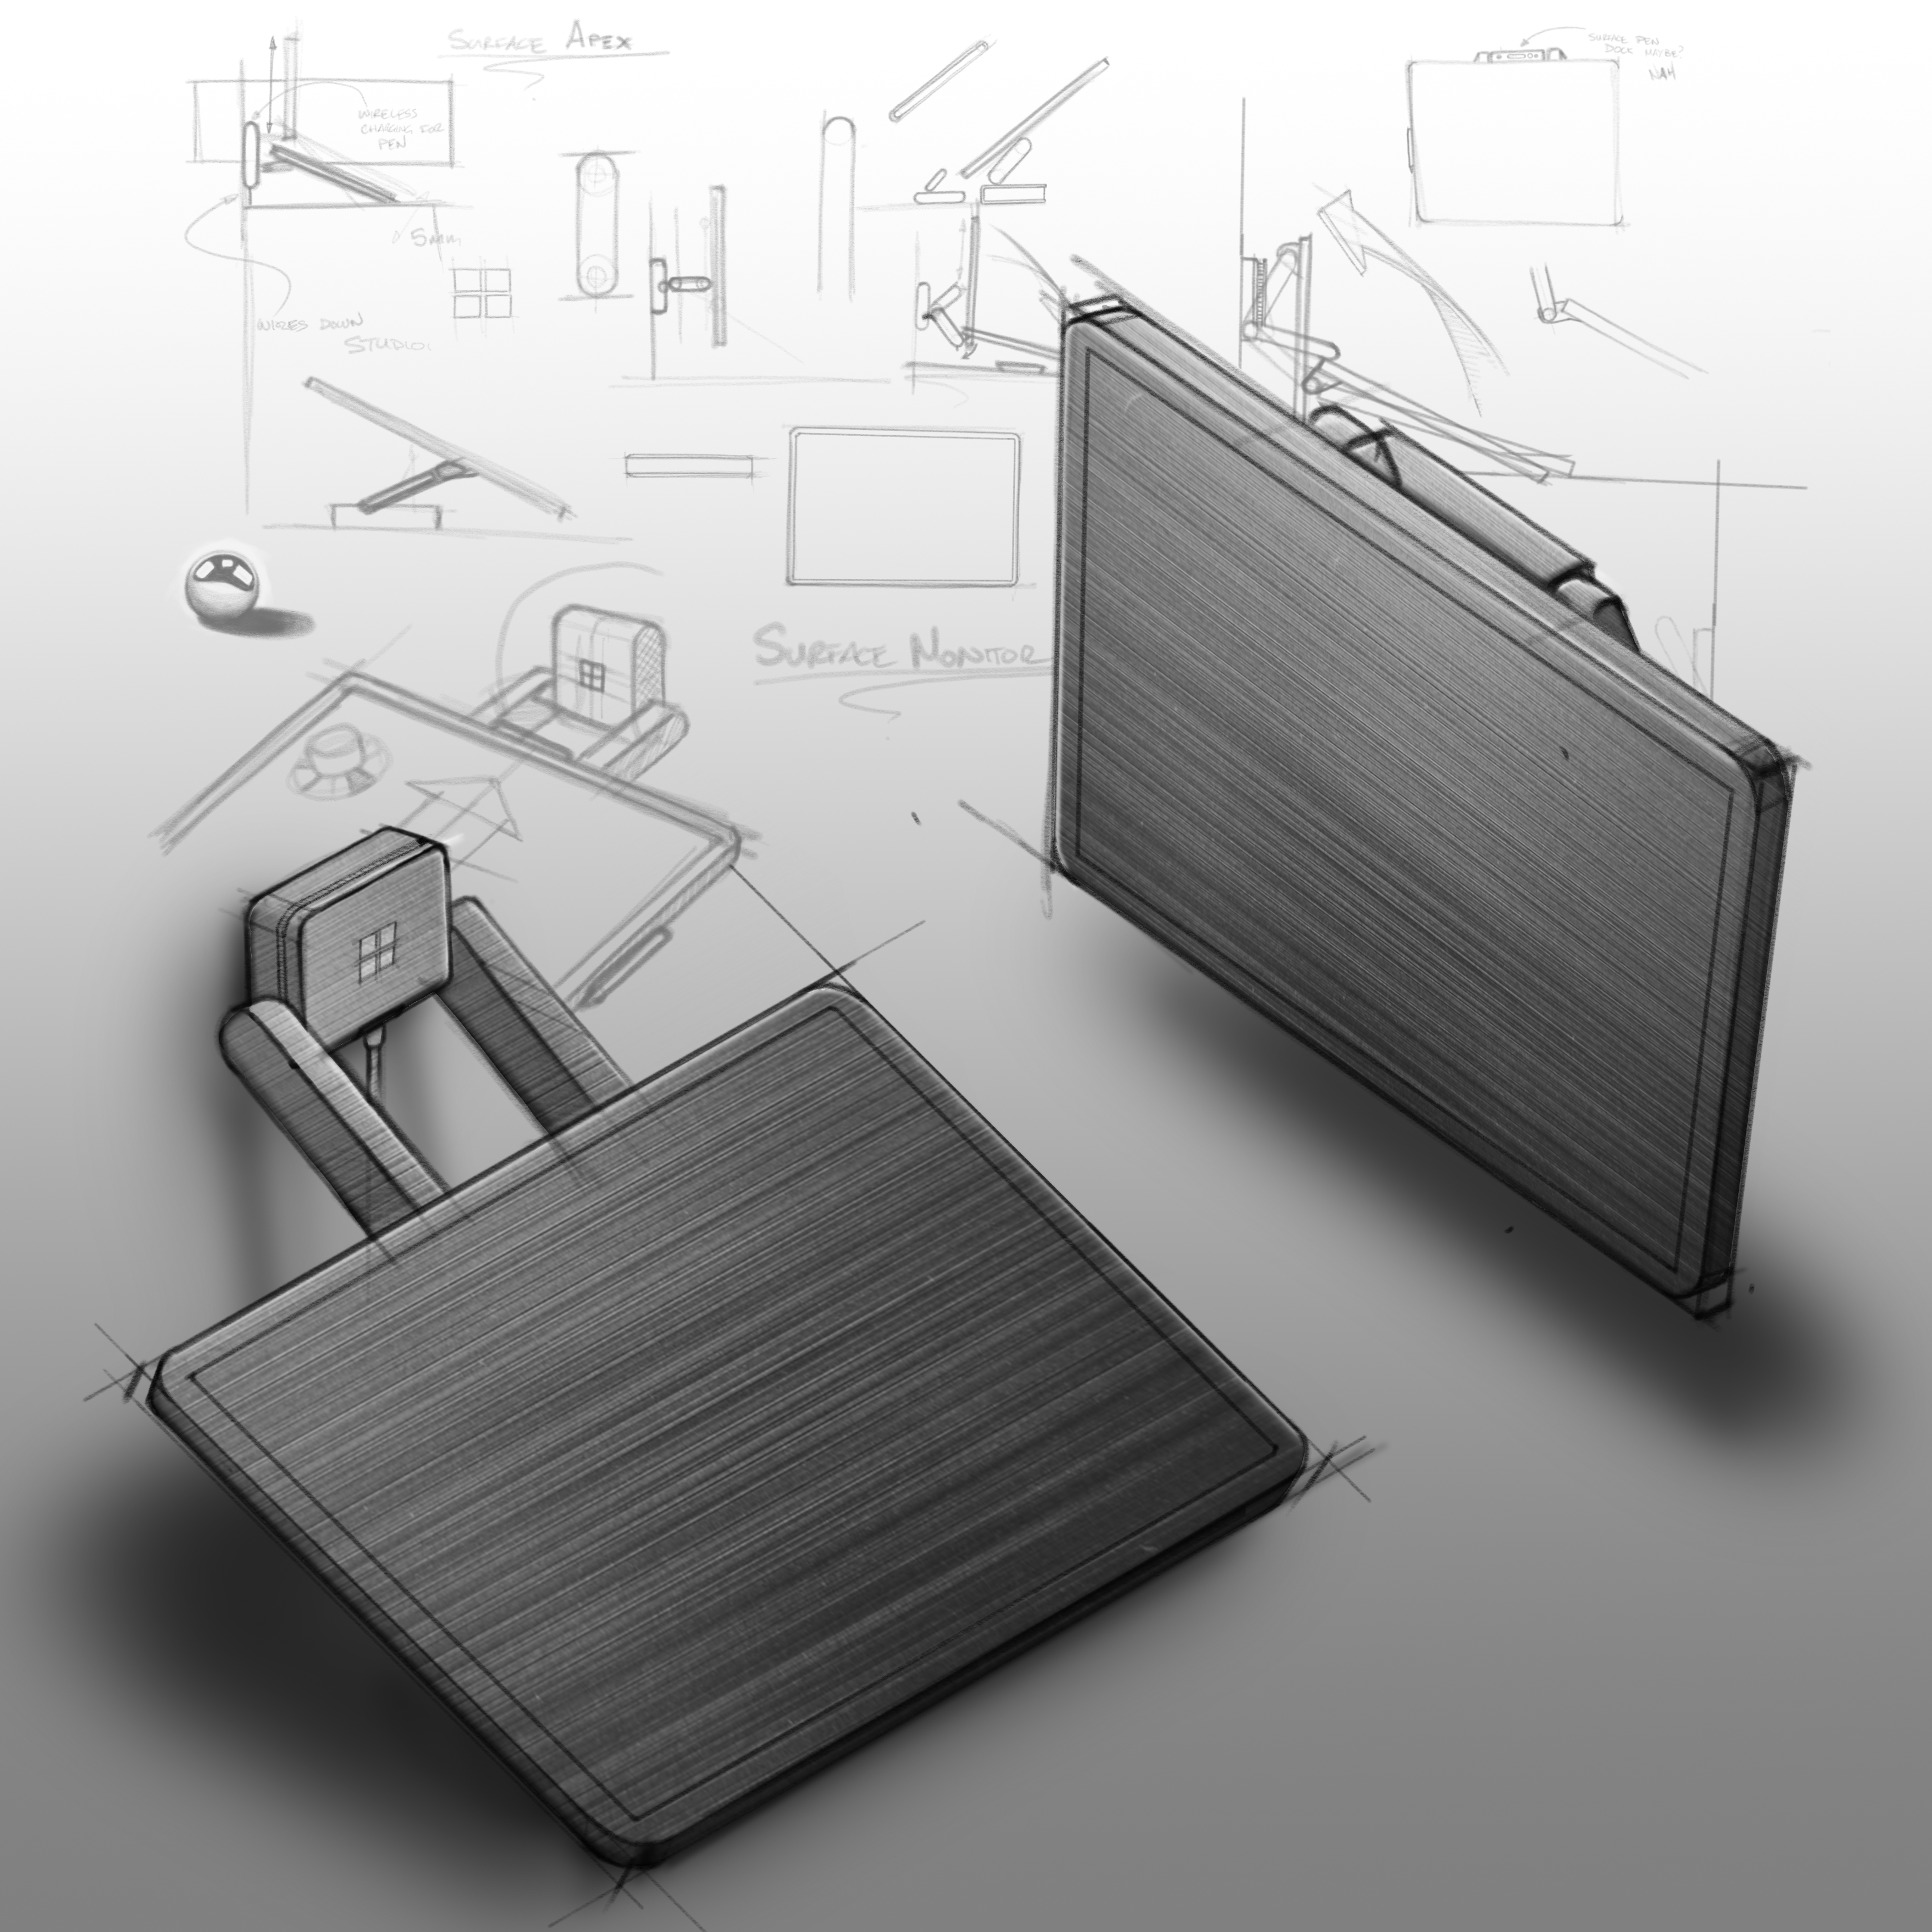
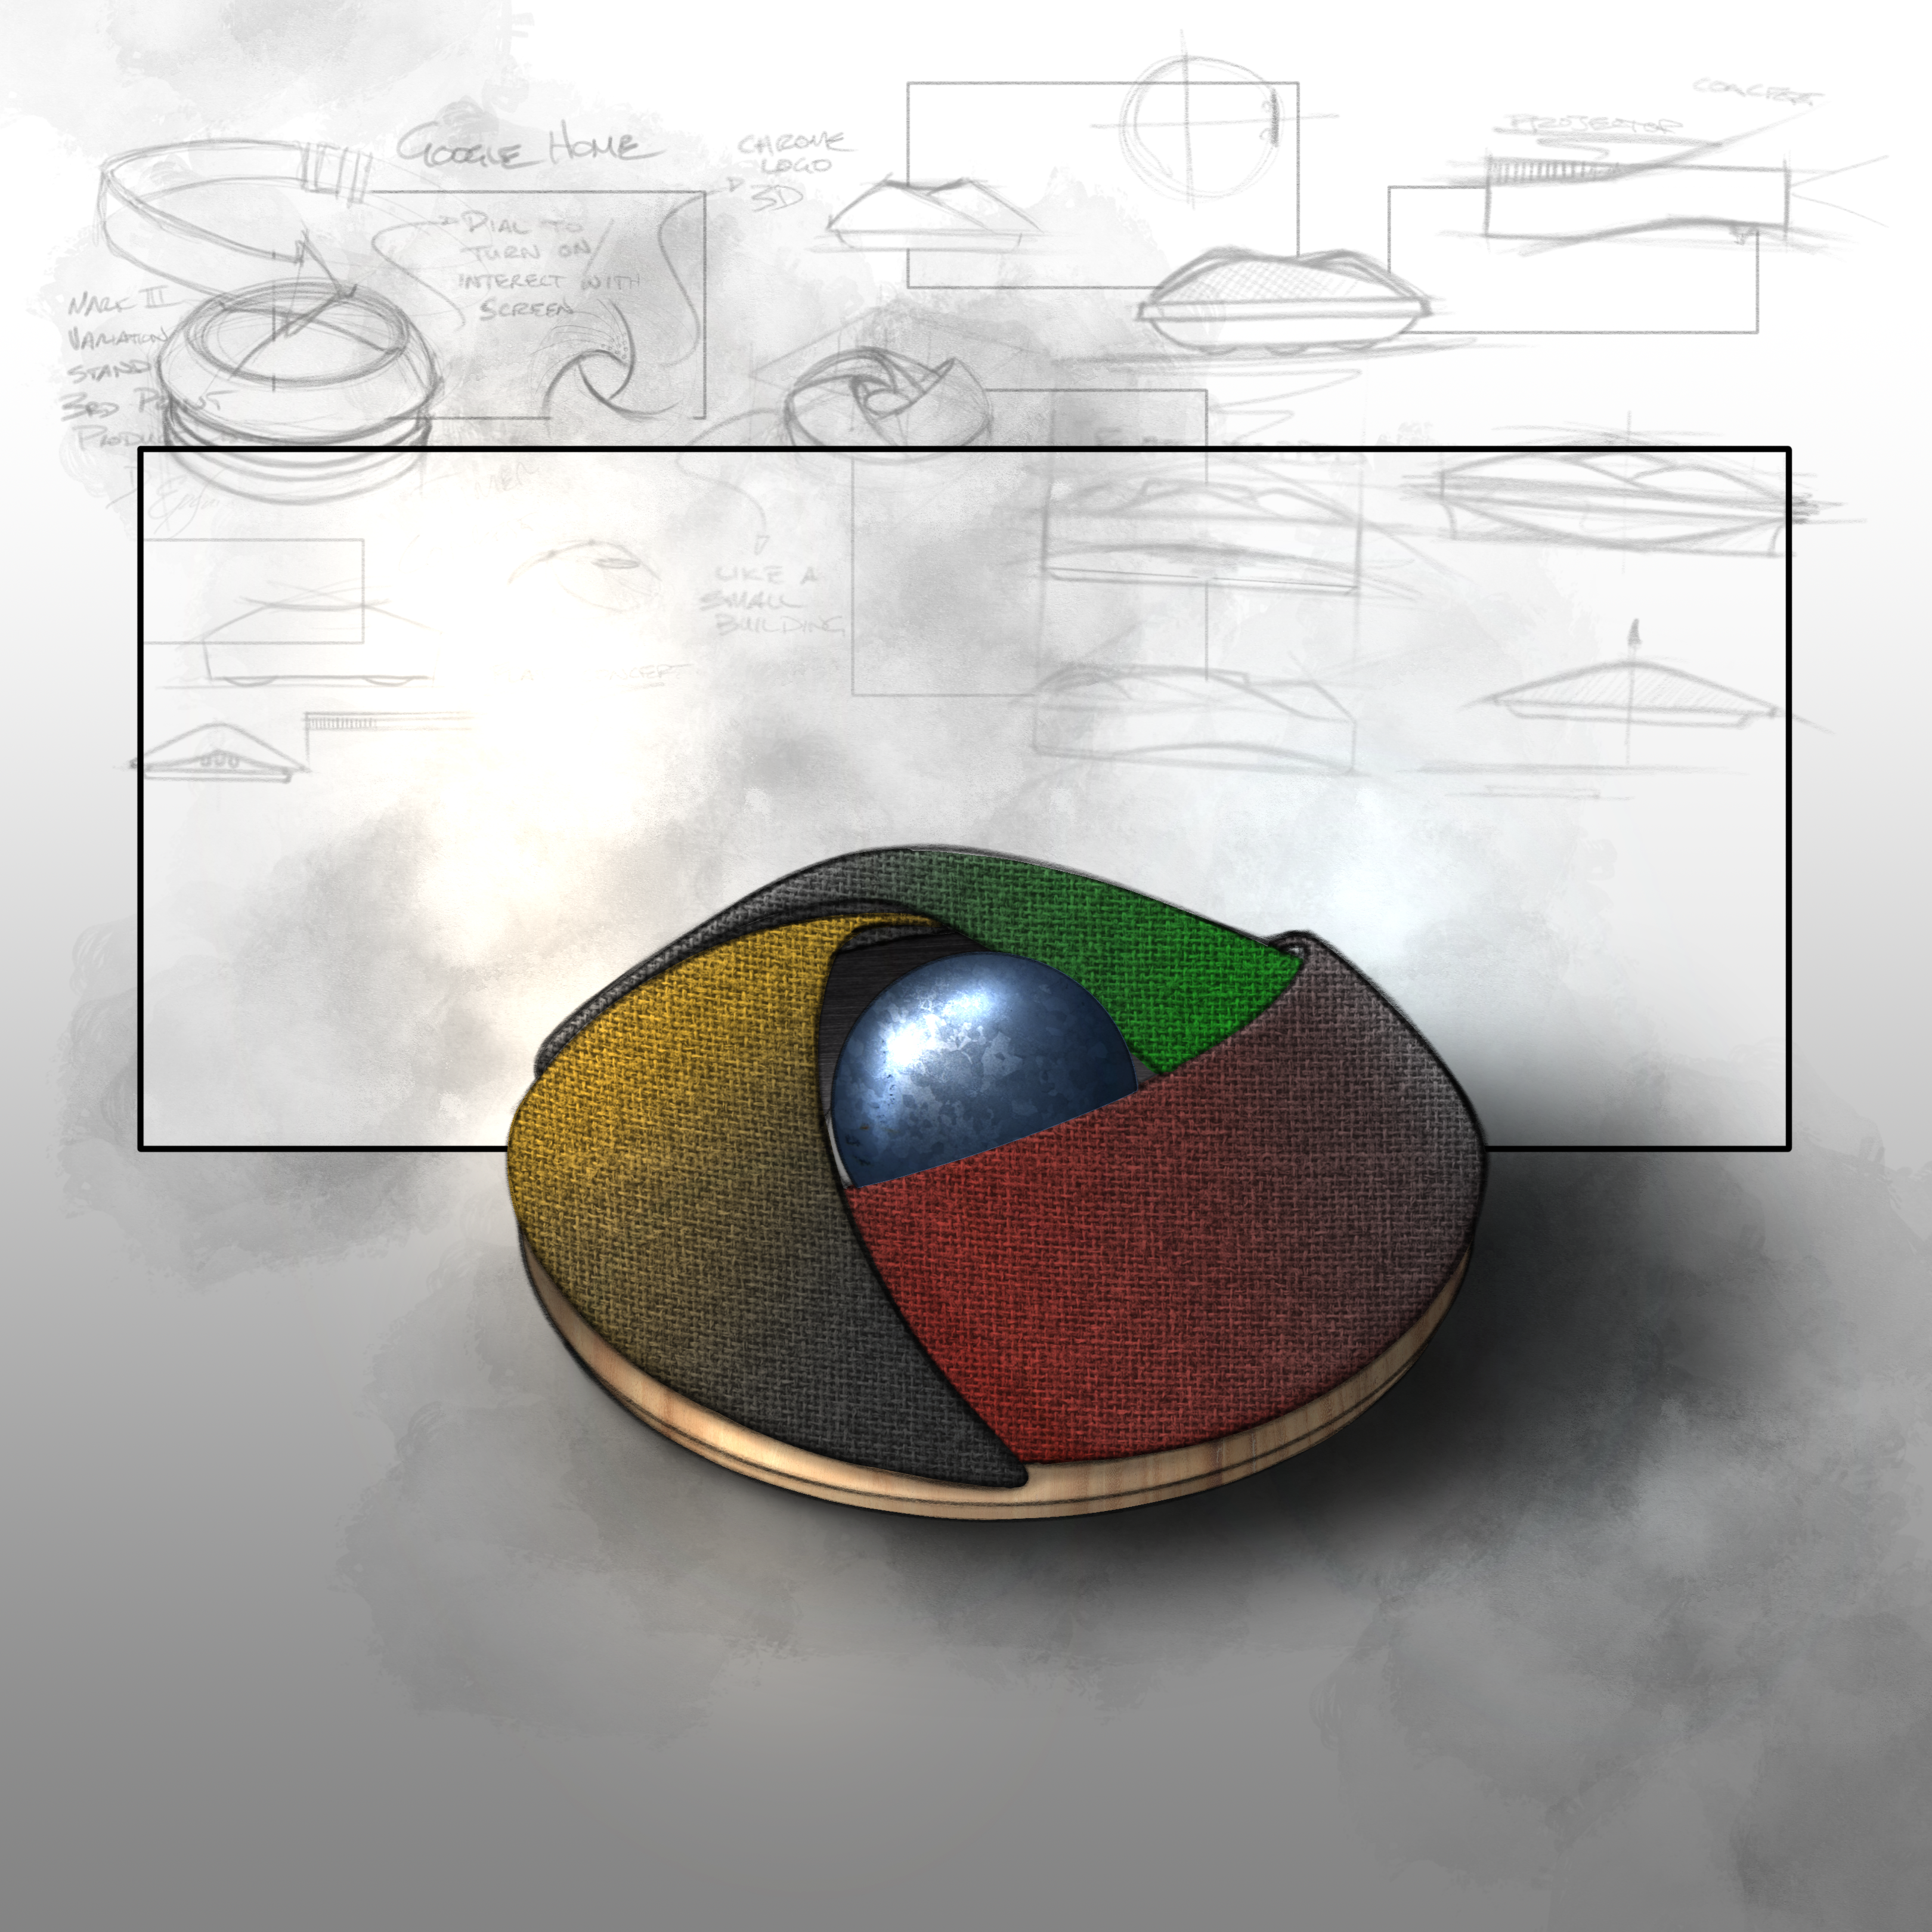
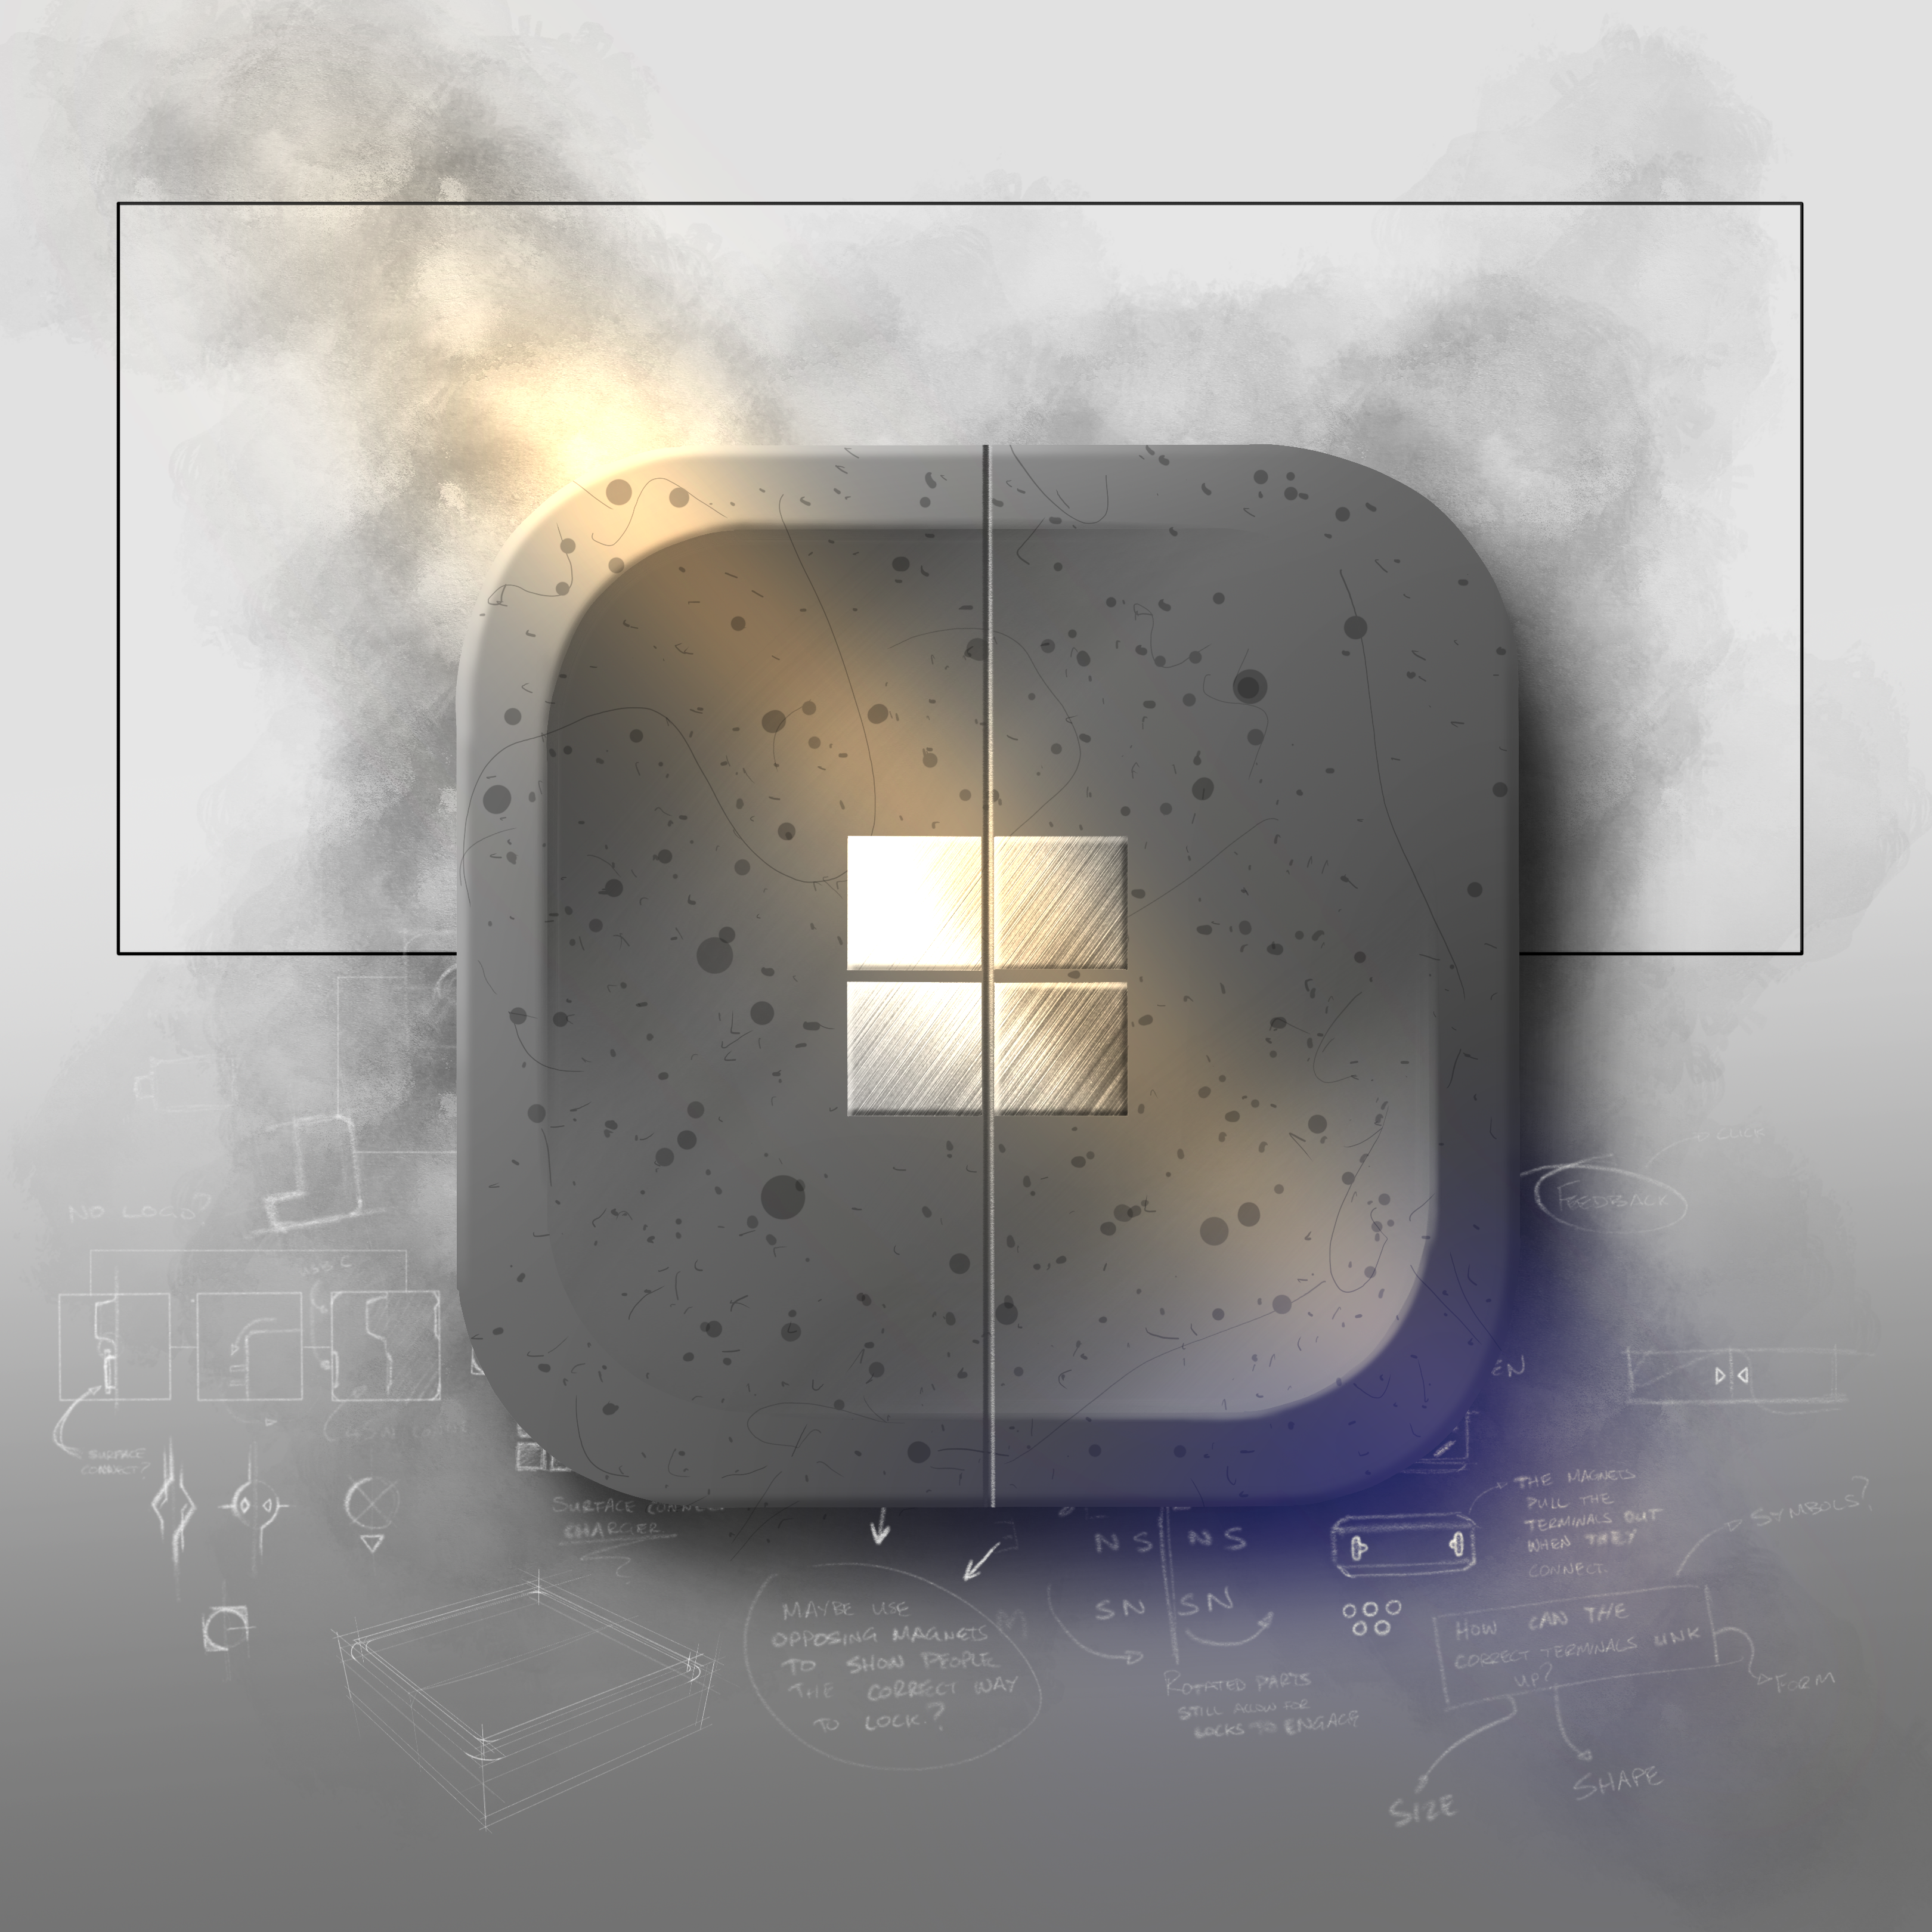
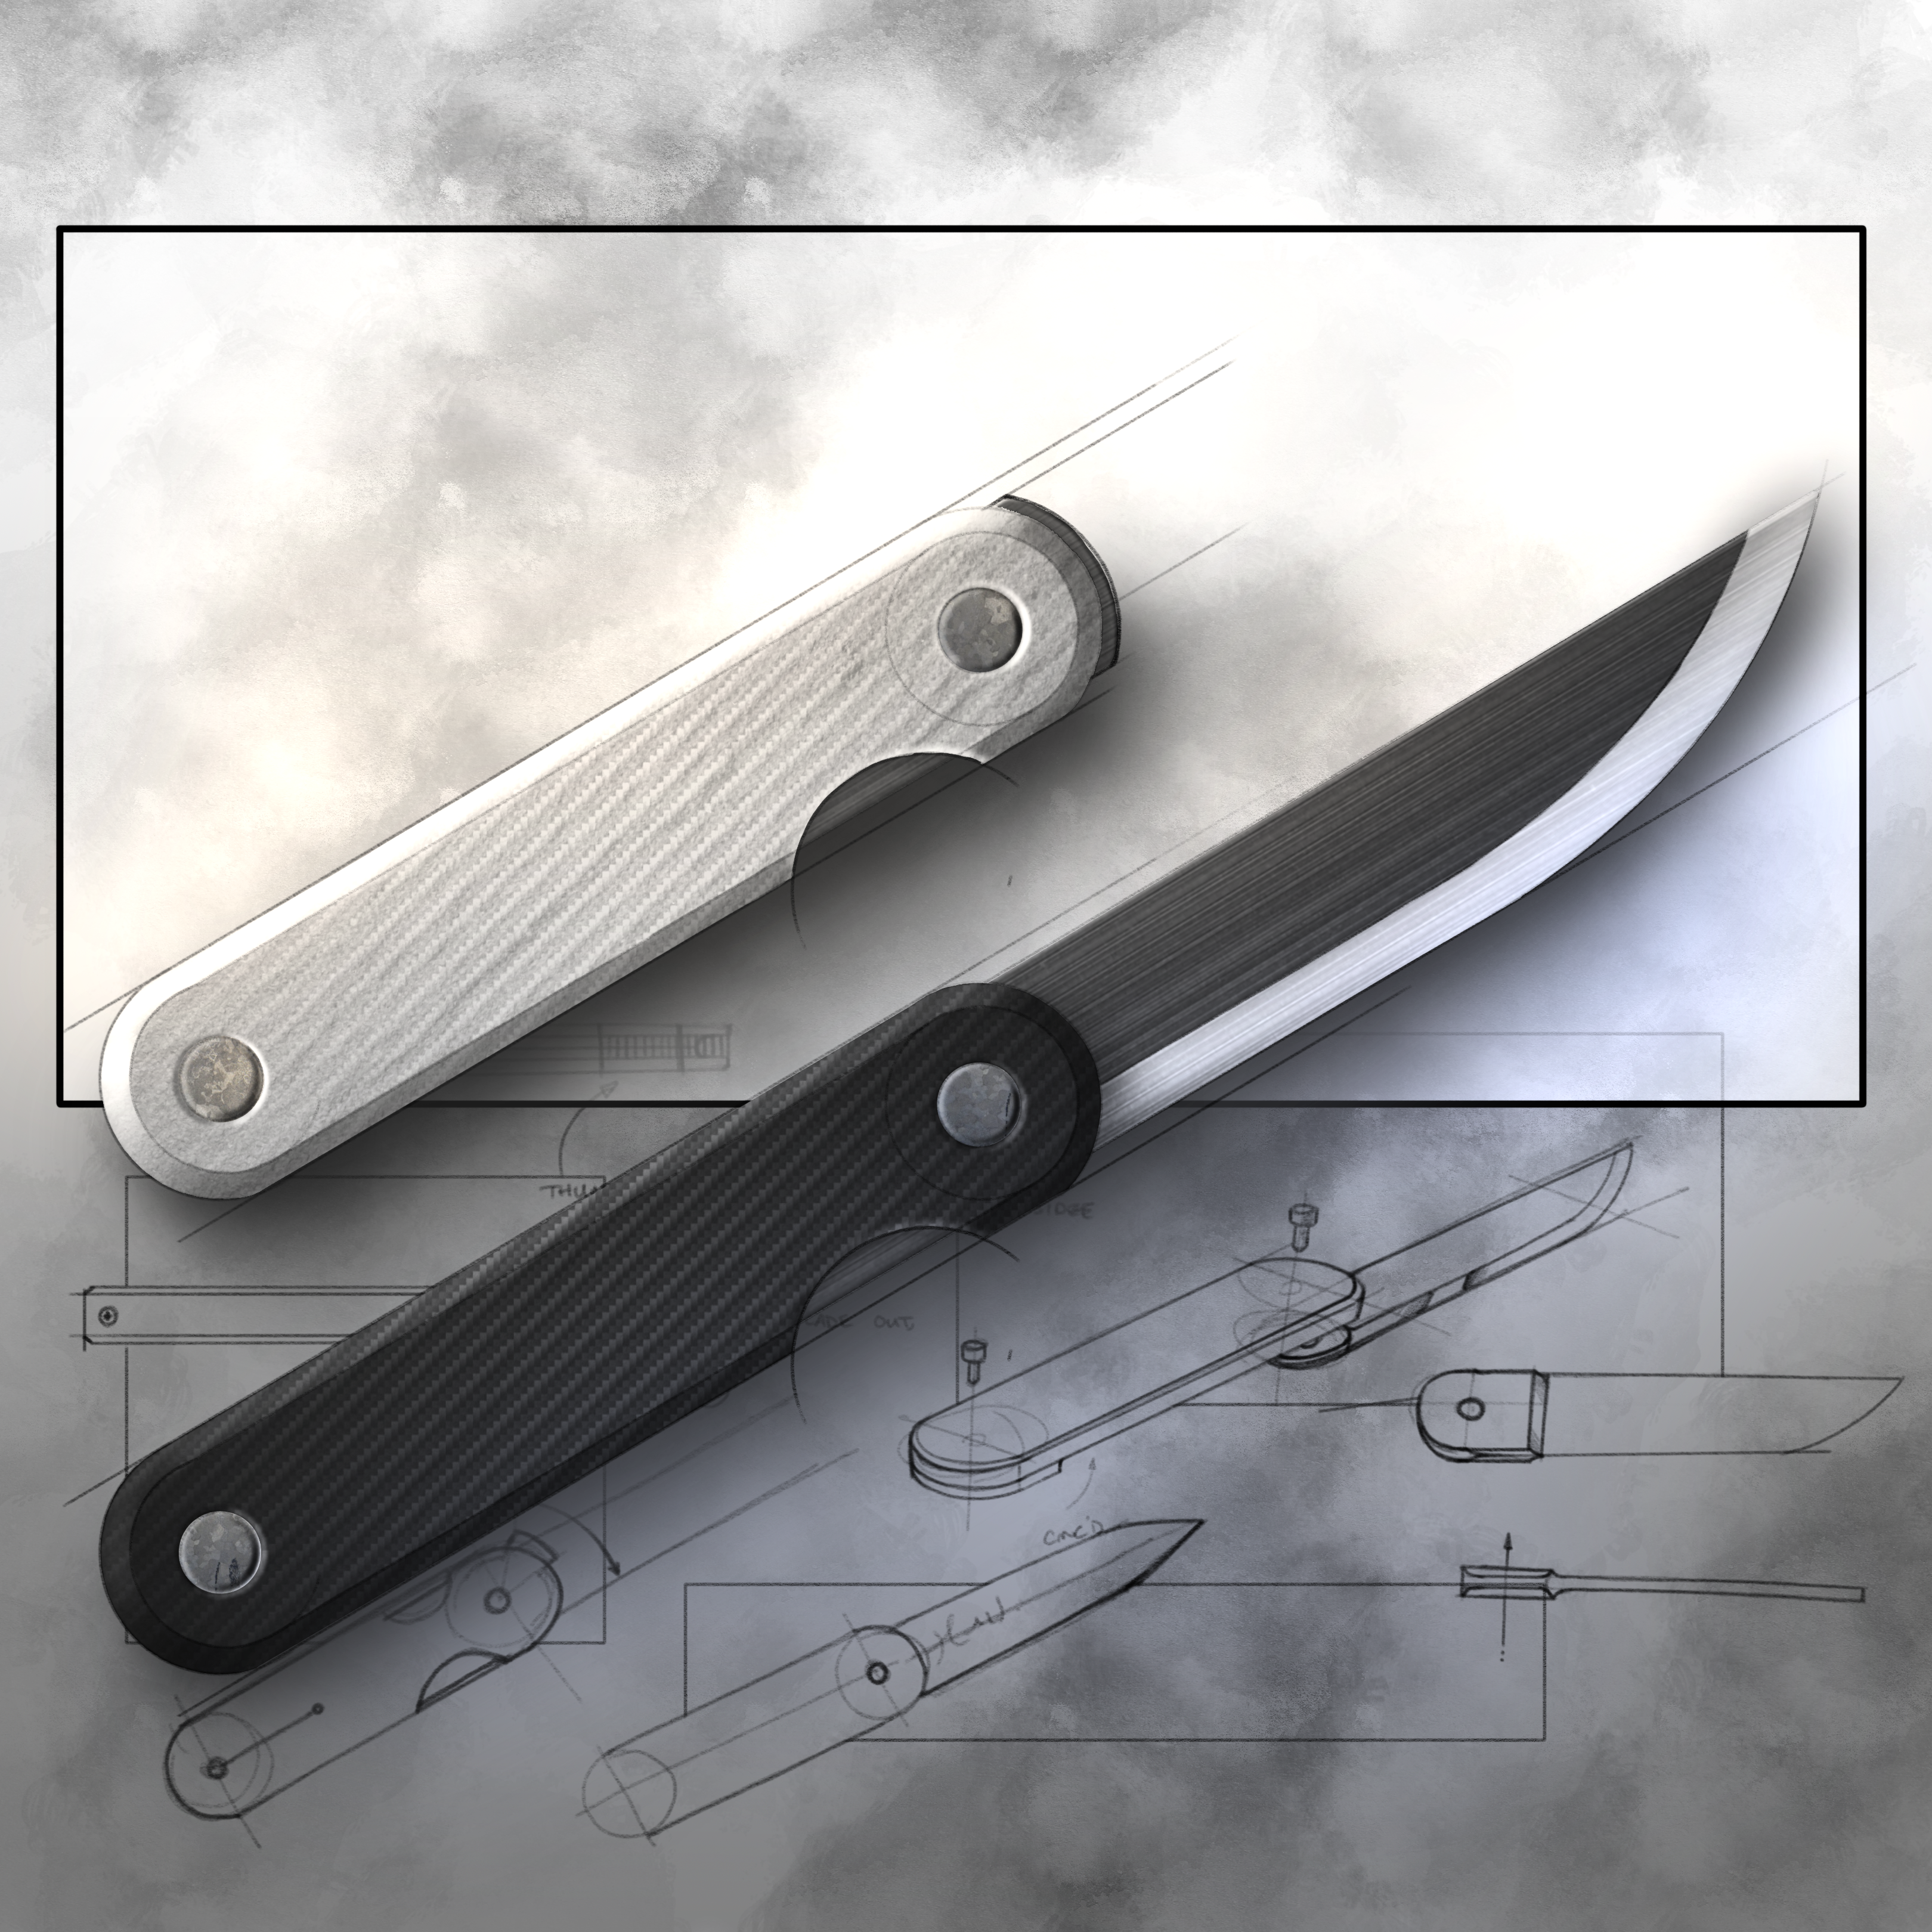
MATERIAL APPLICATION
STEP 6
Import a selected texture file and use the transform tool to align it with your sketch. Use the same masking technique as step 3 to erase unwanted areas of the texture and set the layer's blending mode to multiply. This will apply the texture onto the base colours/shadows from earlier. You can also lower the opacity as needed to create a subtler texture application.
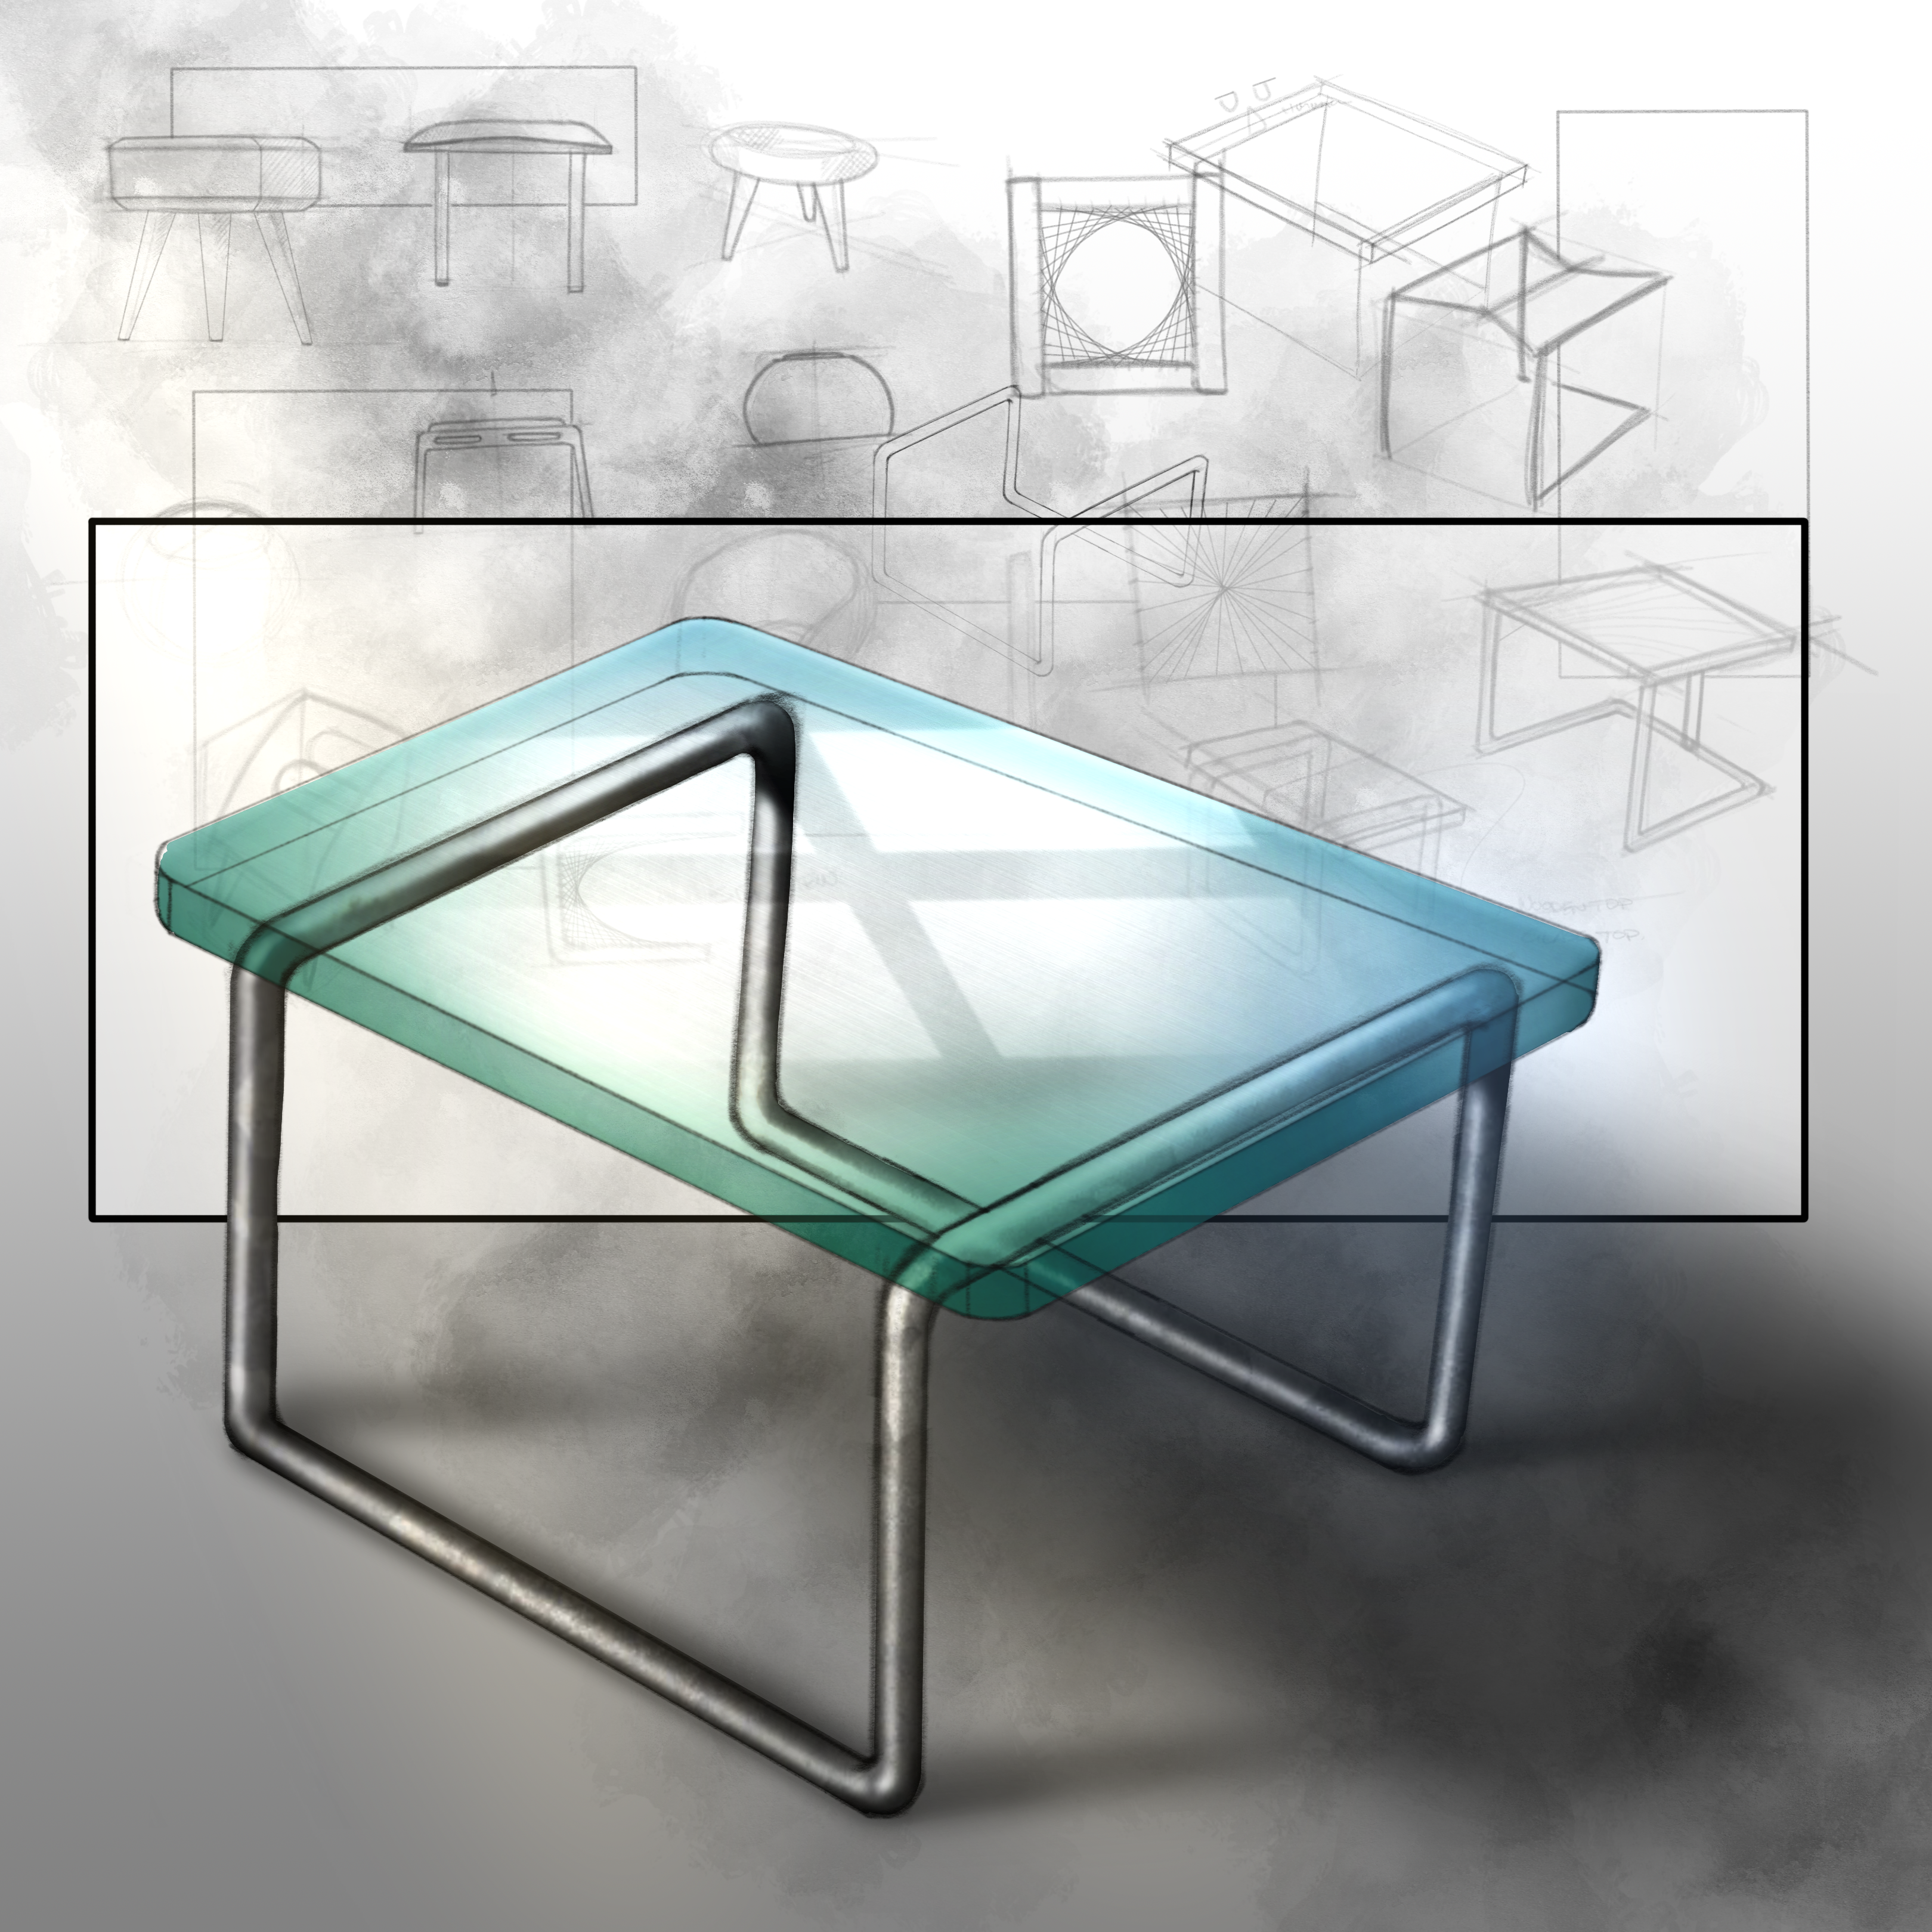
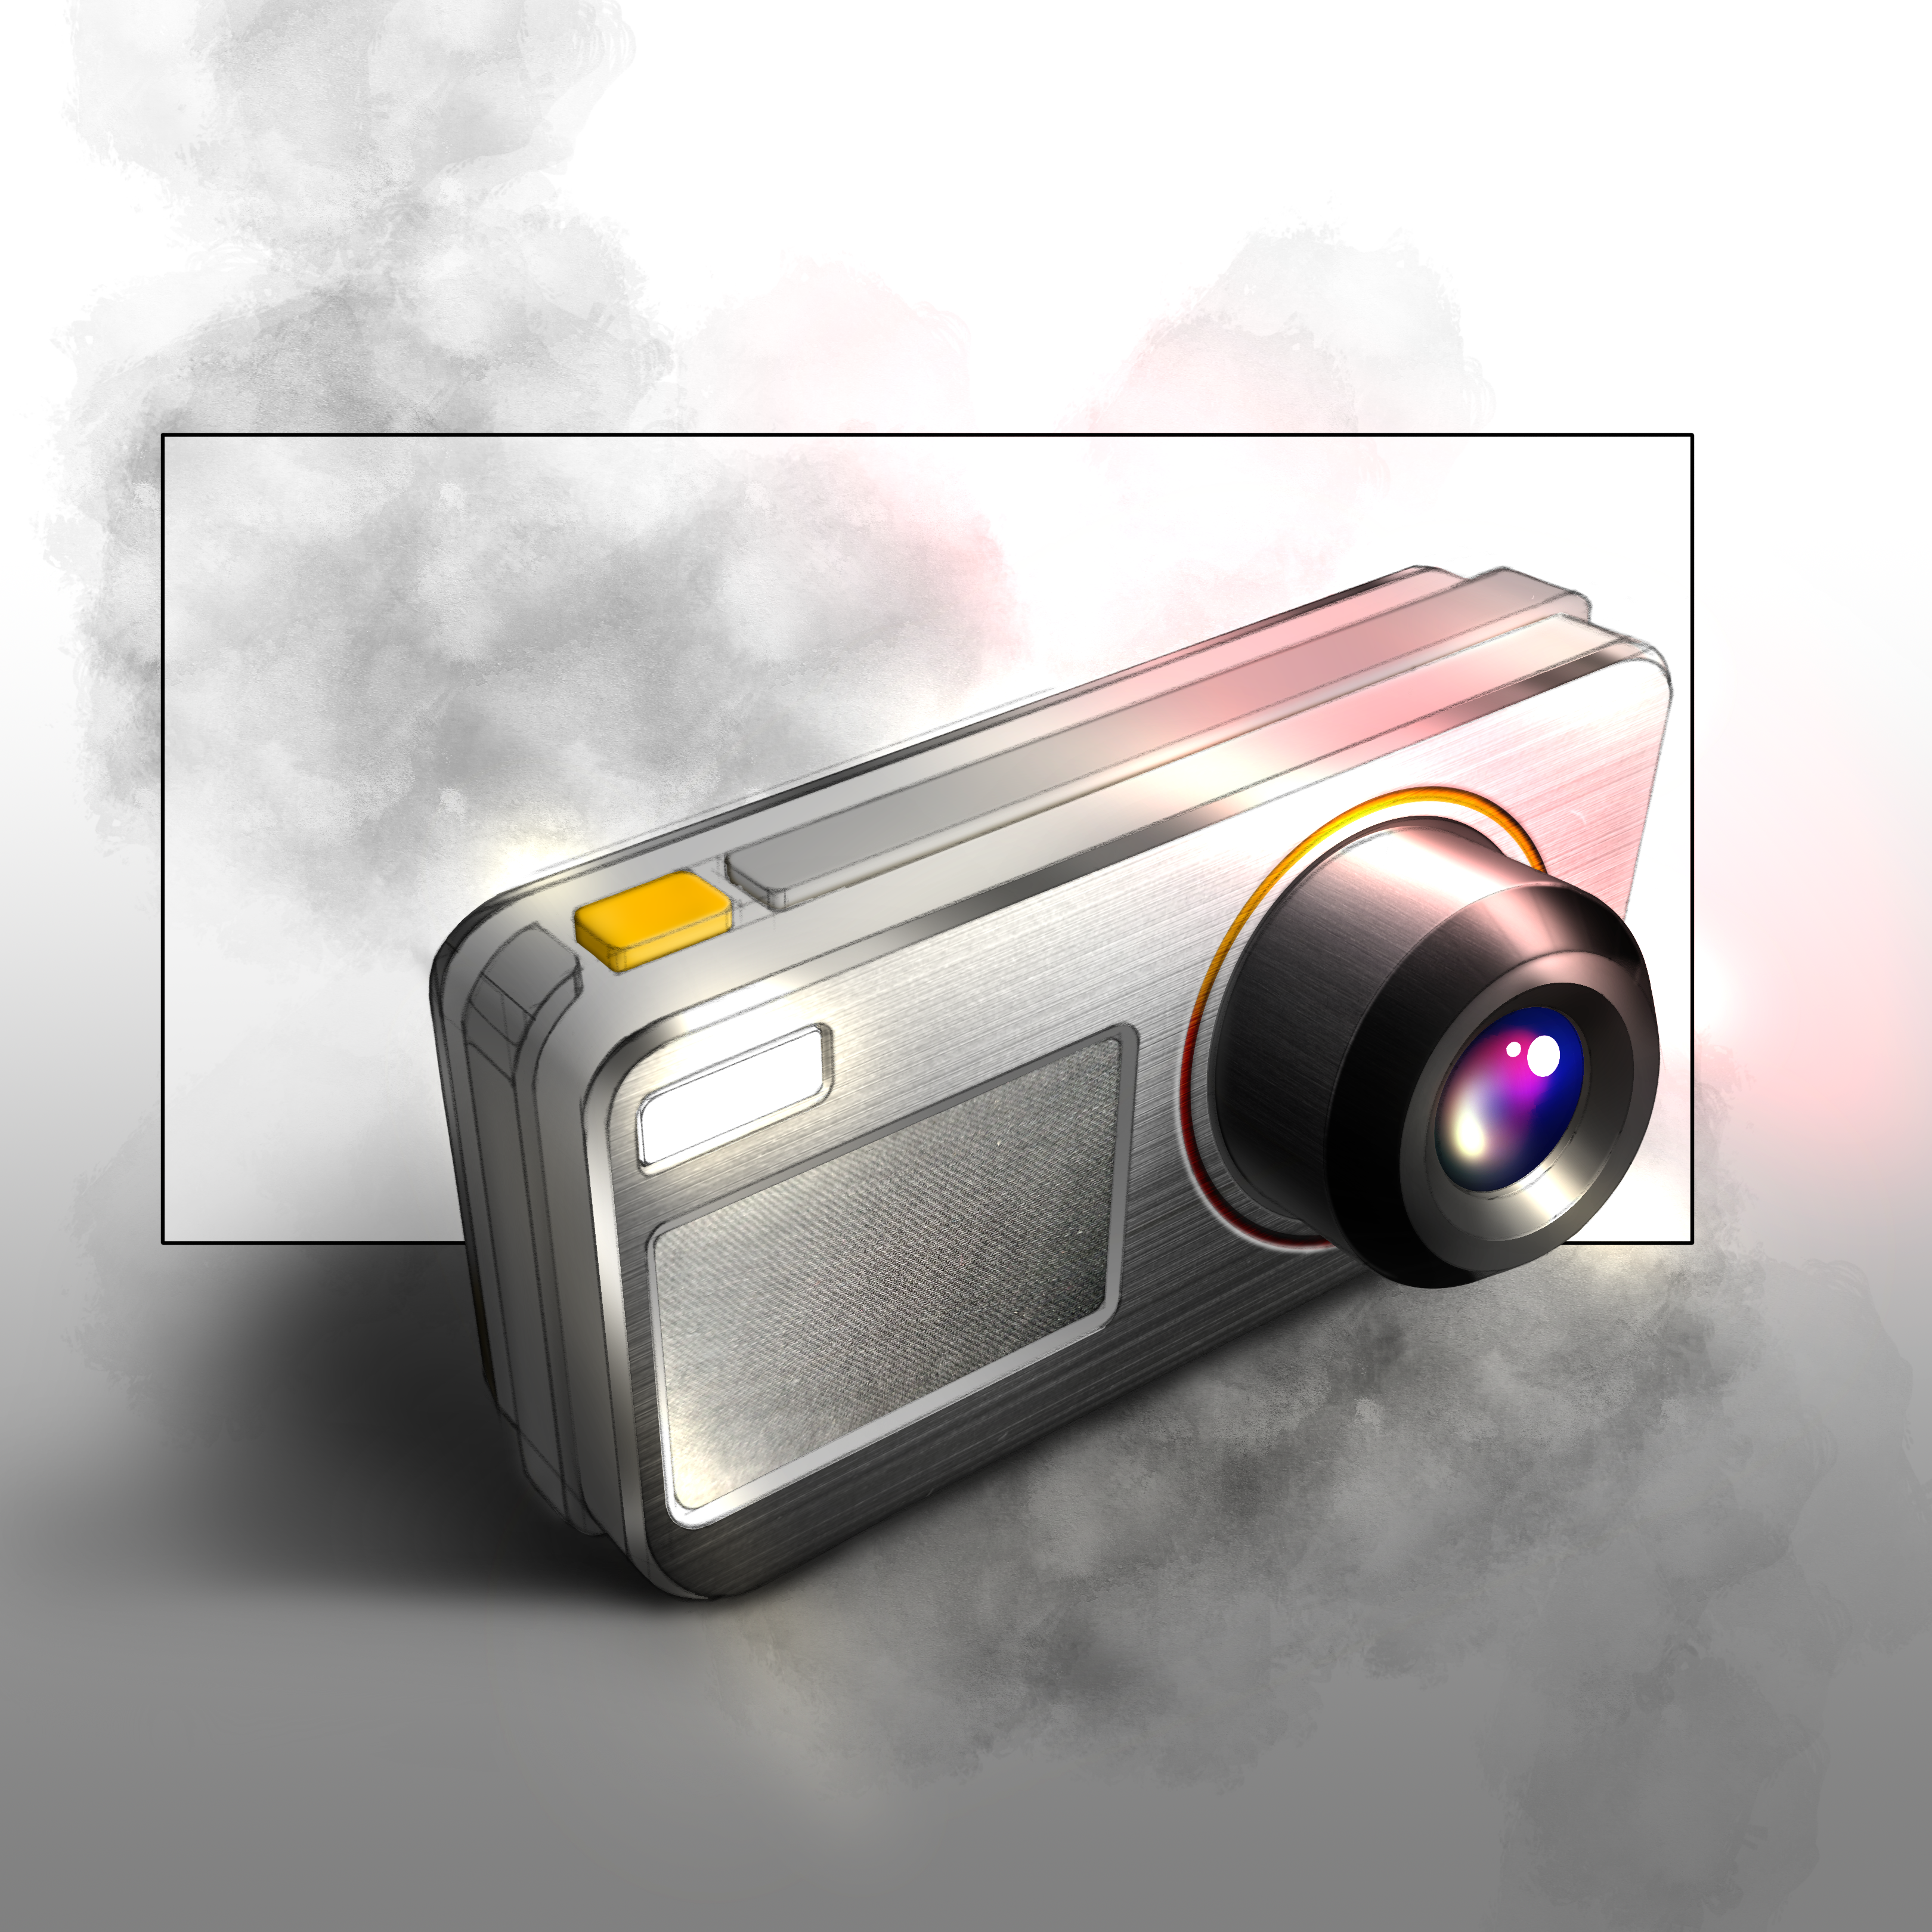
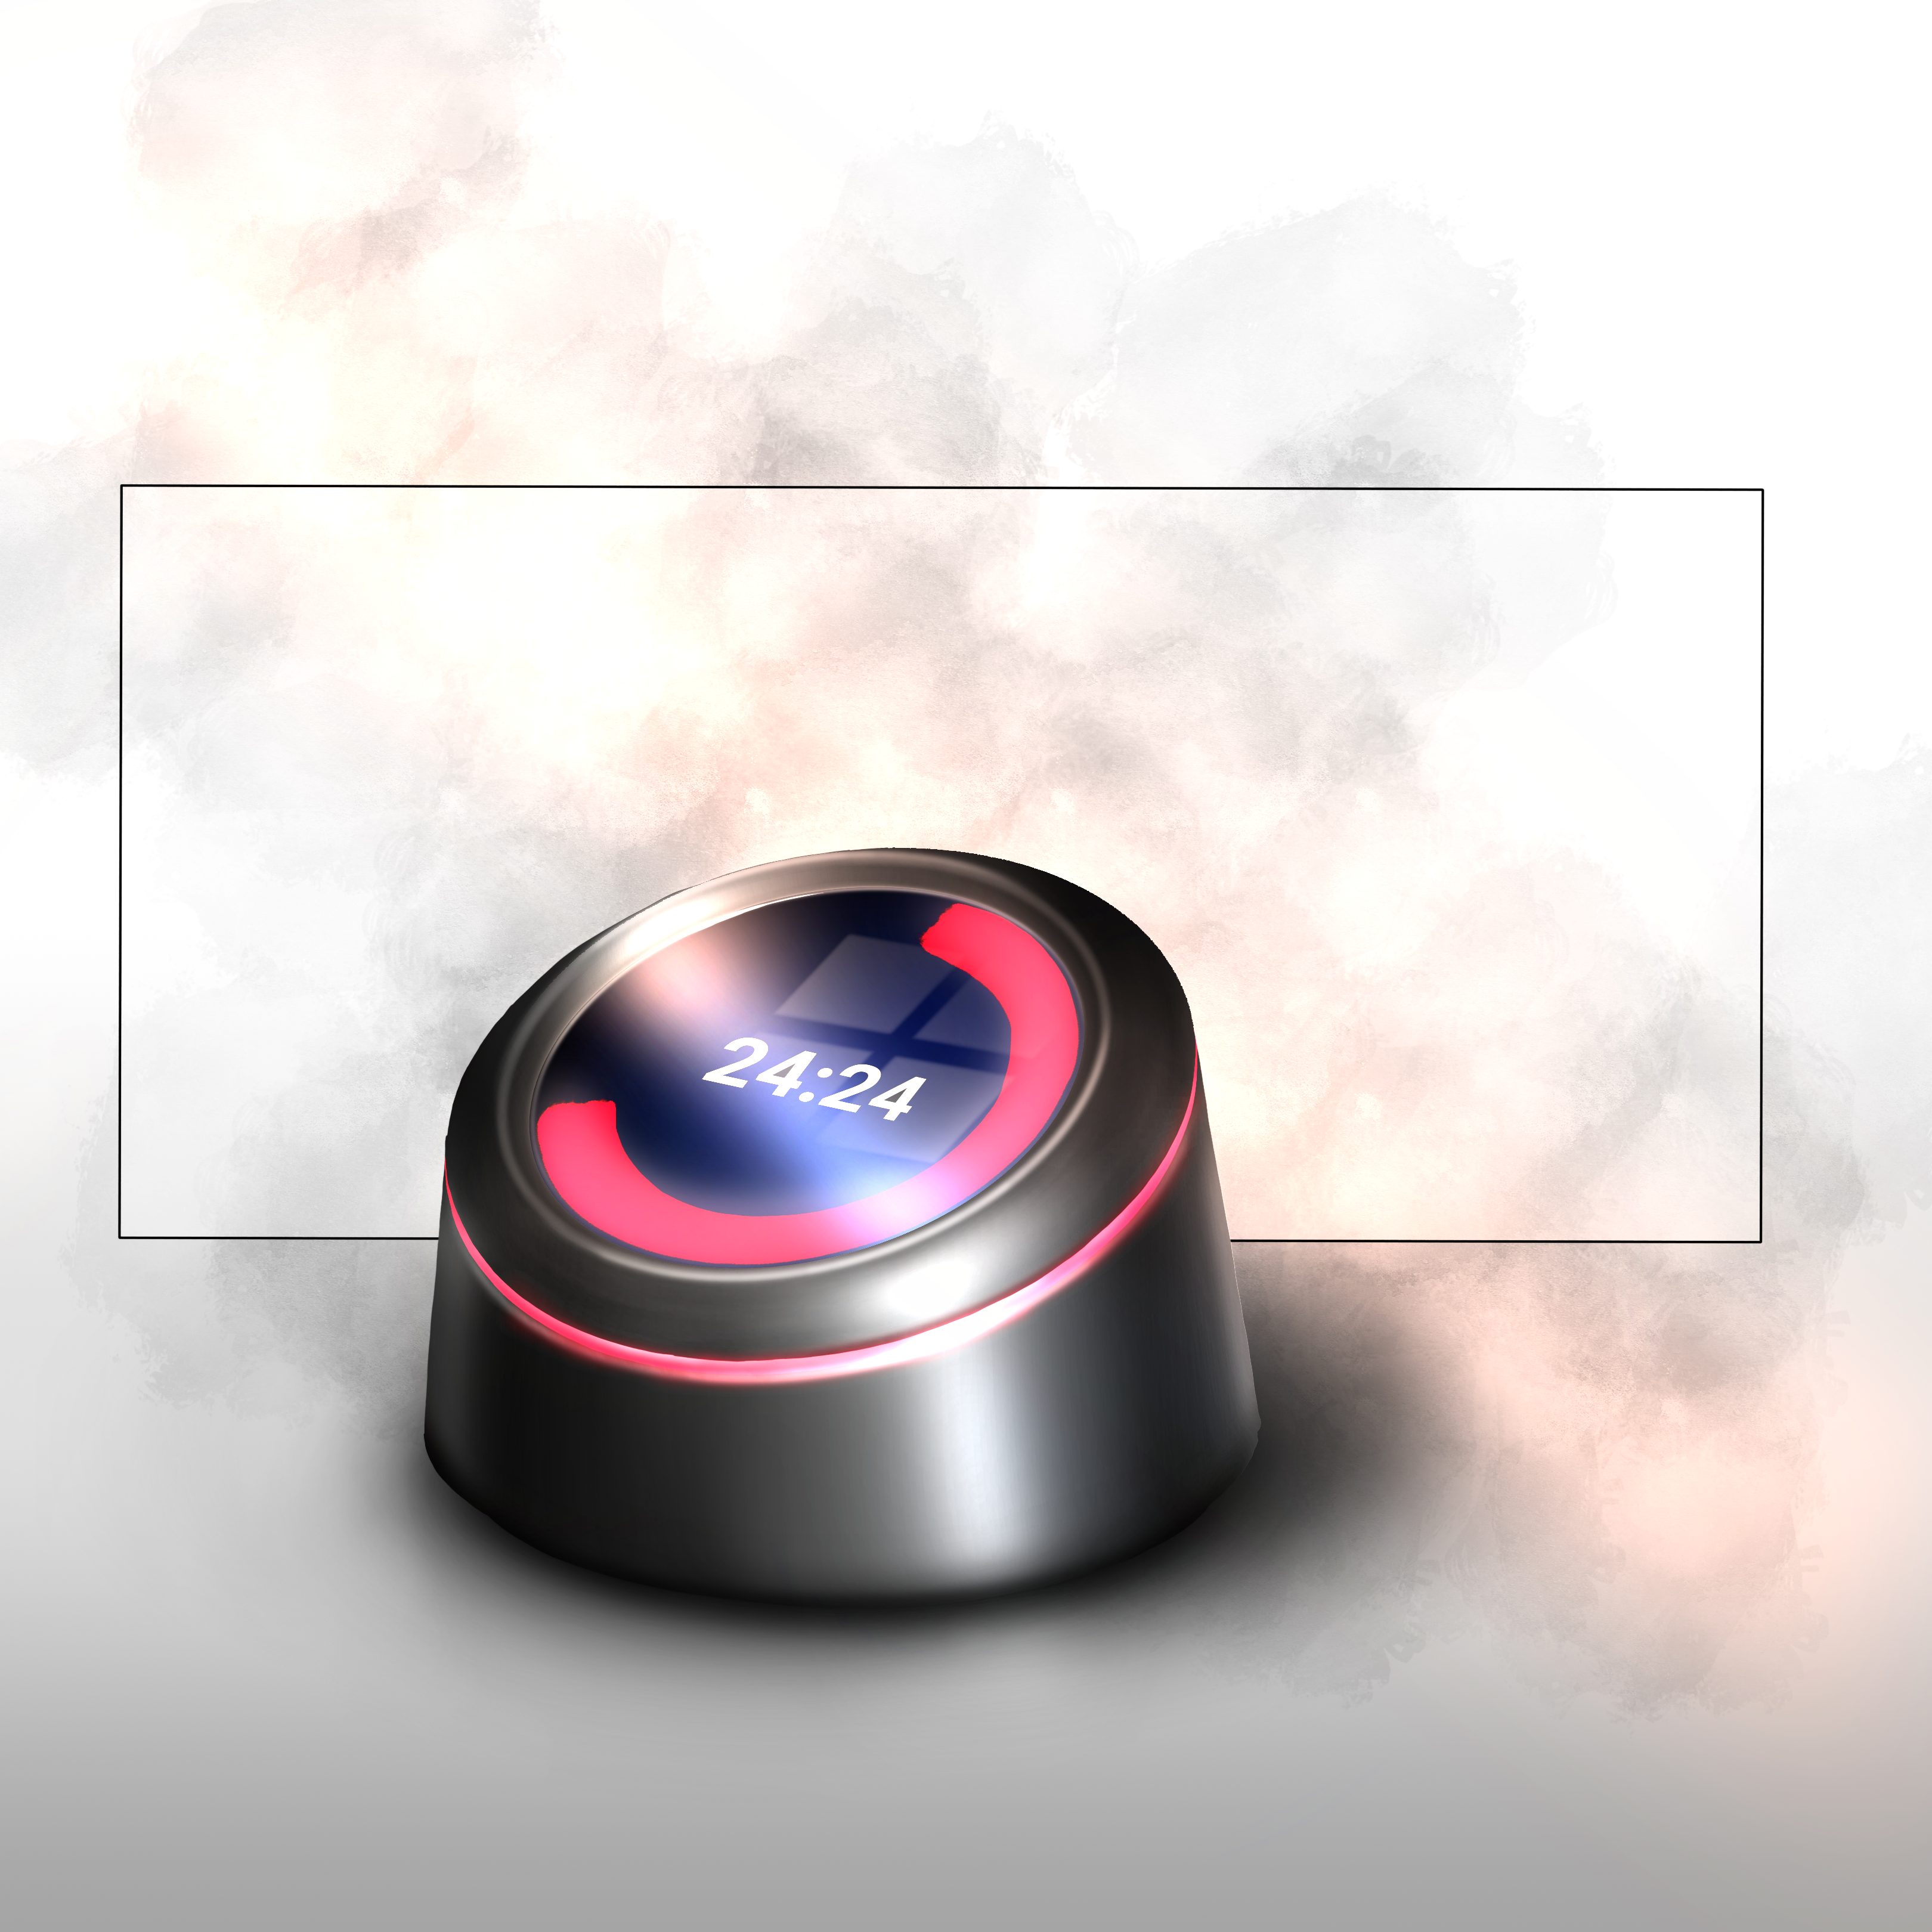
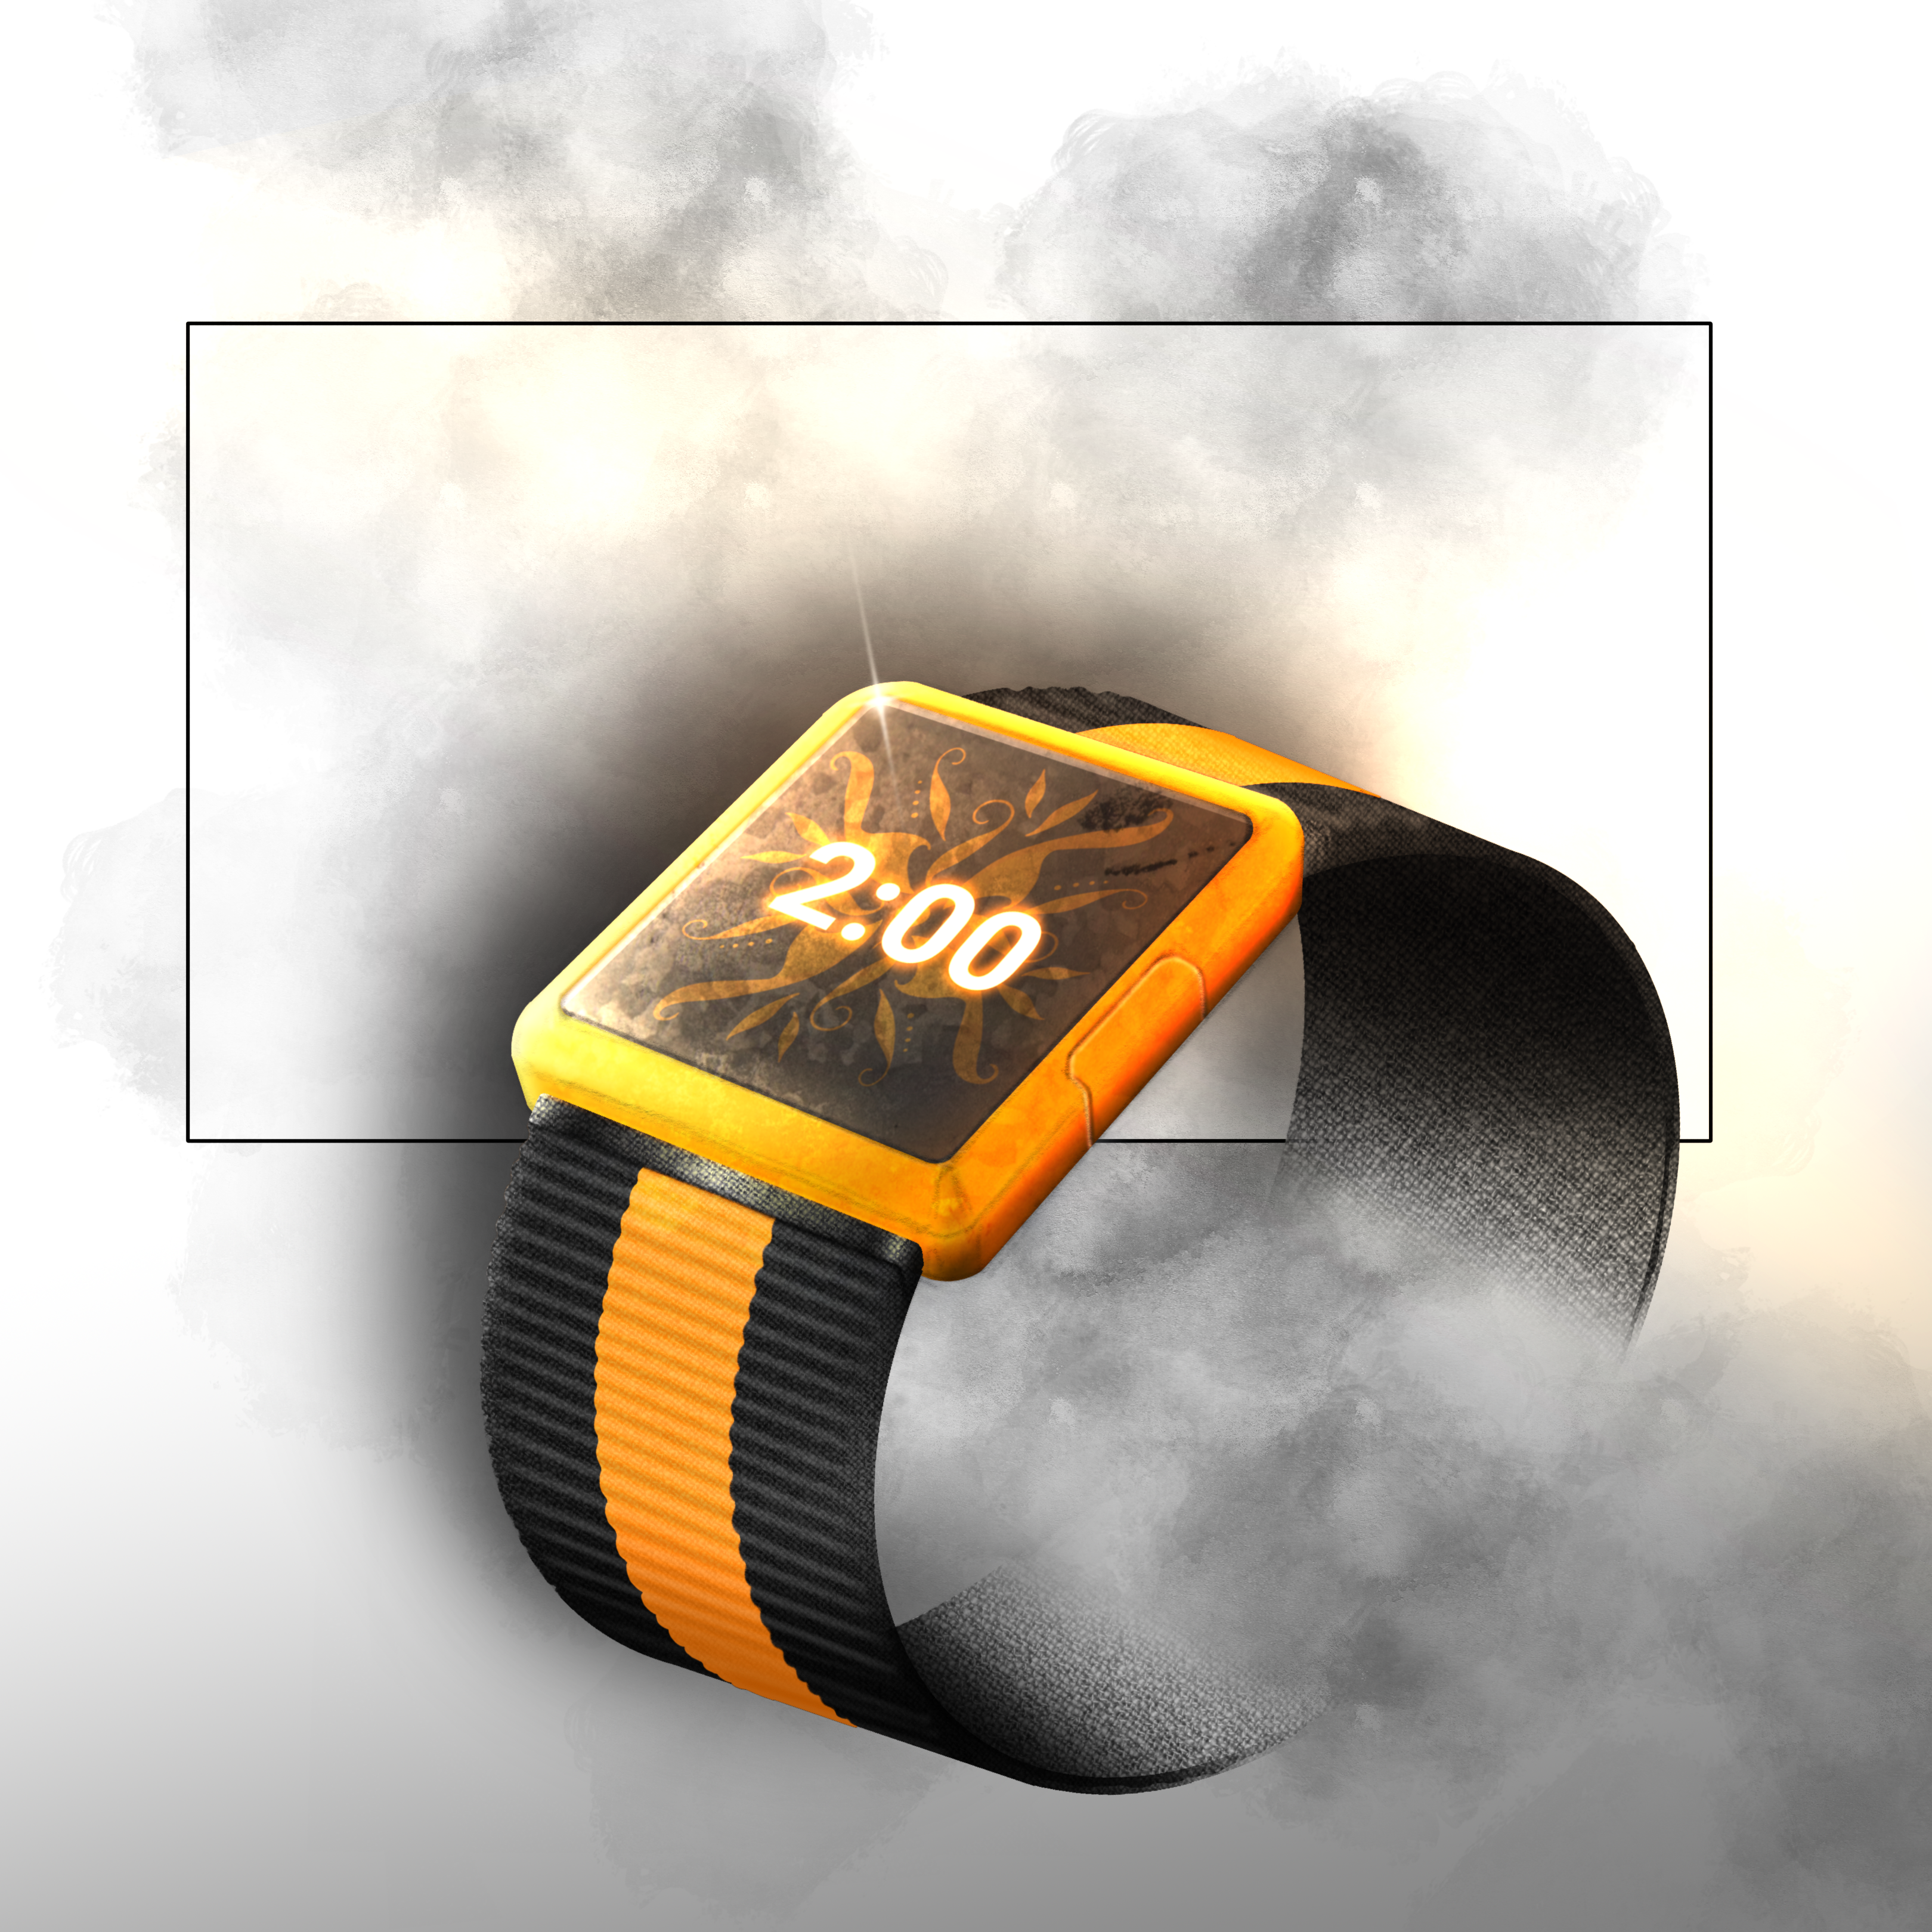
DETAILS AND UI ELEMENTS
STEP 7
The last set includes adding any external elements such as text, UI or wallpapers. In this example I have applied a wallpaper I created in illustrator to act as a monitor screen and applied harsh white strokes to indicate its glass material.
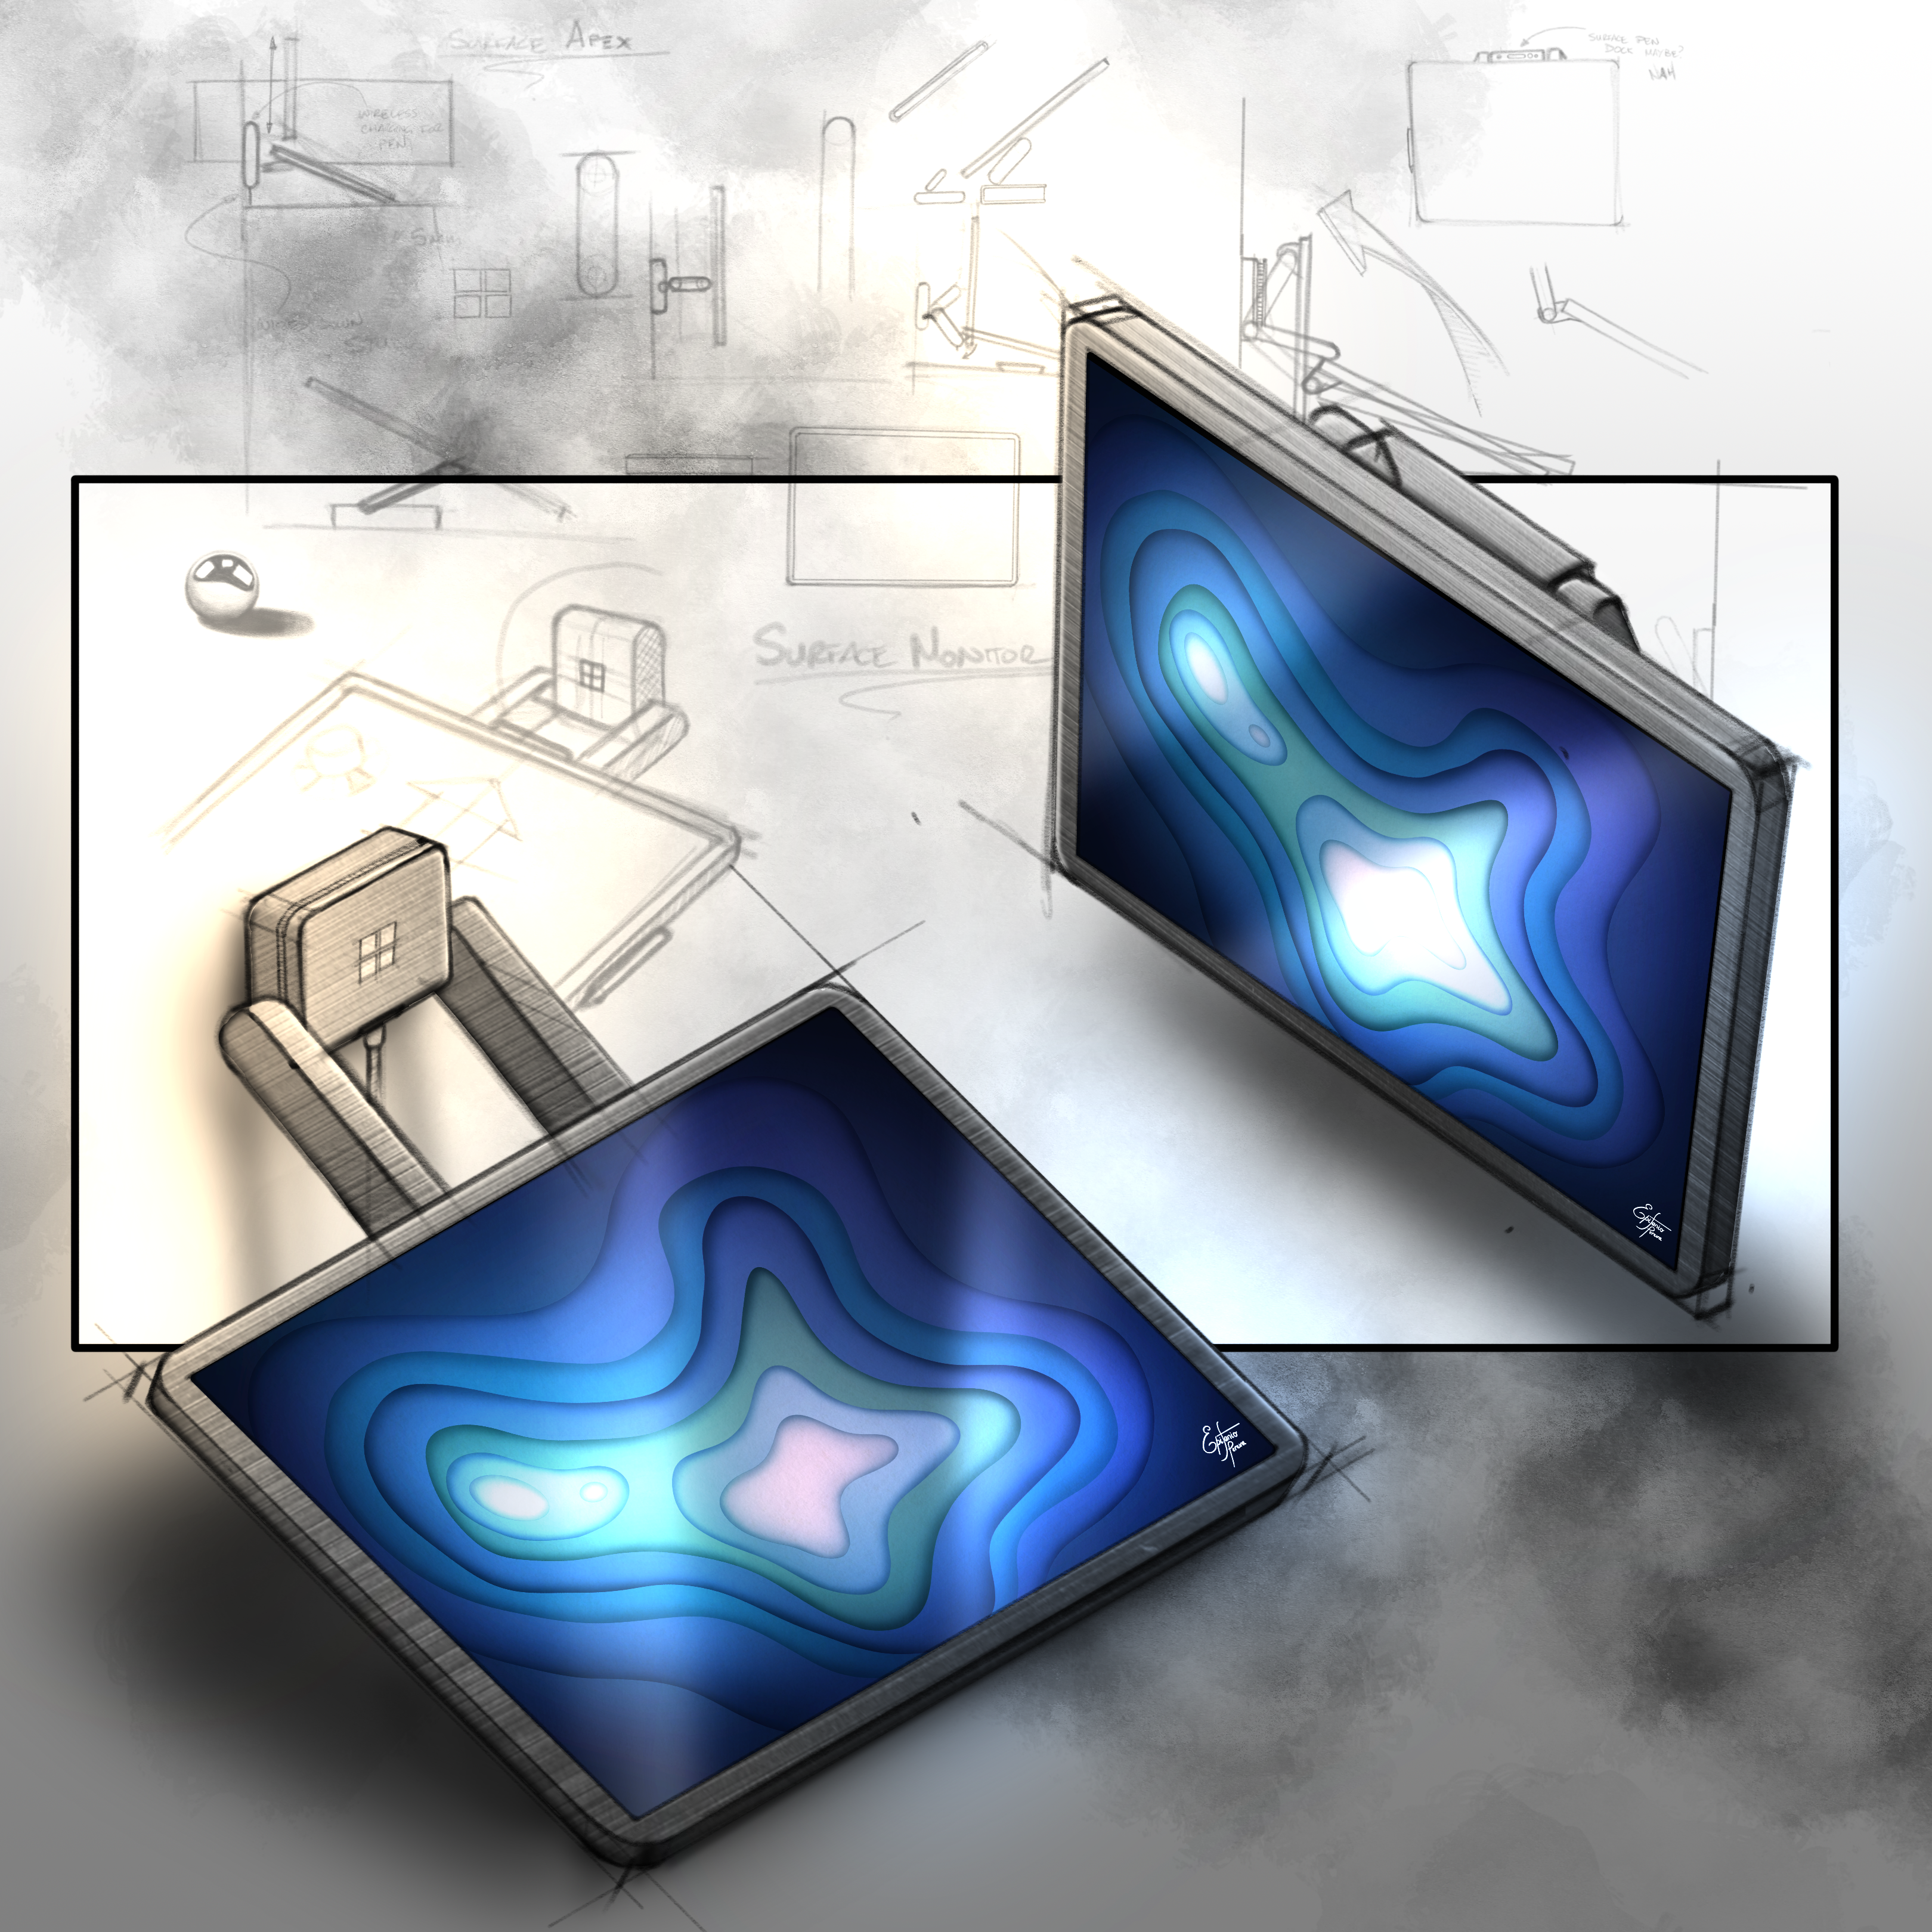
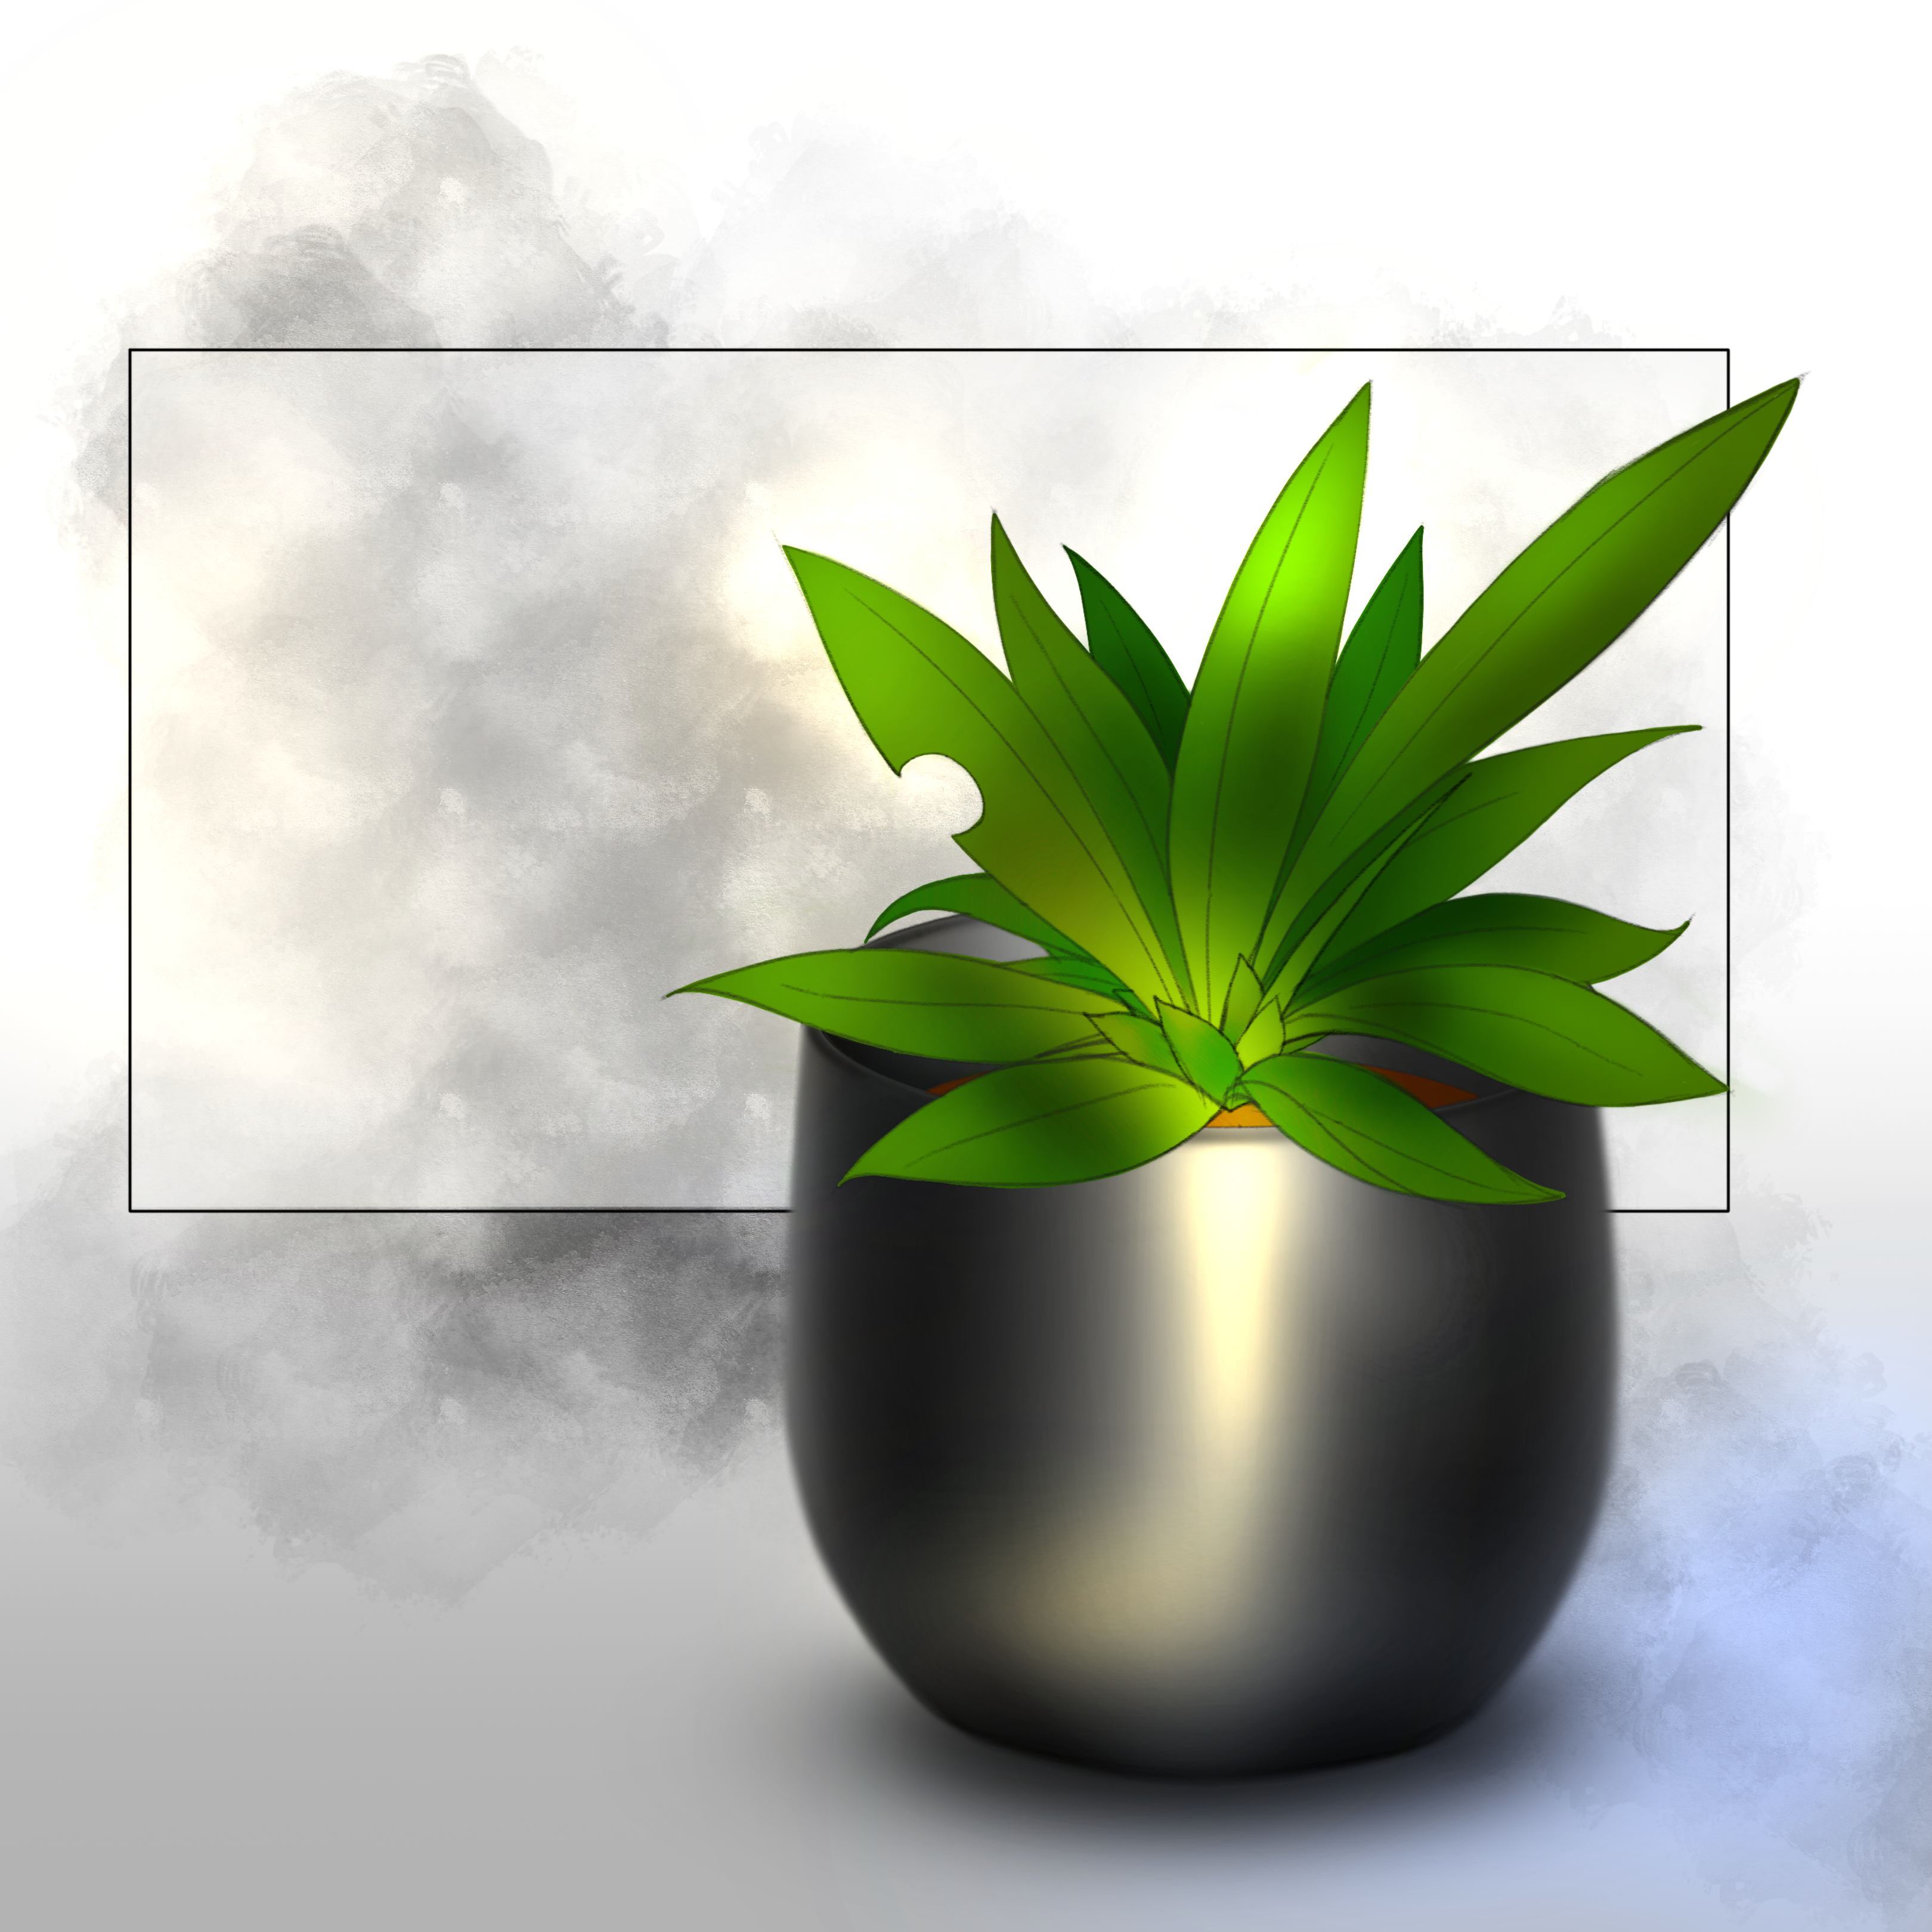
POST PROCESSING AND REFINEMENT
STEP 8
The last step covers any form of post-processing in photoshop. I use the levels and contrast adjustment layers to refine the colour composition of the sketch and will occasionally add a fish-eye blur as well. Bounding boxes and other foreground elements to frame the hero image can also be added at this stage.